
Today we have a wonderful guest post by Gwynne Olsen of Silver Lining Soaps. You can see an interview with Gwynne here. Gwynne is a part of our Facebook Group, Saponification Nation and is continually posting the most adorable, colorful and bright soaps.
In this project, she shows us how to embed cold process and melt and pour embeds into cold process soap. The fun thing about this project is that we always have scraps and one-off bars laying around. This is a great way to use them up!
So let’s get started! -Amanda Aaron

If you are new to soapmaking, please visit our basic soapmaking series on YouTube to learn more!
Hybrid Embed Soap – CP & MP Into CP Soap
- Project type: Abstract Art CP & MP Embed Soap
- Estimated time to complete project: 2 hours
- Yield: 10 4-5 oz. bars
Supplies
- Soap making tools: stick blender, goggles, gloves, long sleeves/pants/shoes, scale, safe soaping area.
- 10” silicone loaf mold (Bramble Berry)
- Olive oil – 21 oz.
- Coconut oil – 10.5 oz.
- Castor oil – 1 oz.
- Distilled water – 10 oz.
- Lye – 4.8 oz.
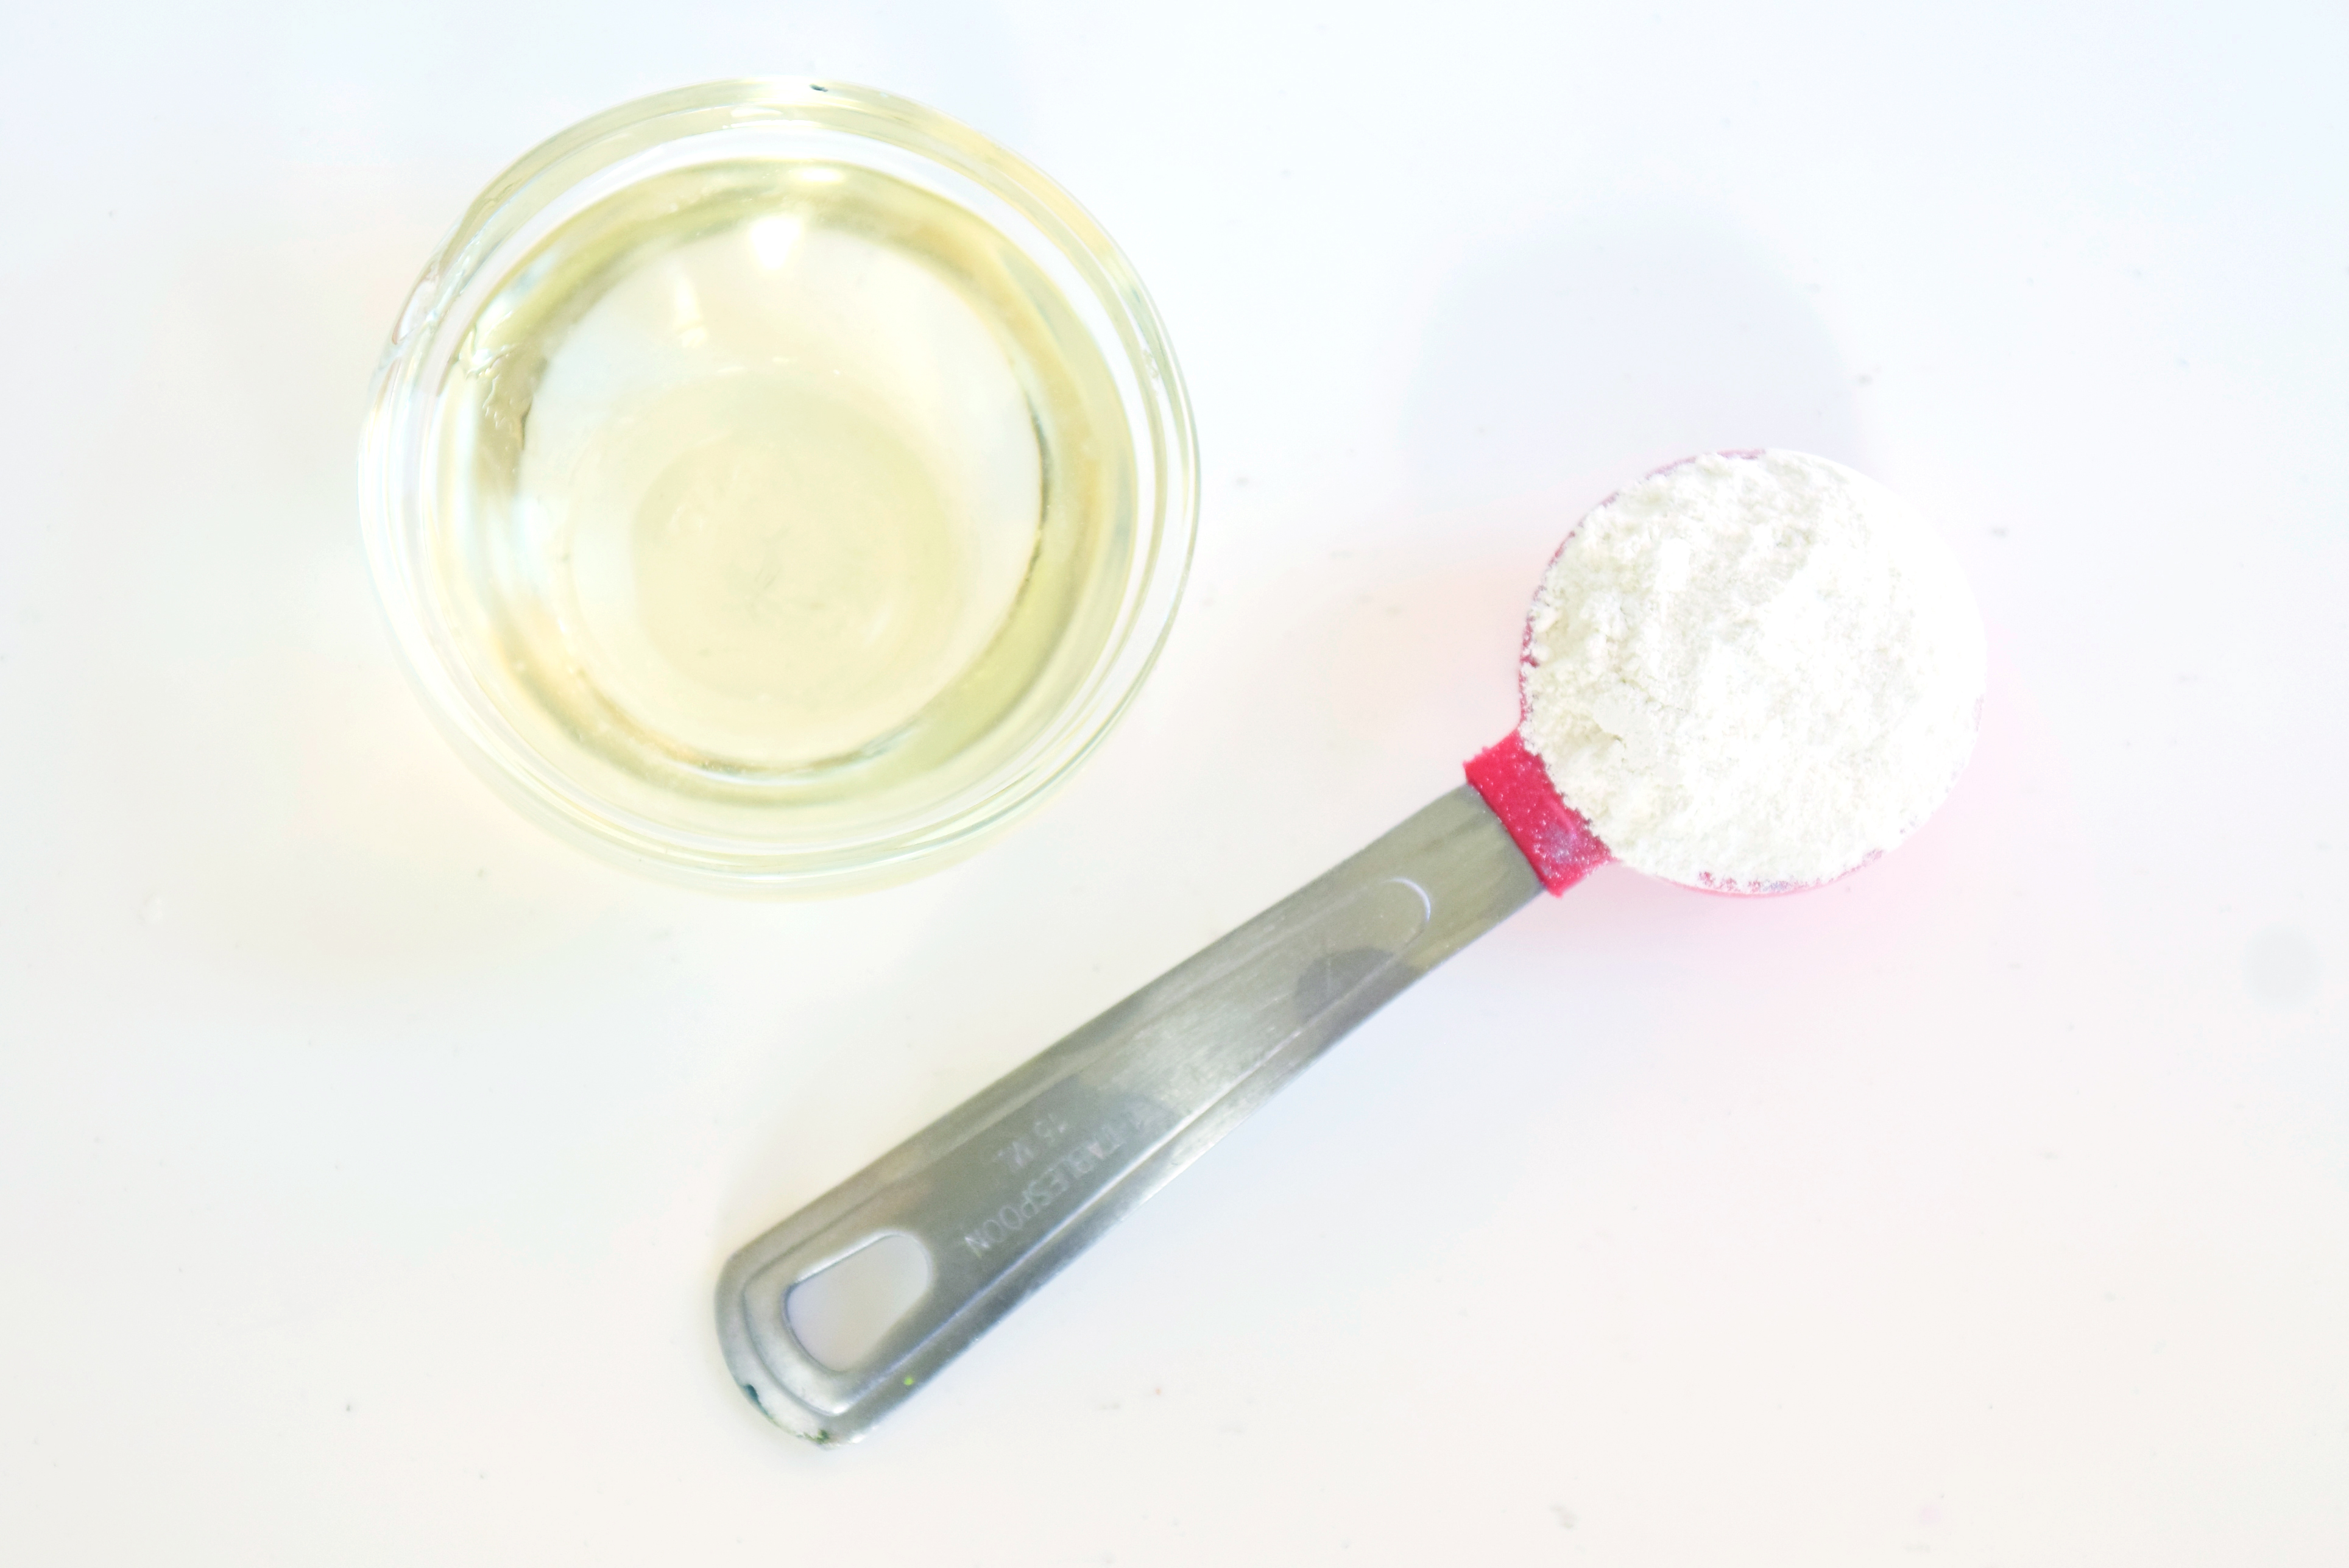
- Titanium dioxide – 4 tablespoons
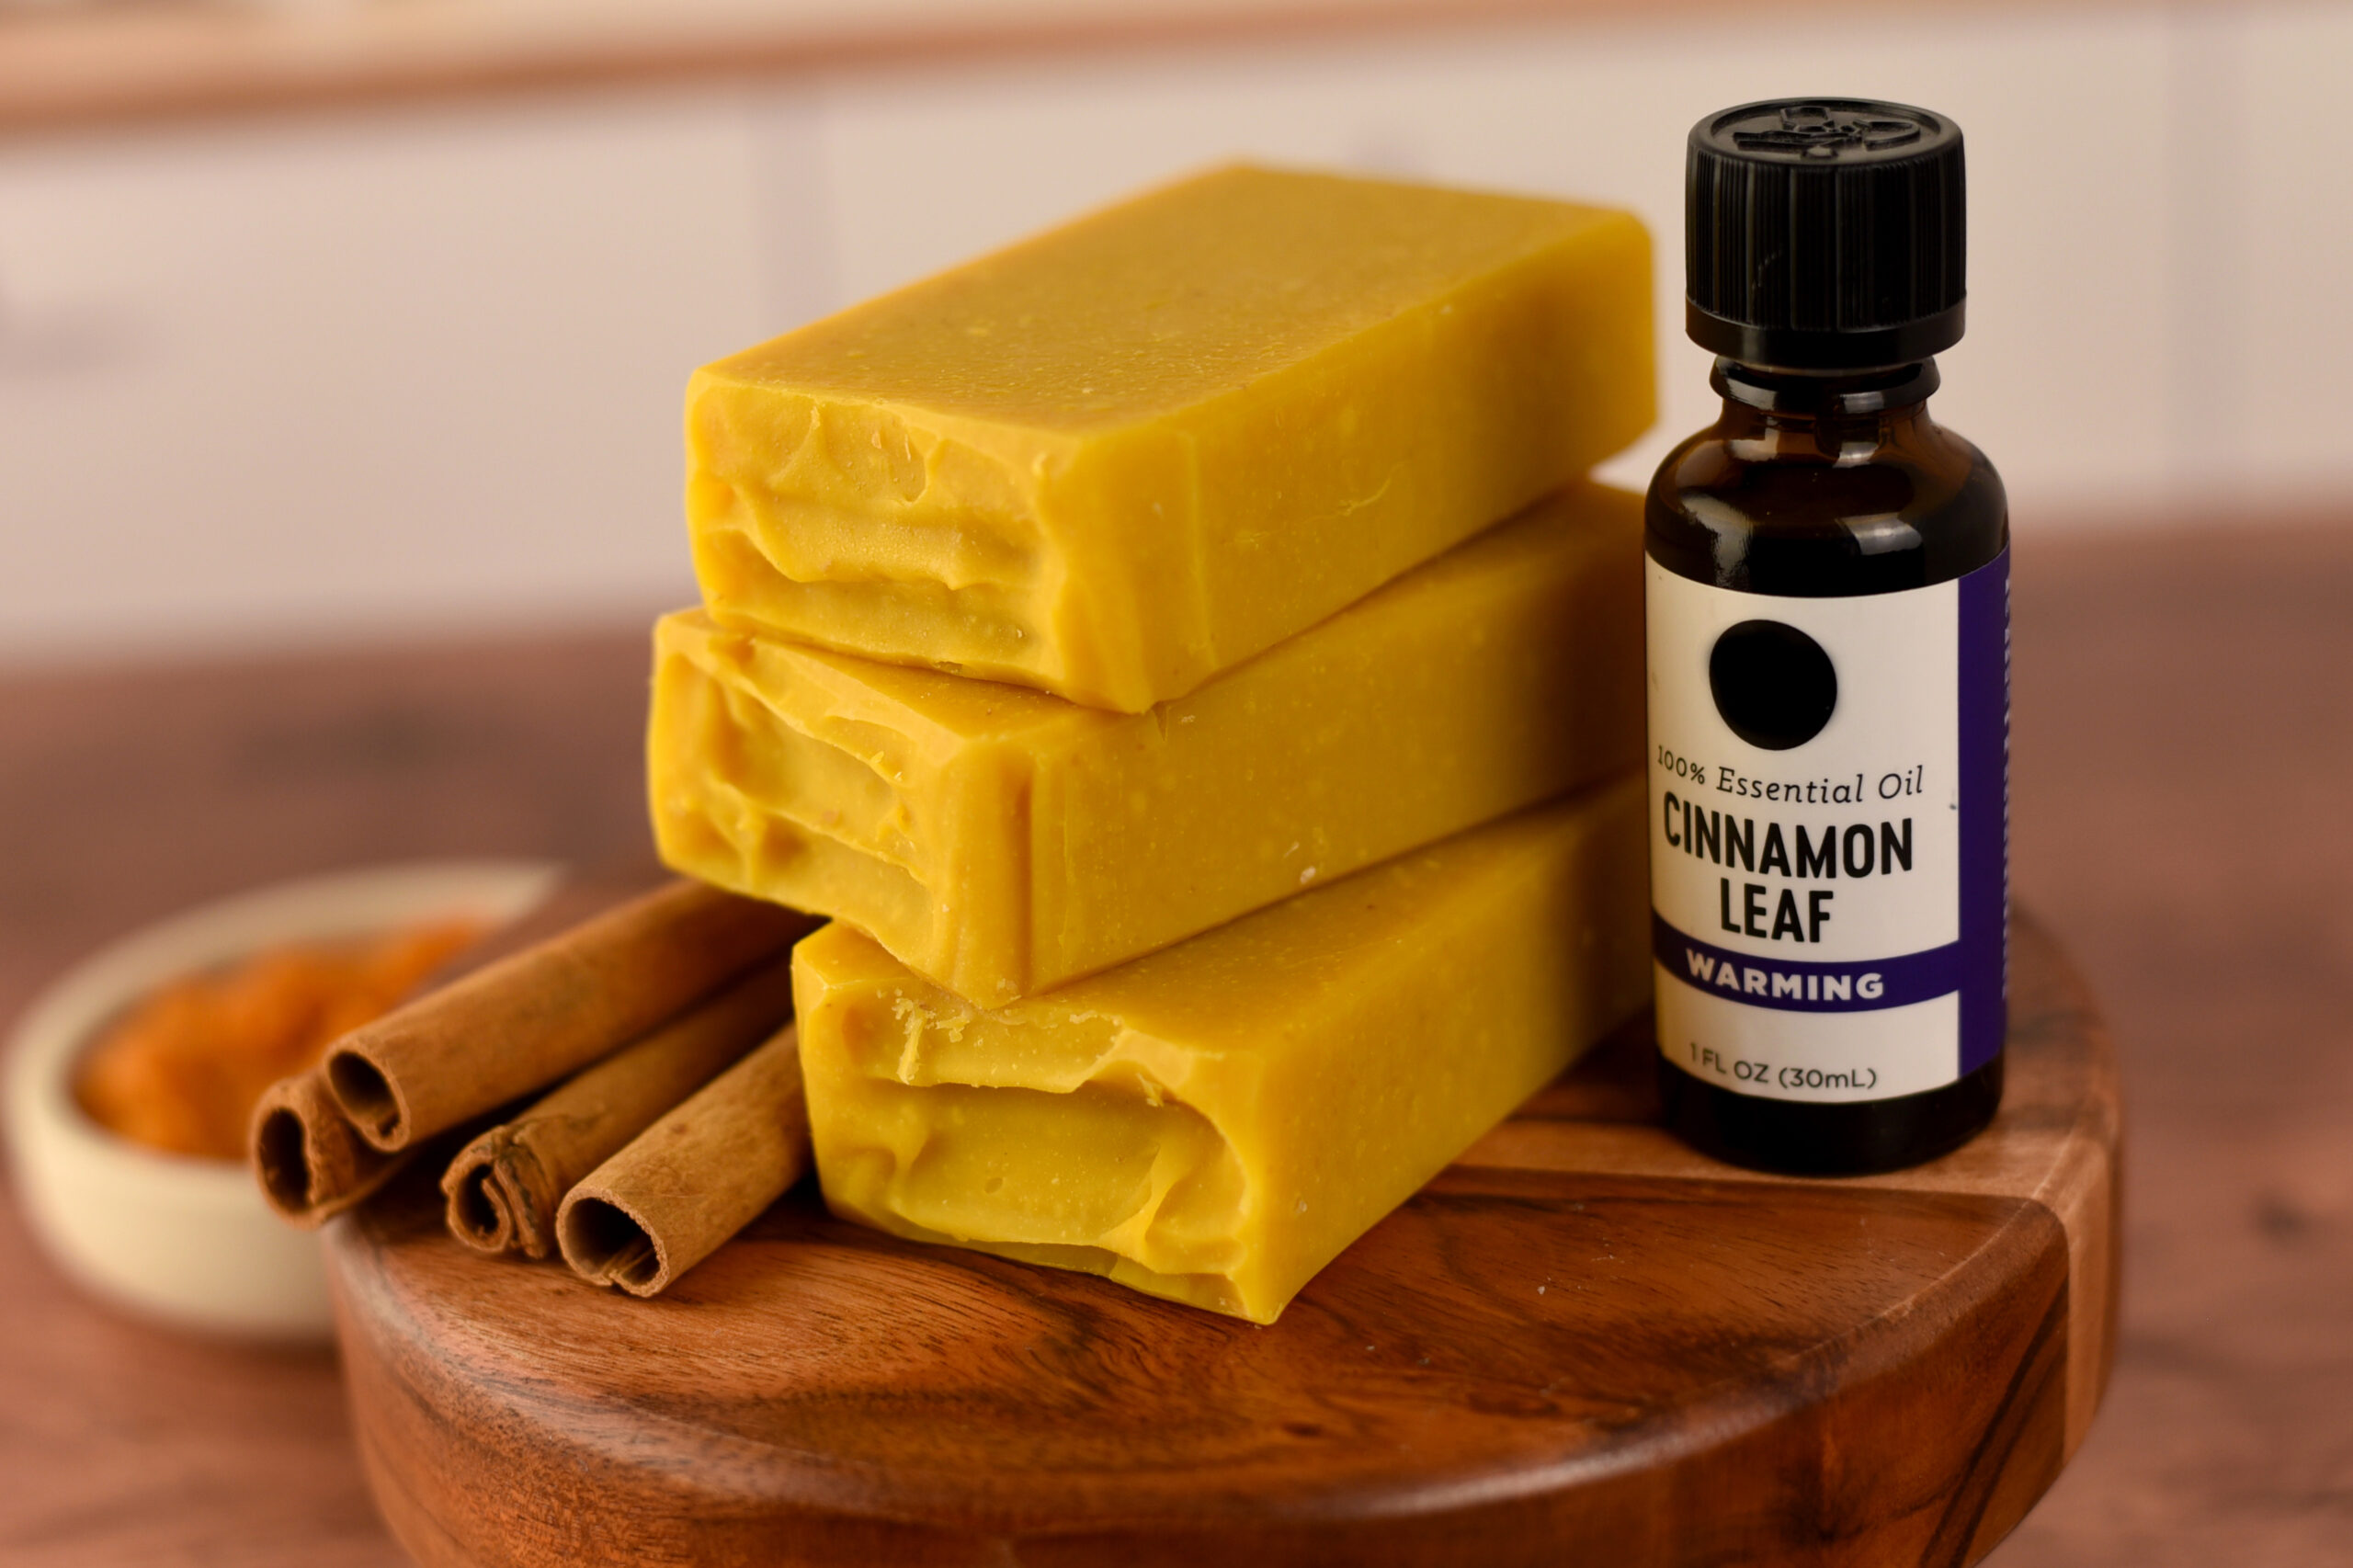
- Lavender 20/40 essential oil – 2 oz.
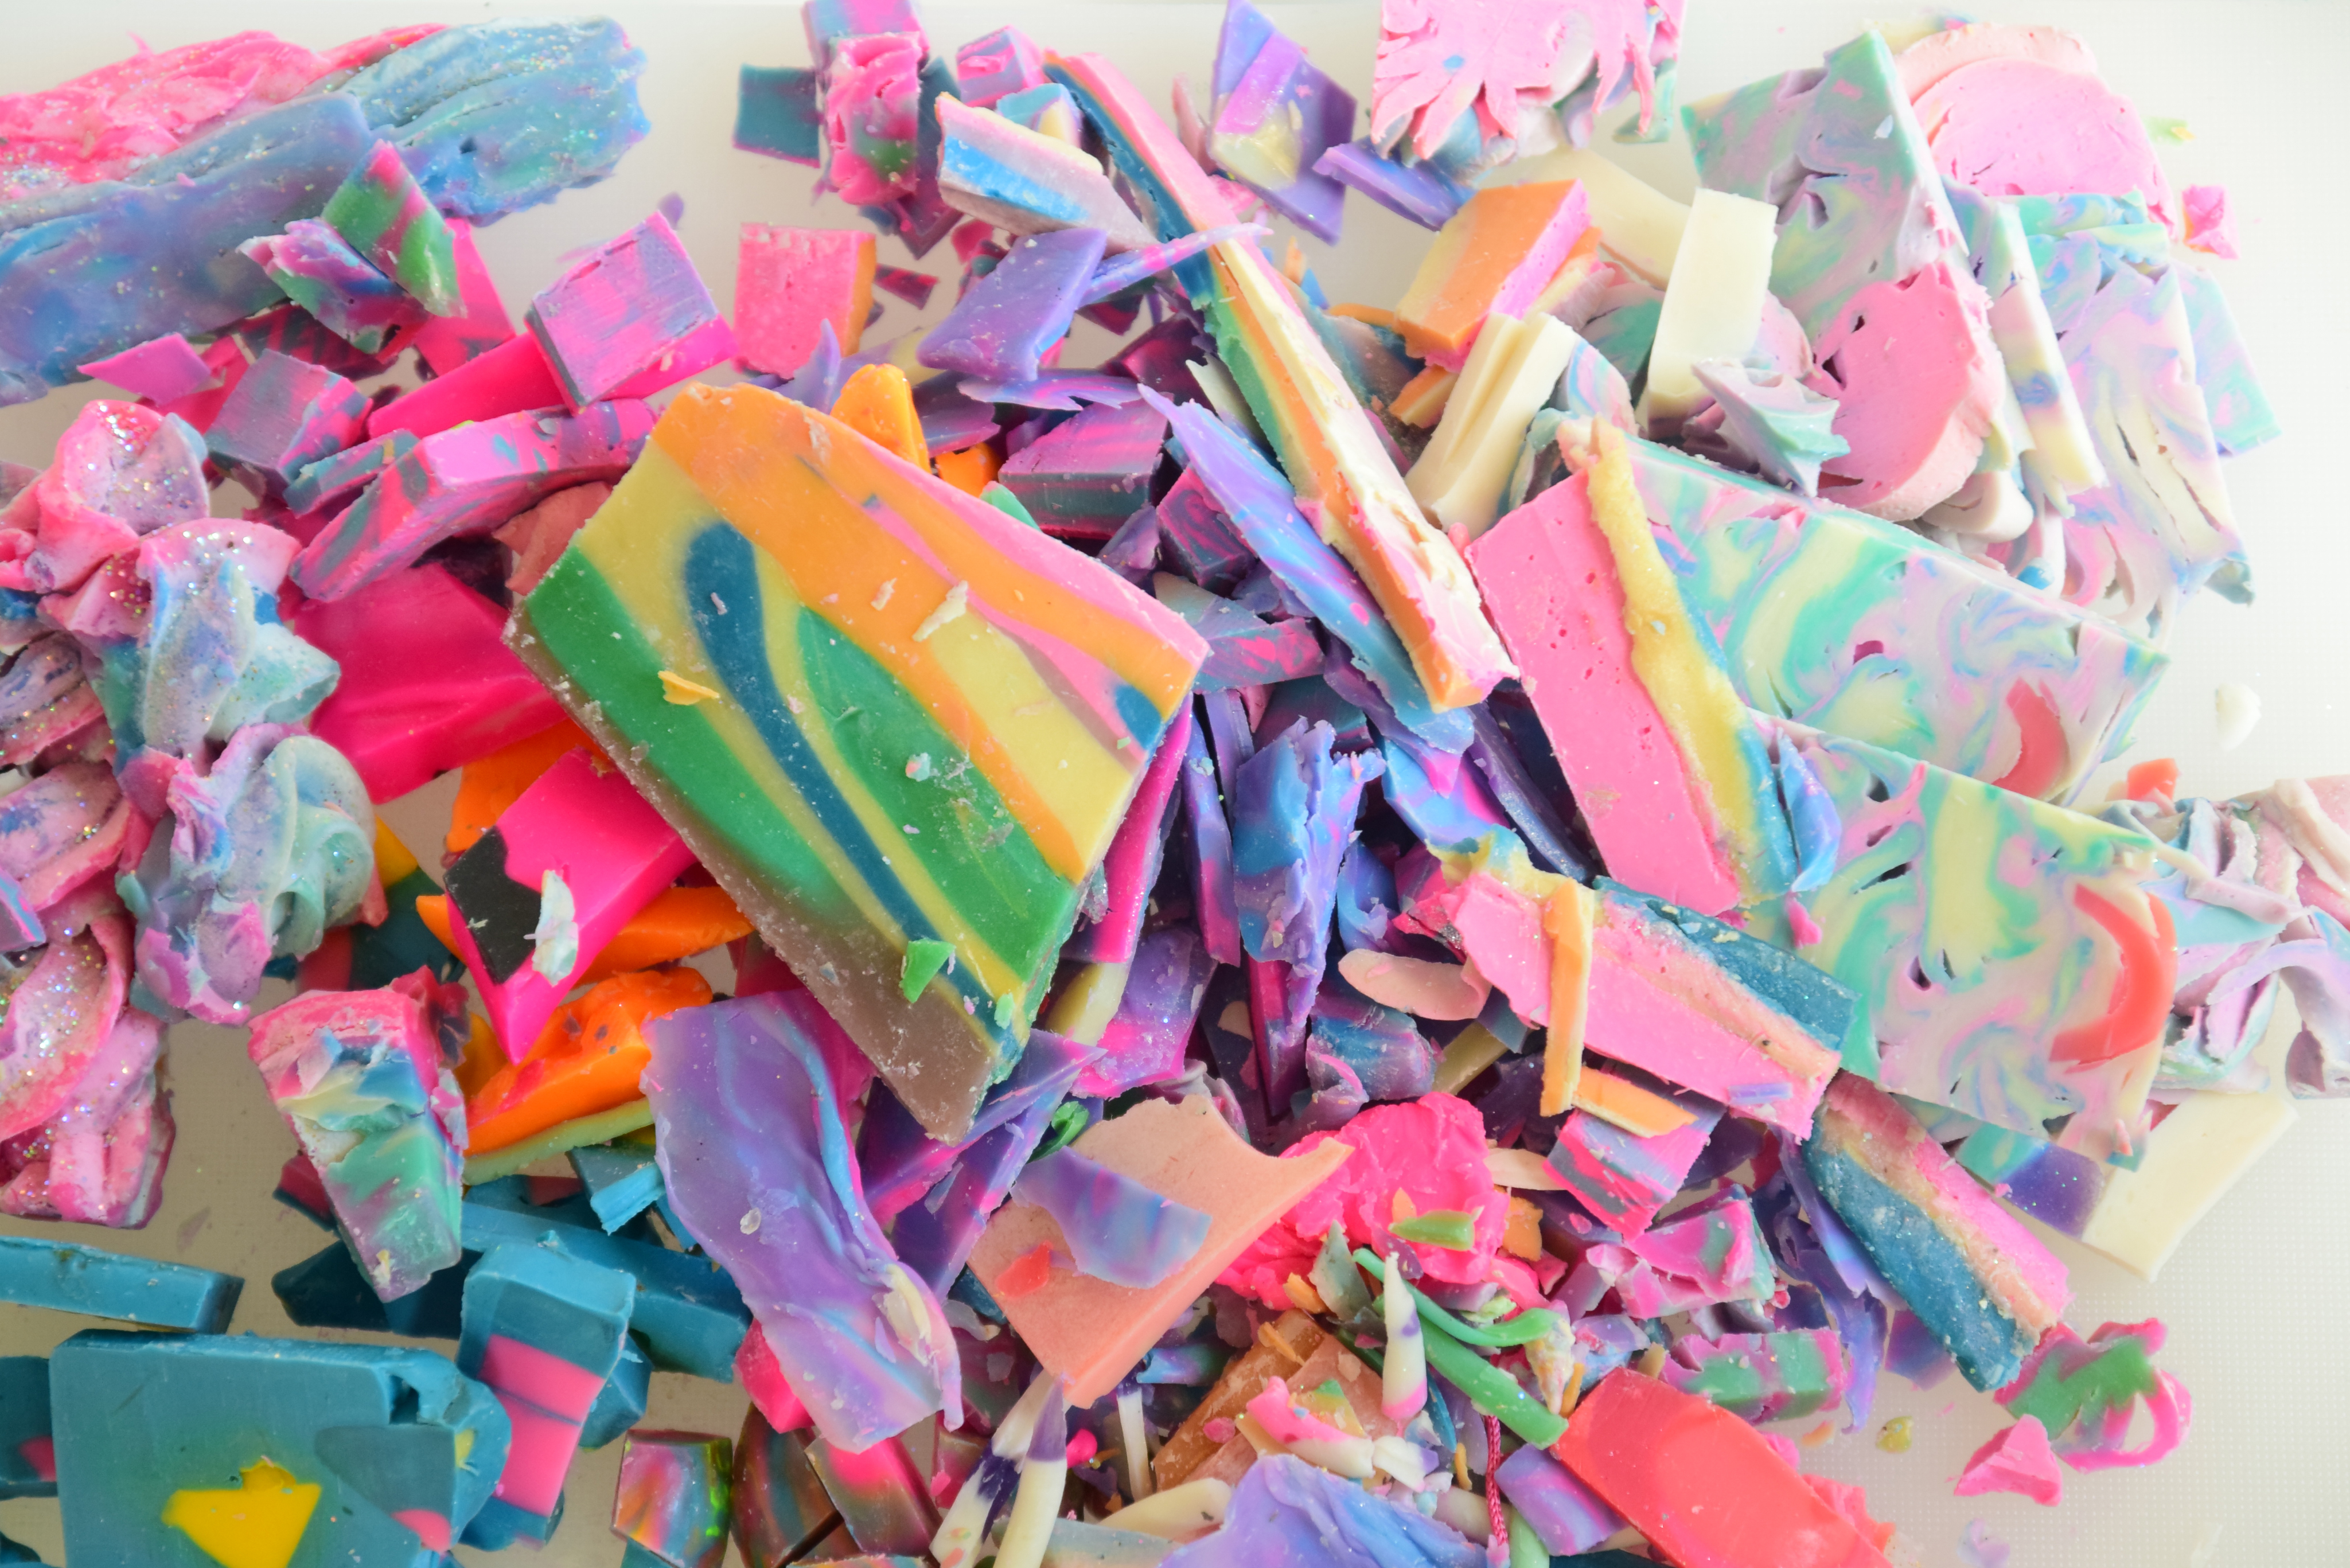
- Cold process and melt and pour soap scraps – 3-4 cups
Instructions
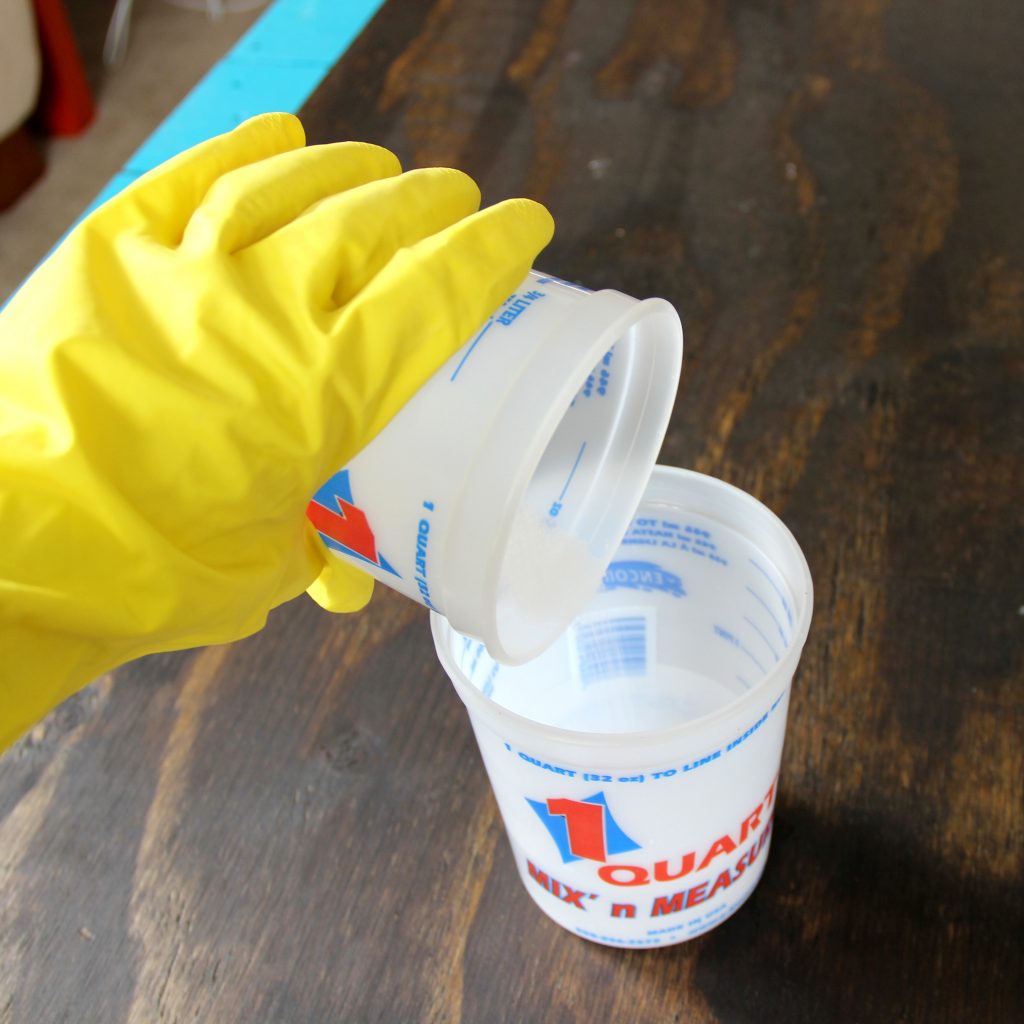
SAFETY FIRST: Gear up for safe lye handling. Wear a face mask, goggles, and gloves. Make sure kids pets are out of the way.
Since this soap has melt and pour embeds that tend to melt in high heat, we will be soaping at room temp. We do not want to gel this soap; so we will not be insulating it.
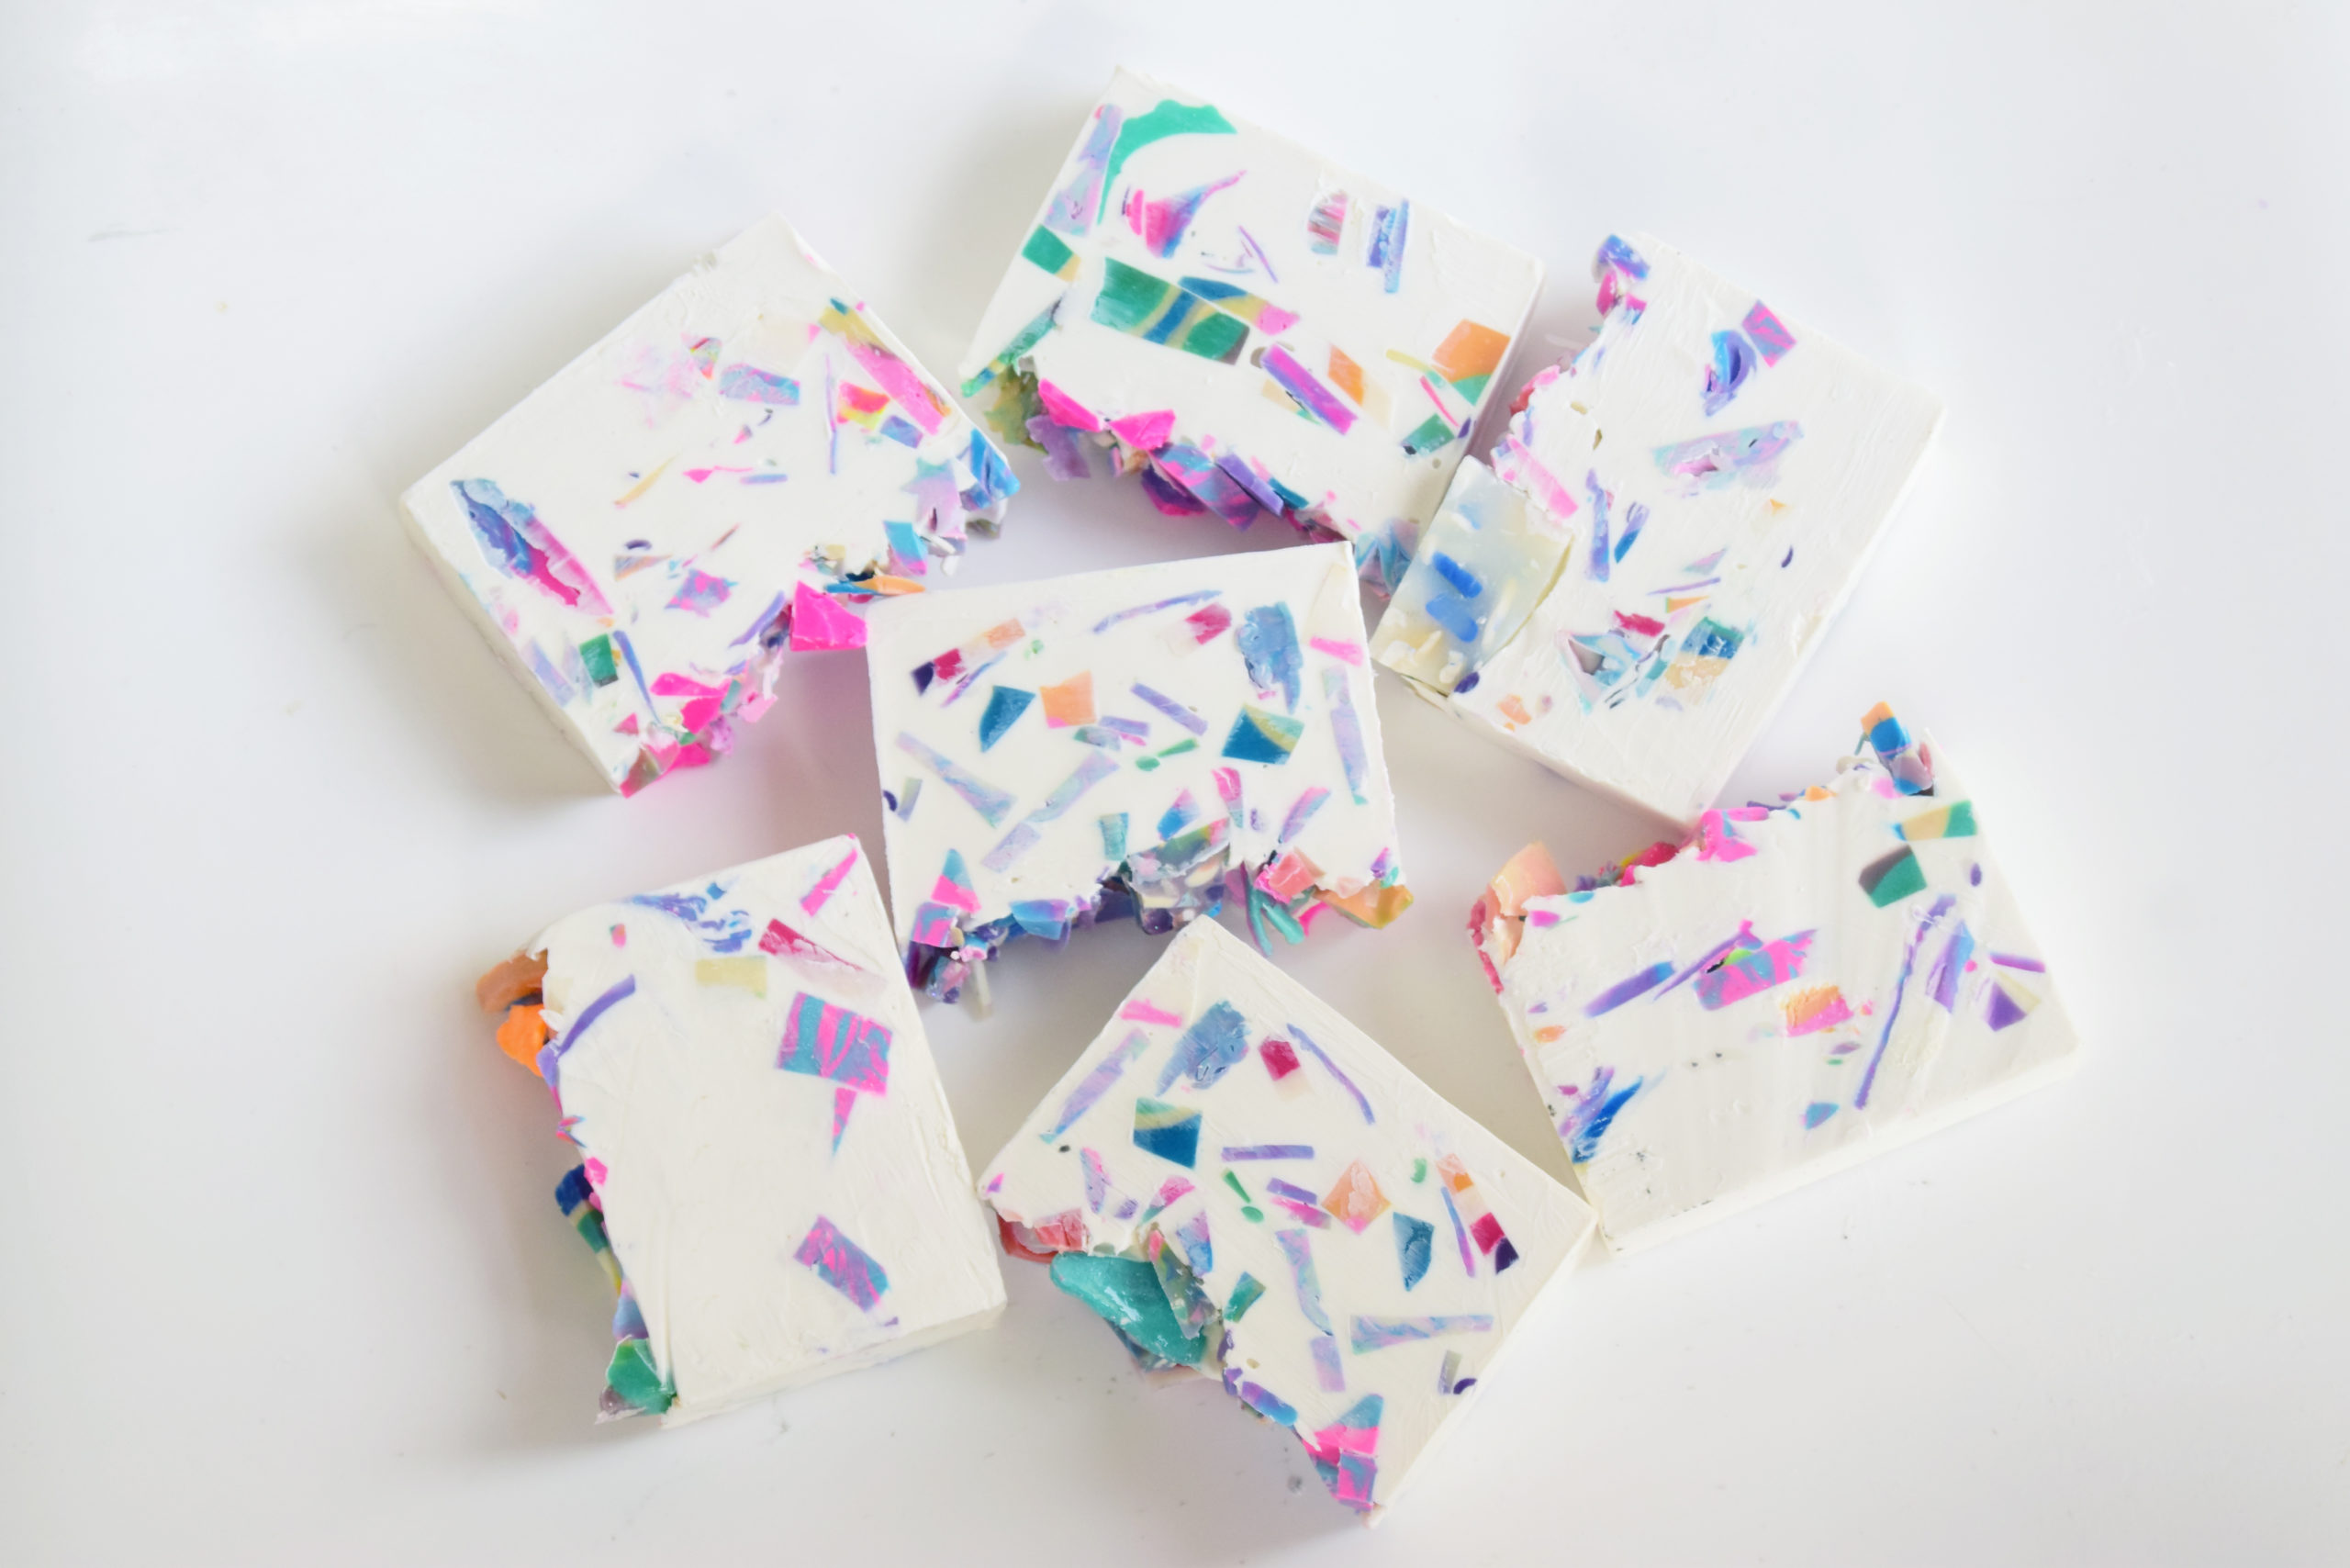
Step 1: Cut up your extra soap scraps into various shapes and sizes. I try not to think too hard about this and cut them as randomly as possible. Long pieces, short ones, choppy, shreds – The more variation in size and shape, the more interesting soap you’ll create.

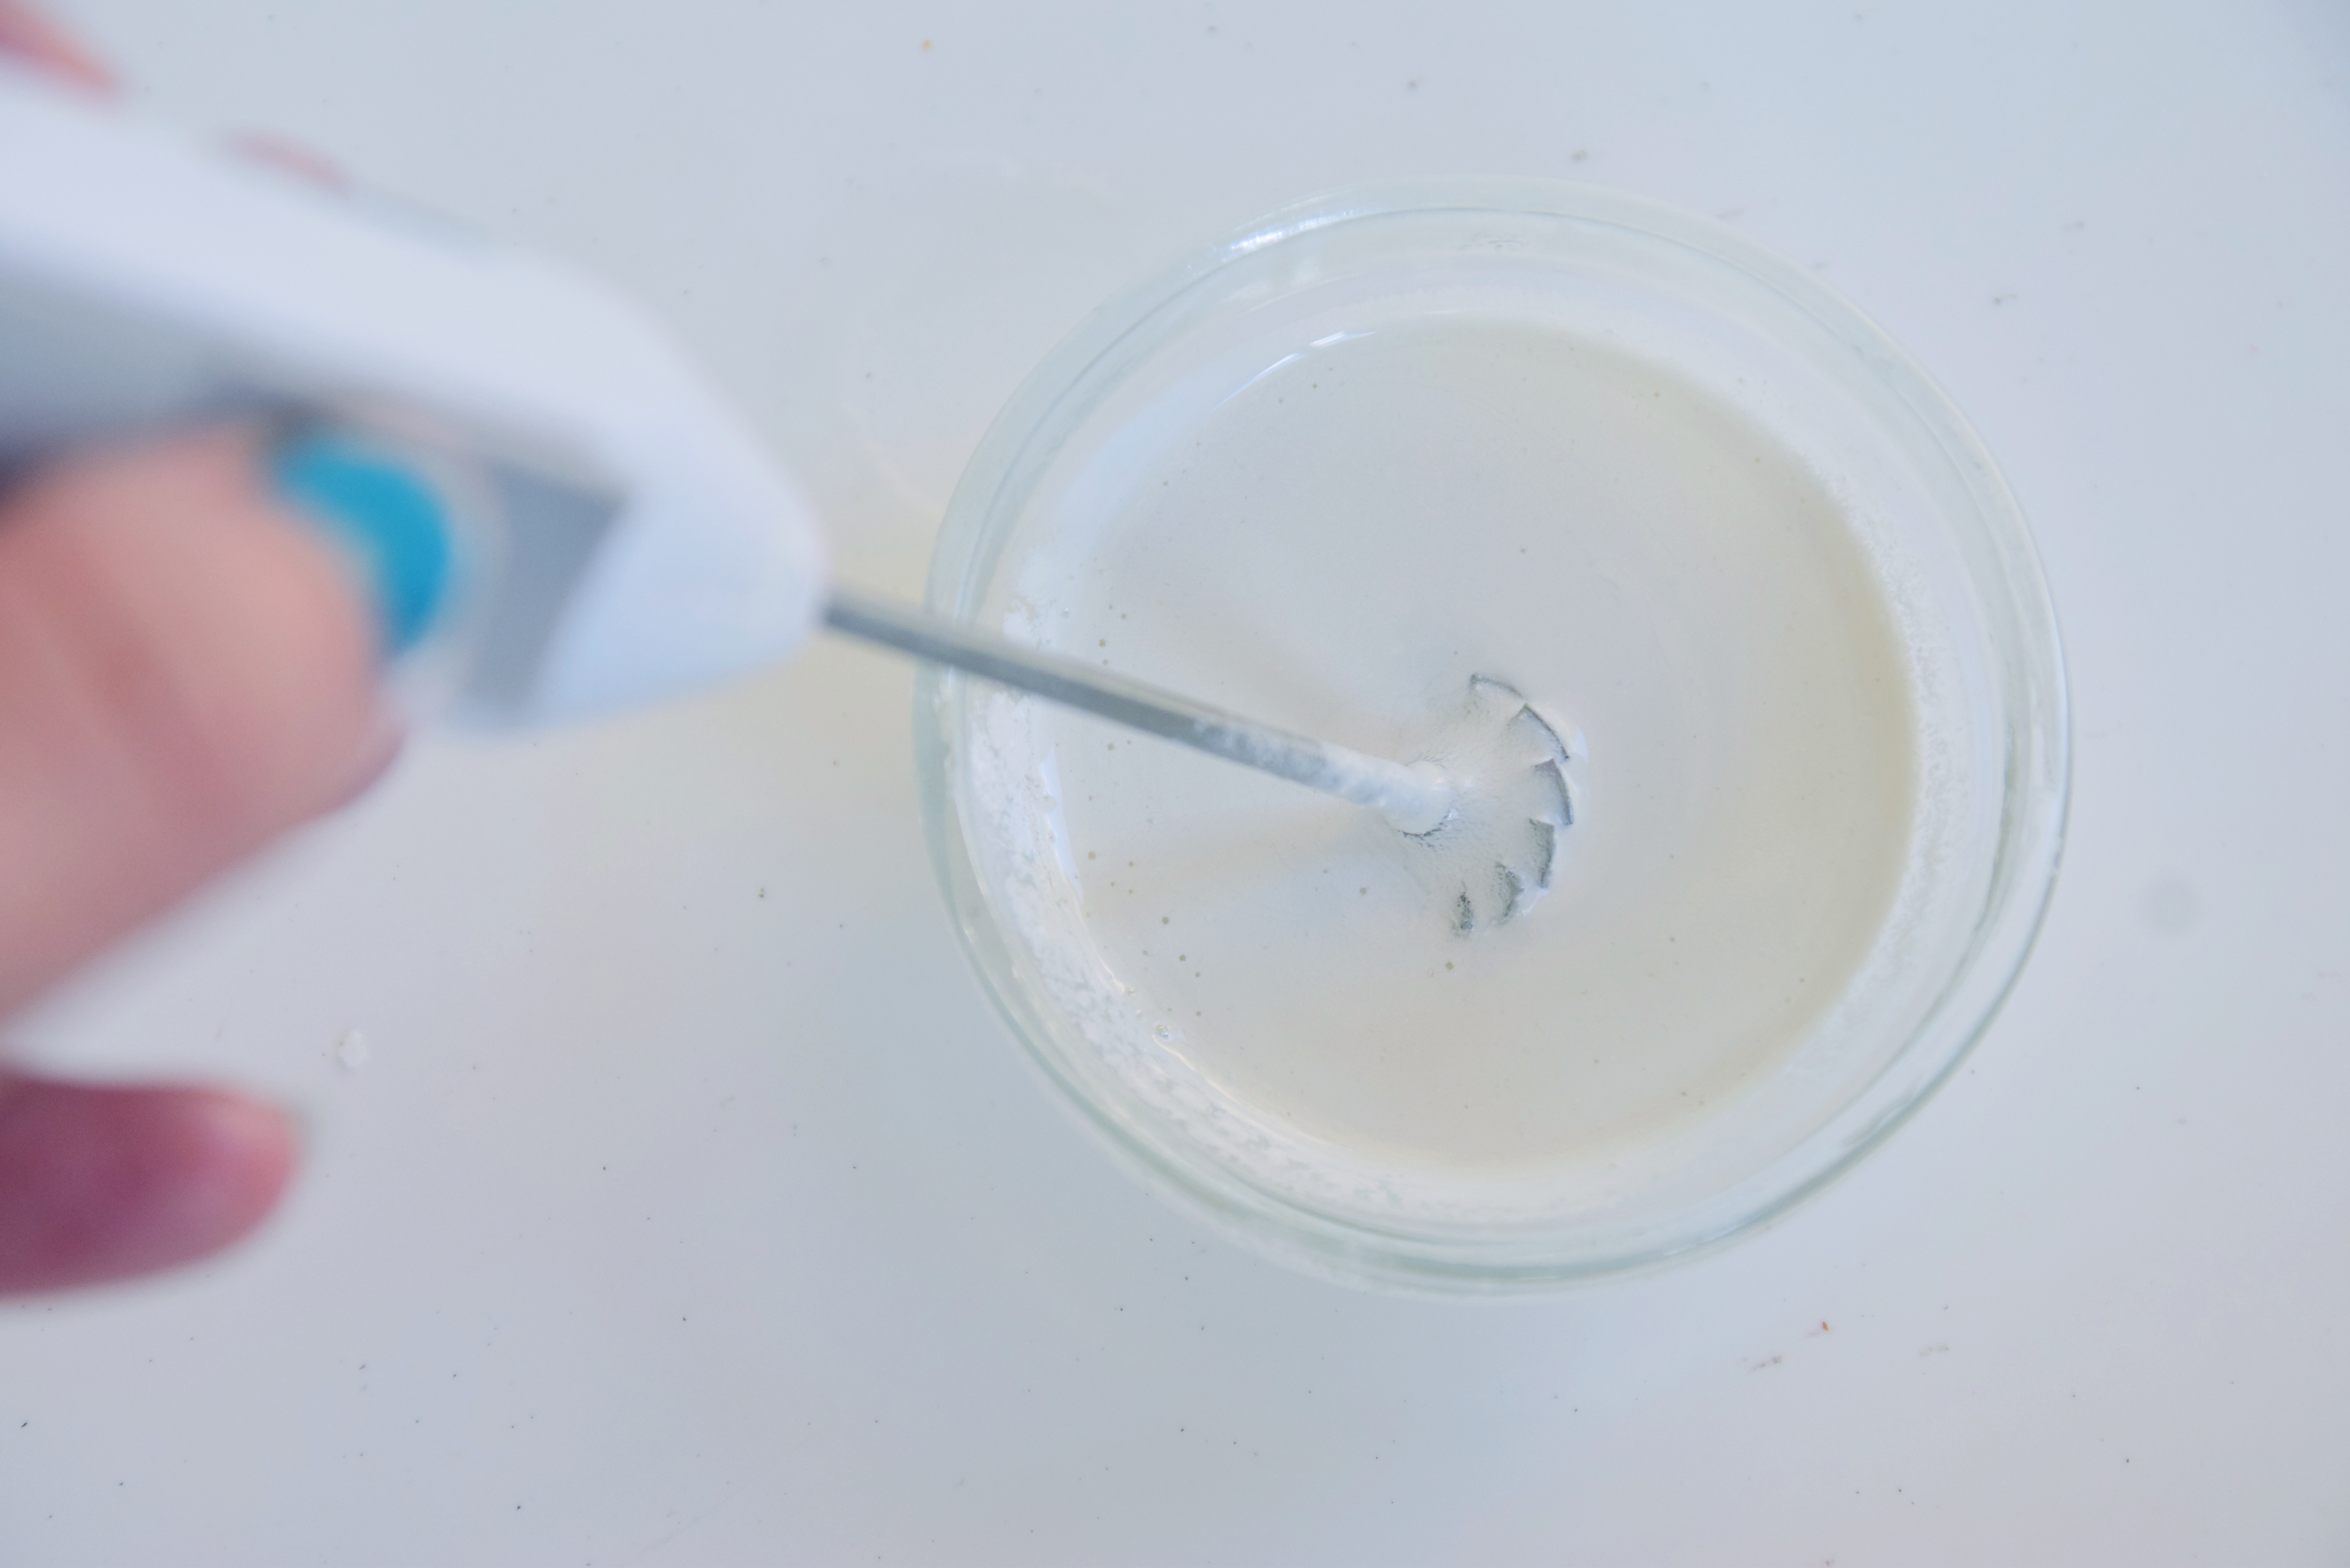
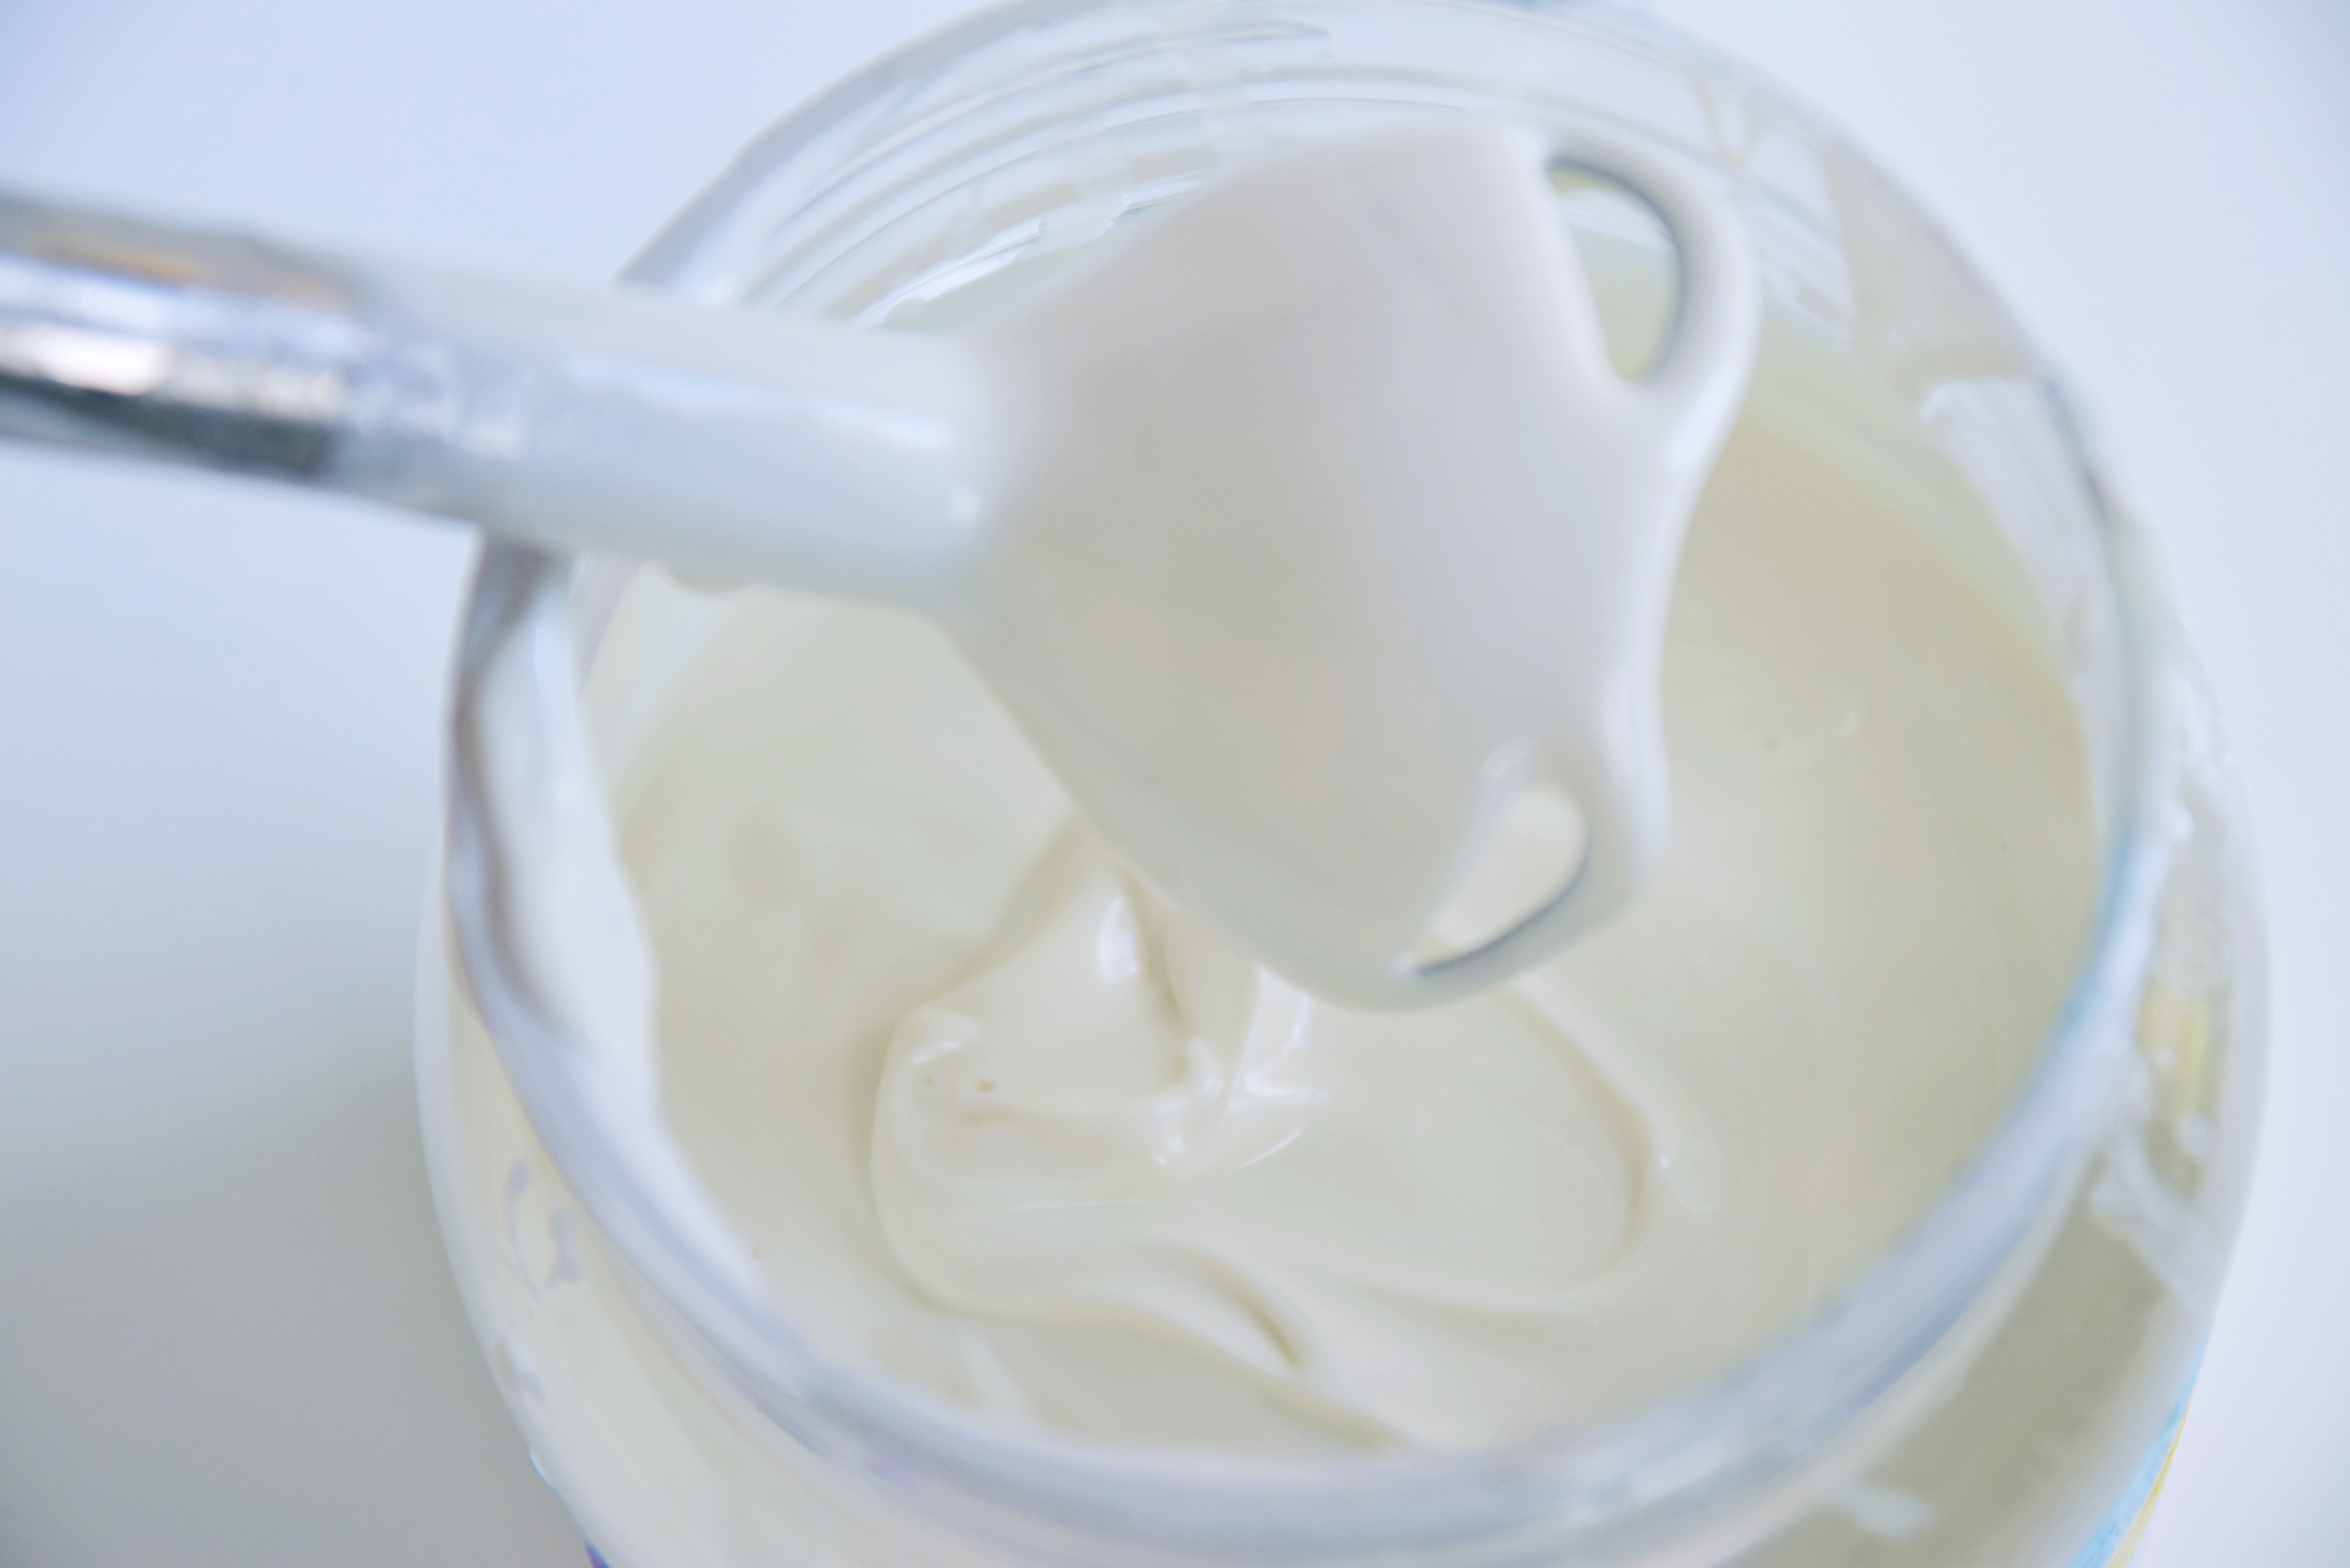
Step 2: With a mini mixer, blend 3 tablespoons of titanium dioxide into 3 oz. of coconut oil taken from your recipe oils. I use a lot of oil to mix it with because its easier to get rid of clumps.
Tip: Make the titanium dioxide and oil mixture 2-3 days prior which helps with getting rid of clumps. You can also micronize the titanium dioxide with a coffee grinder before you add the oil.
All safety gear should be worn form this point on.
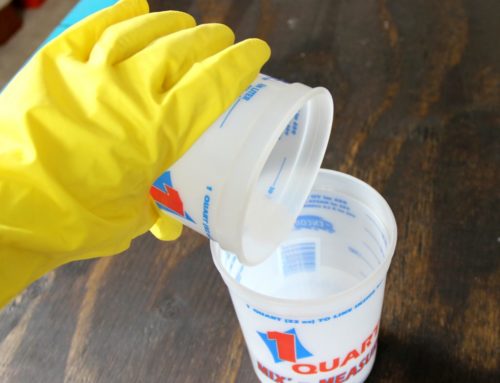
Step 3: Carefully add your lye to your distilled water. LYE INTO WATER! Never the other way around. Slowly stir until the lye has dissolved. Set aside, cool to room temp.
Step 4: Weigh out your essential oil or fragrance oil of choice. (Use a fragrance calculator to find how much you will need). I used lavender essential oil because it does not accelerate or discolor.
Tip: If you want your soap to stay white, definitely use a fragrance oil that has no vanillin in it. Otherwise, this soap will eventually turn yellow. Certain essential oils are yellow or orange so be careful about which ones you use.
Step 5: Weigh out your soap base oils, minus the amount of coconut oil you used to mix the titanium dioxide. Do not heat your oils unless your coconut oil is solid. If solid, heat until just melted. I live in Florida so my coconut oil is rarely ever solid; but if your environment is cold, you may need to heat it up a bit.
Step 6: Carefully and slowly add your room temp lye mixture to the base oils. Blend with your stick blender to light trace.
Step 7: Add the titanium dioxide/oil mixture to your base oils and blend again until just incorporated.
Step 8: Add your fragrance or essential oil and stick blend until you achieve medium trace. (The consistency of pudding). We want the soap batter to be semi-thick so the embeds don’t sink to the bottom, but not so solid that you can’t move anything around. We will be arranging and stirring the embeds around.
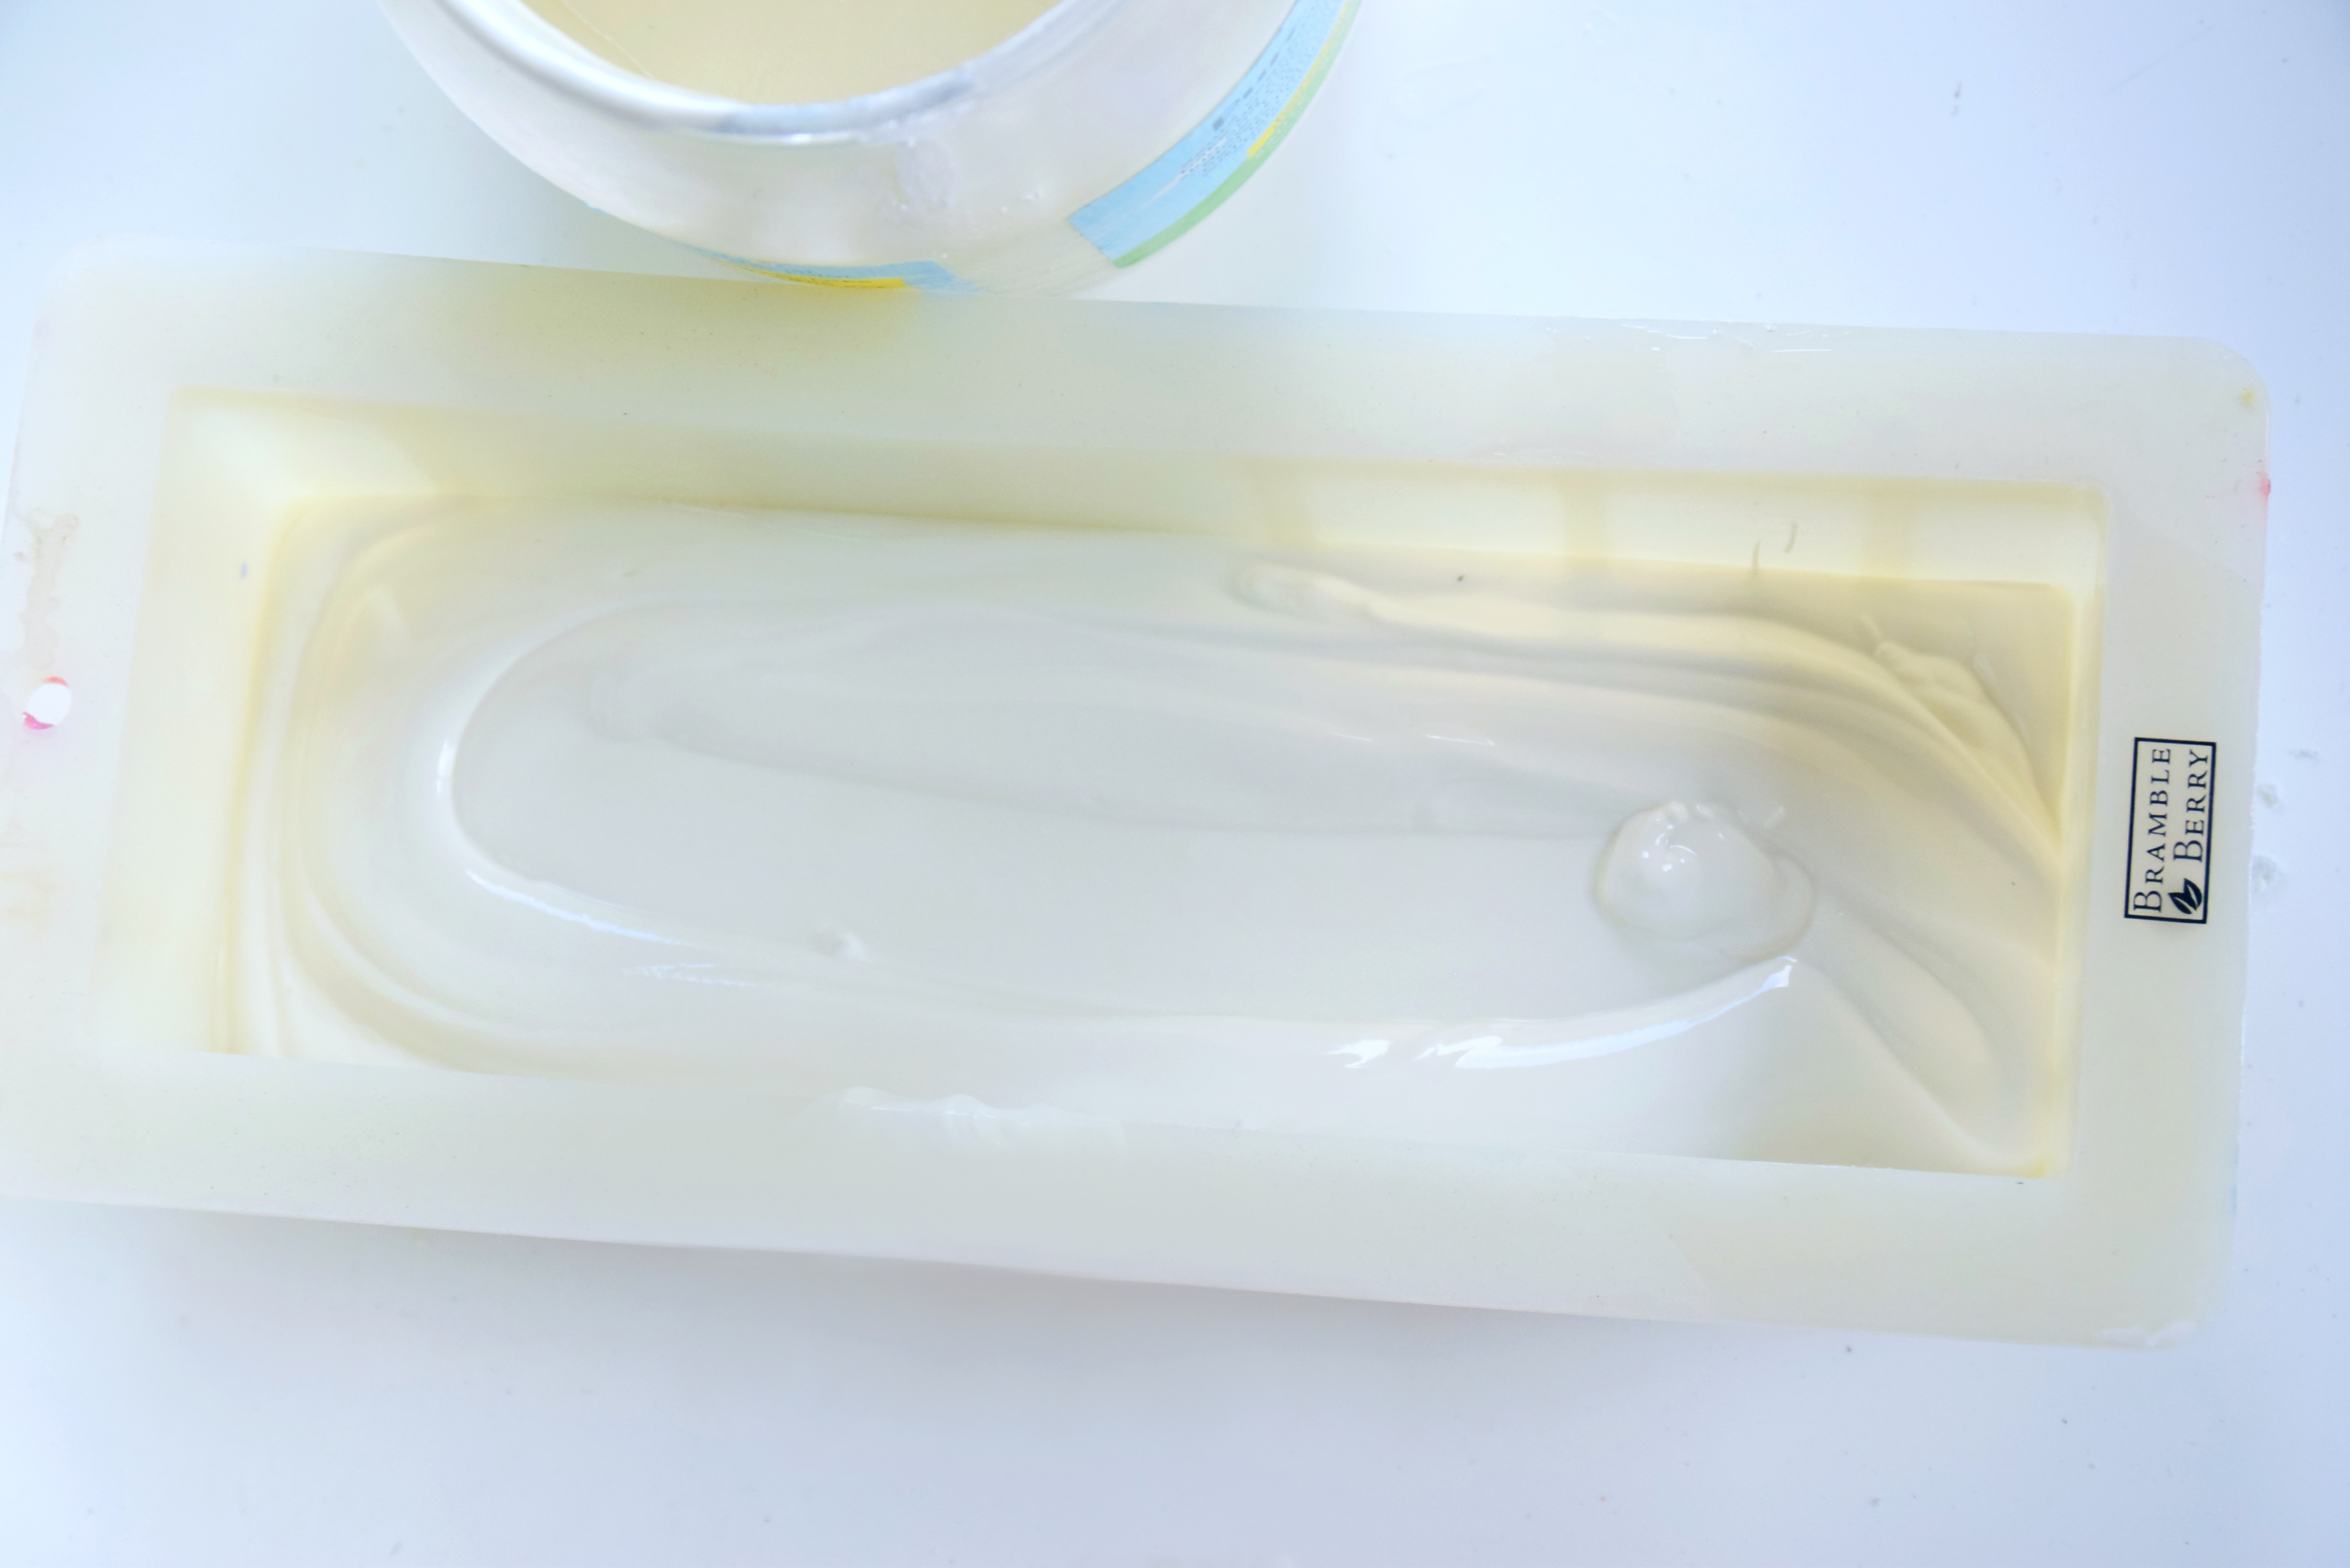
Step 8: Pour soap batter into your mold so it covers just the bottom, about 1/2 inch high.
Step 9: Add enough of your soap embeds to cover the soap.
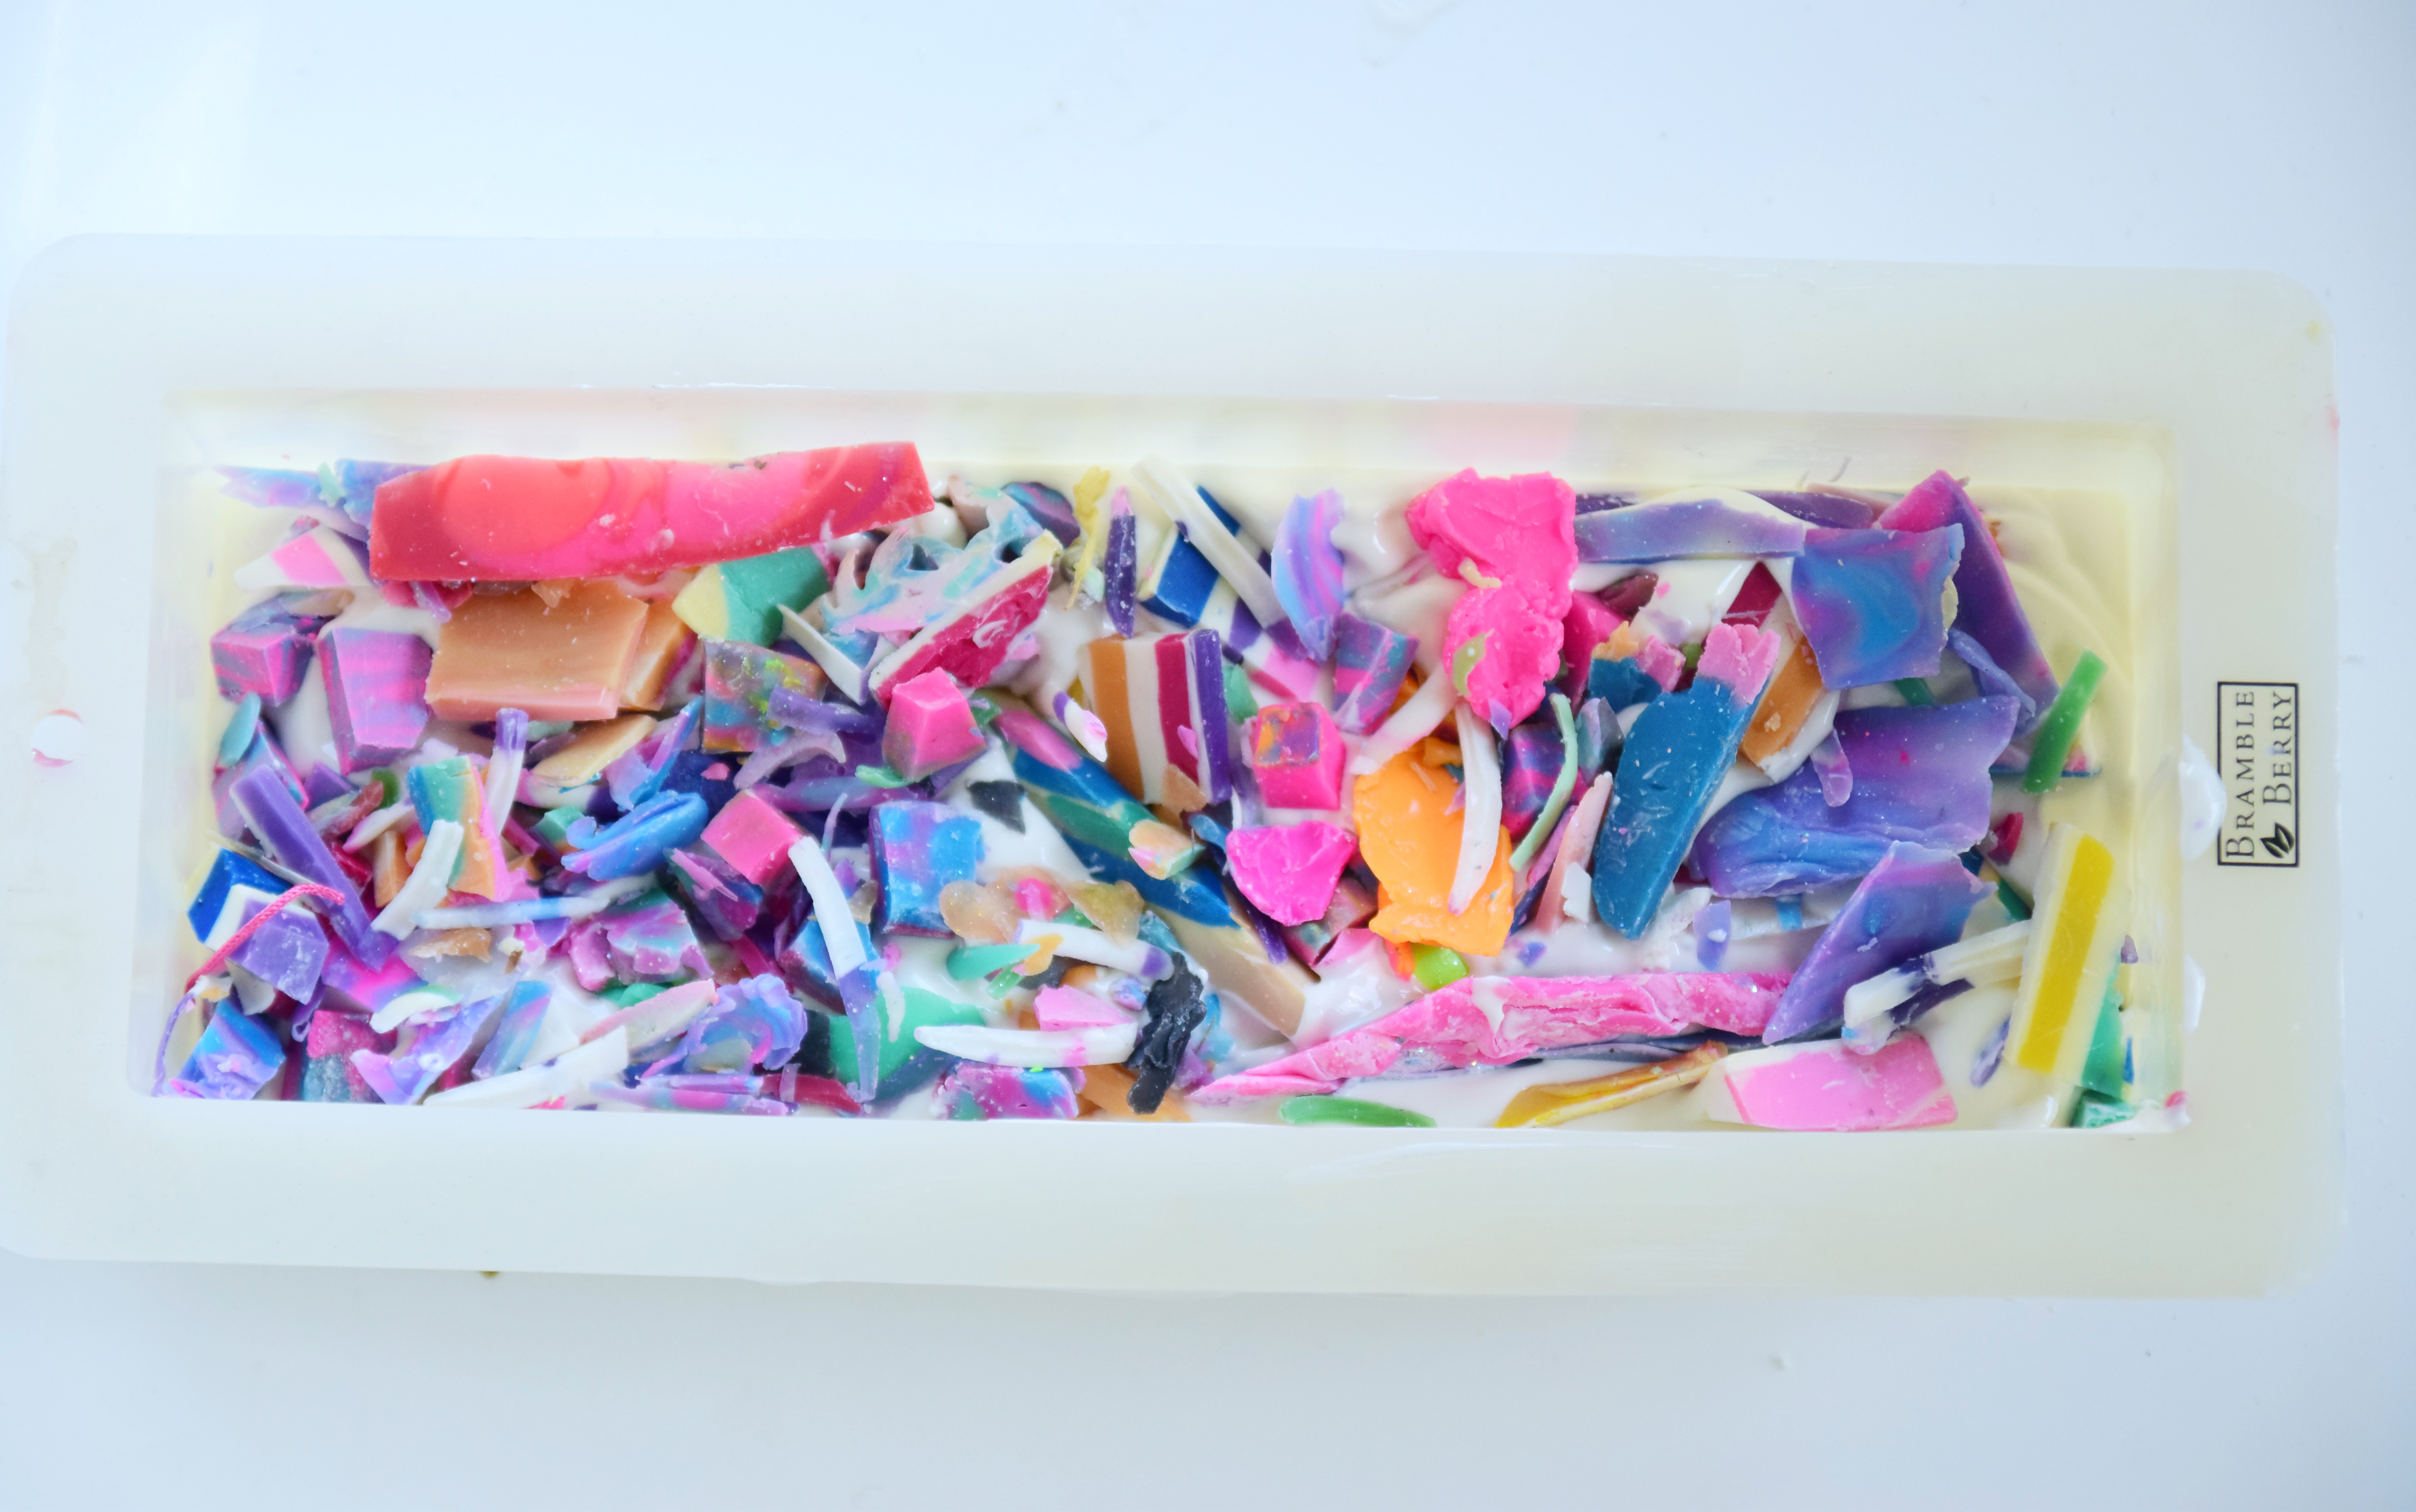
Step 10: Lightly stir so the embeds are coated in soap. Tap the bottom of mold on a hard surface to get rid of any air bubbles.
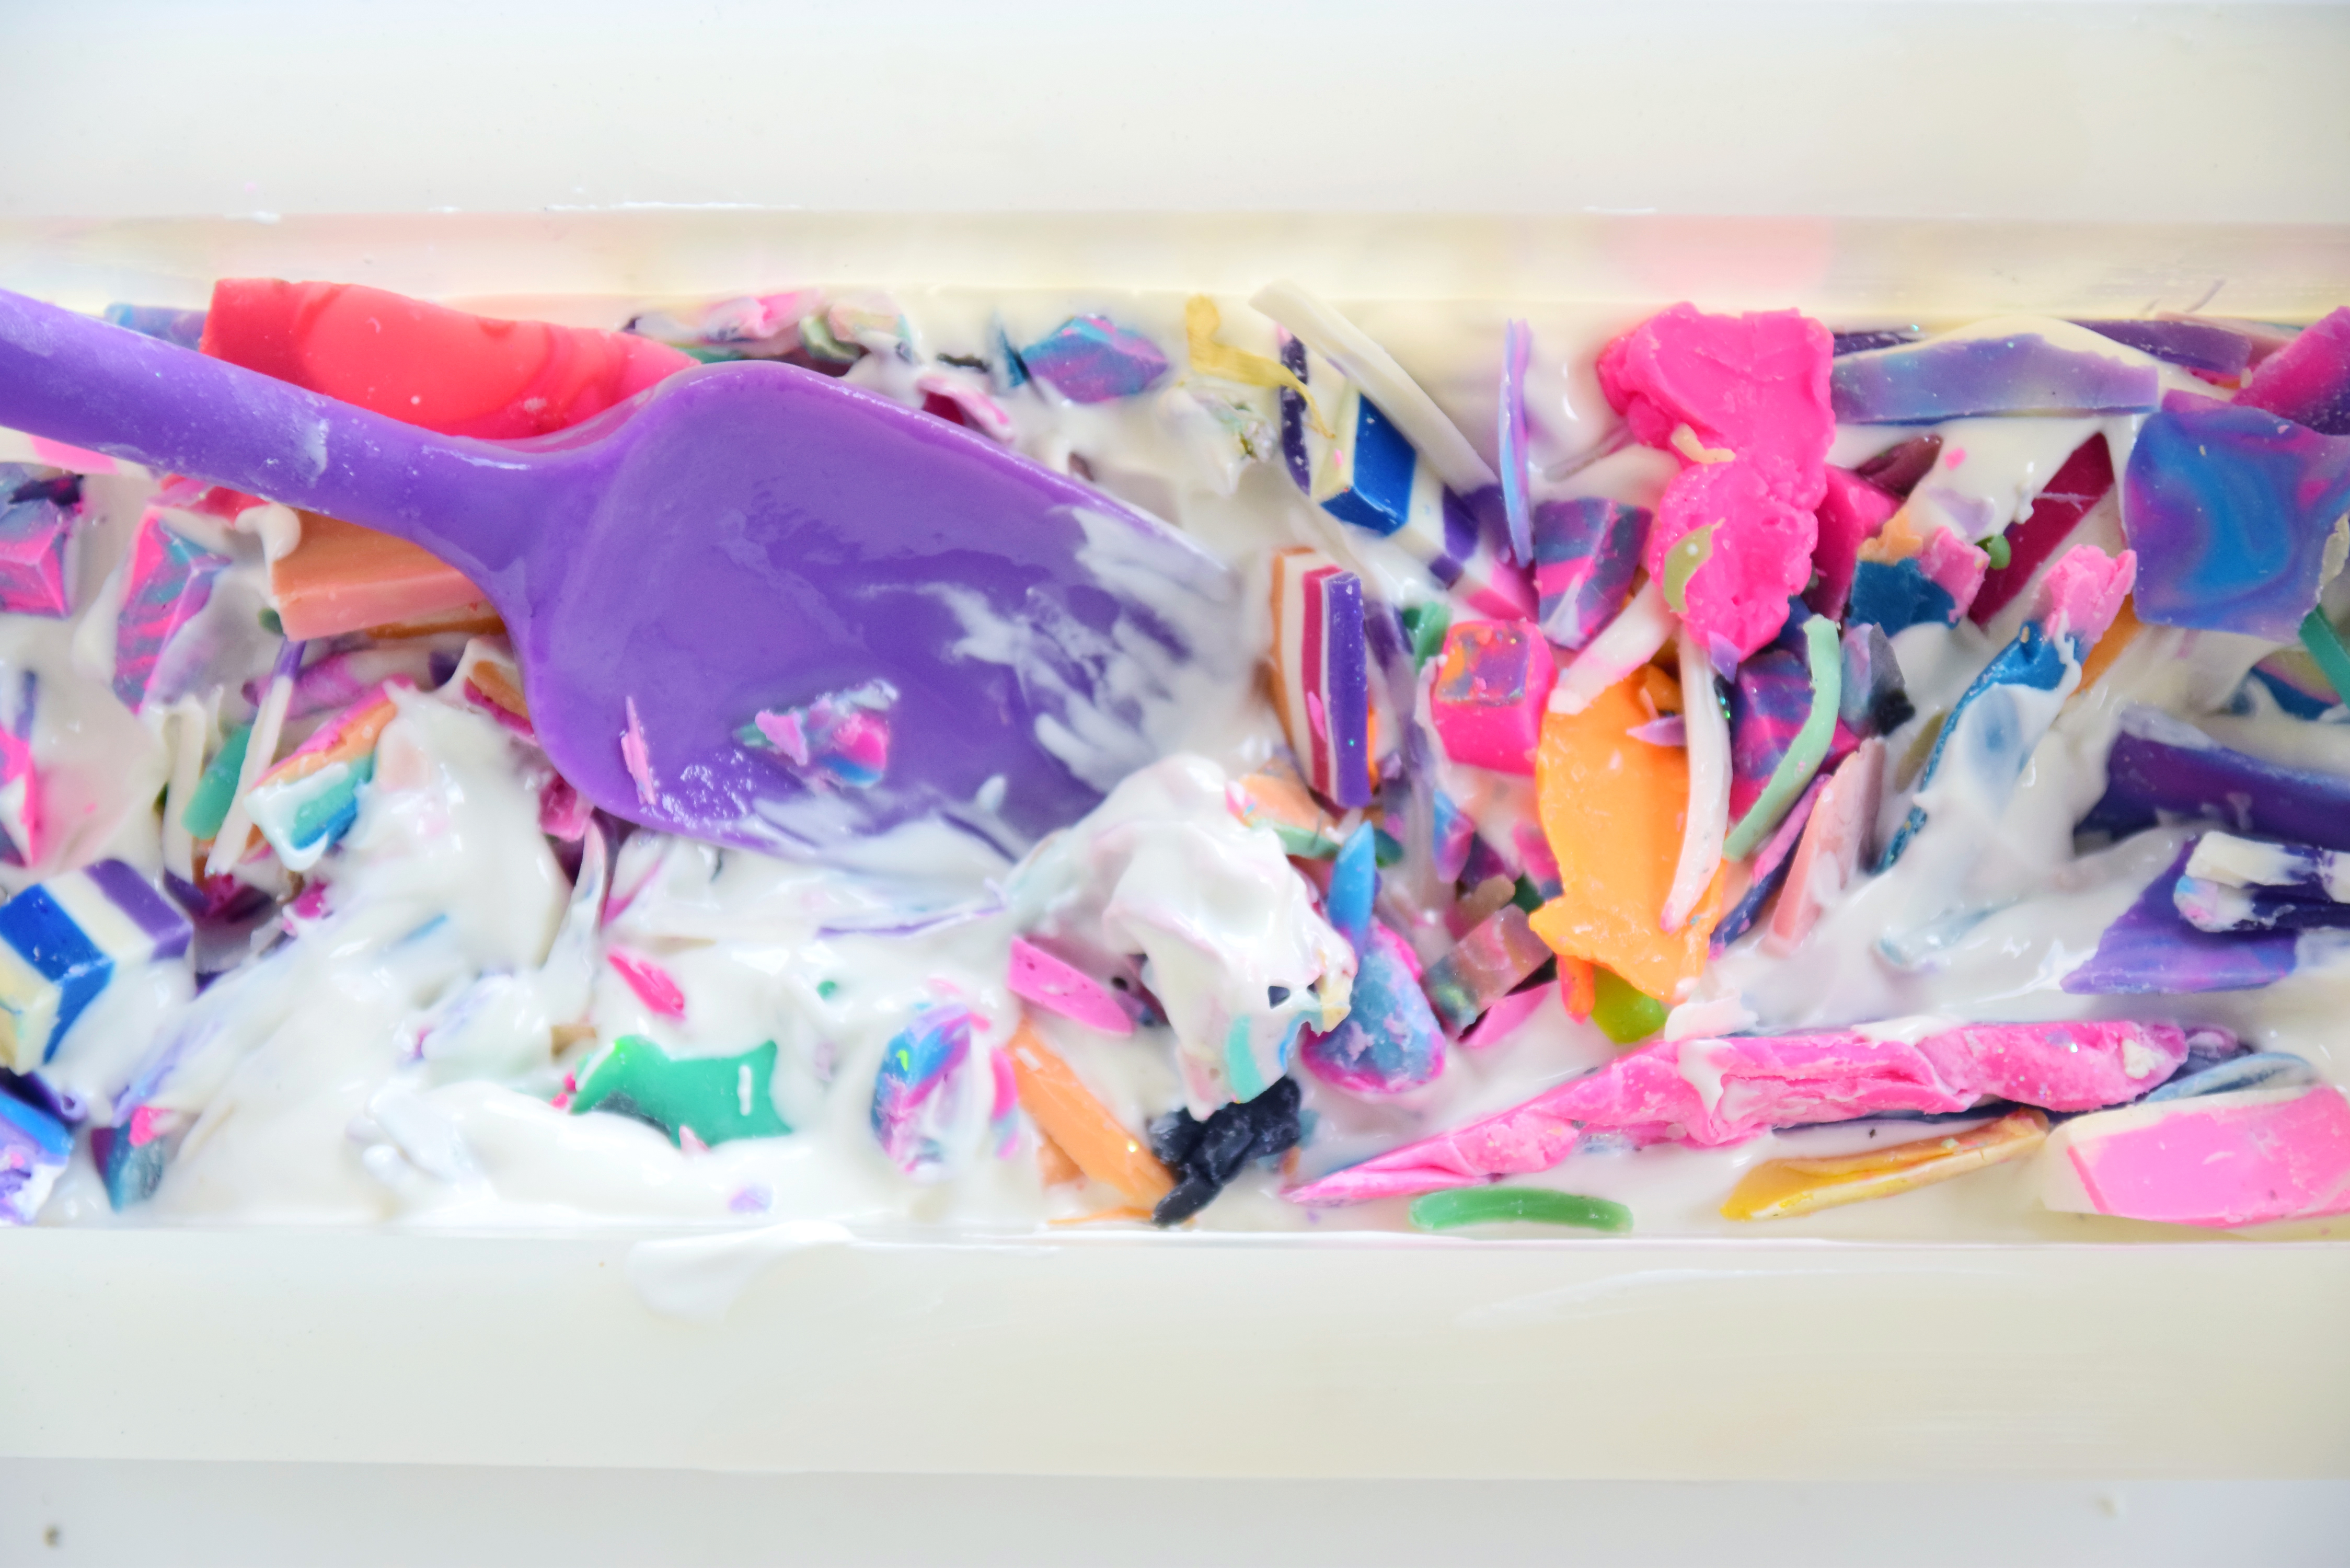
Step 11: Pour more soap batter into the mold, then add more embeds. Stir around to even out the embeds out and tap down. Repeat until the mold is full. I made about 3 layers before my mold was filled.
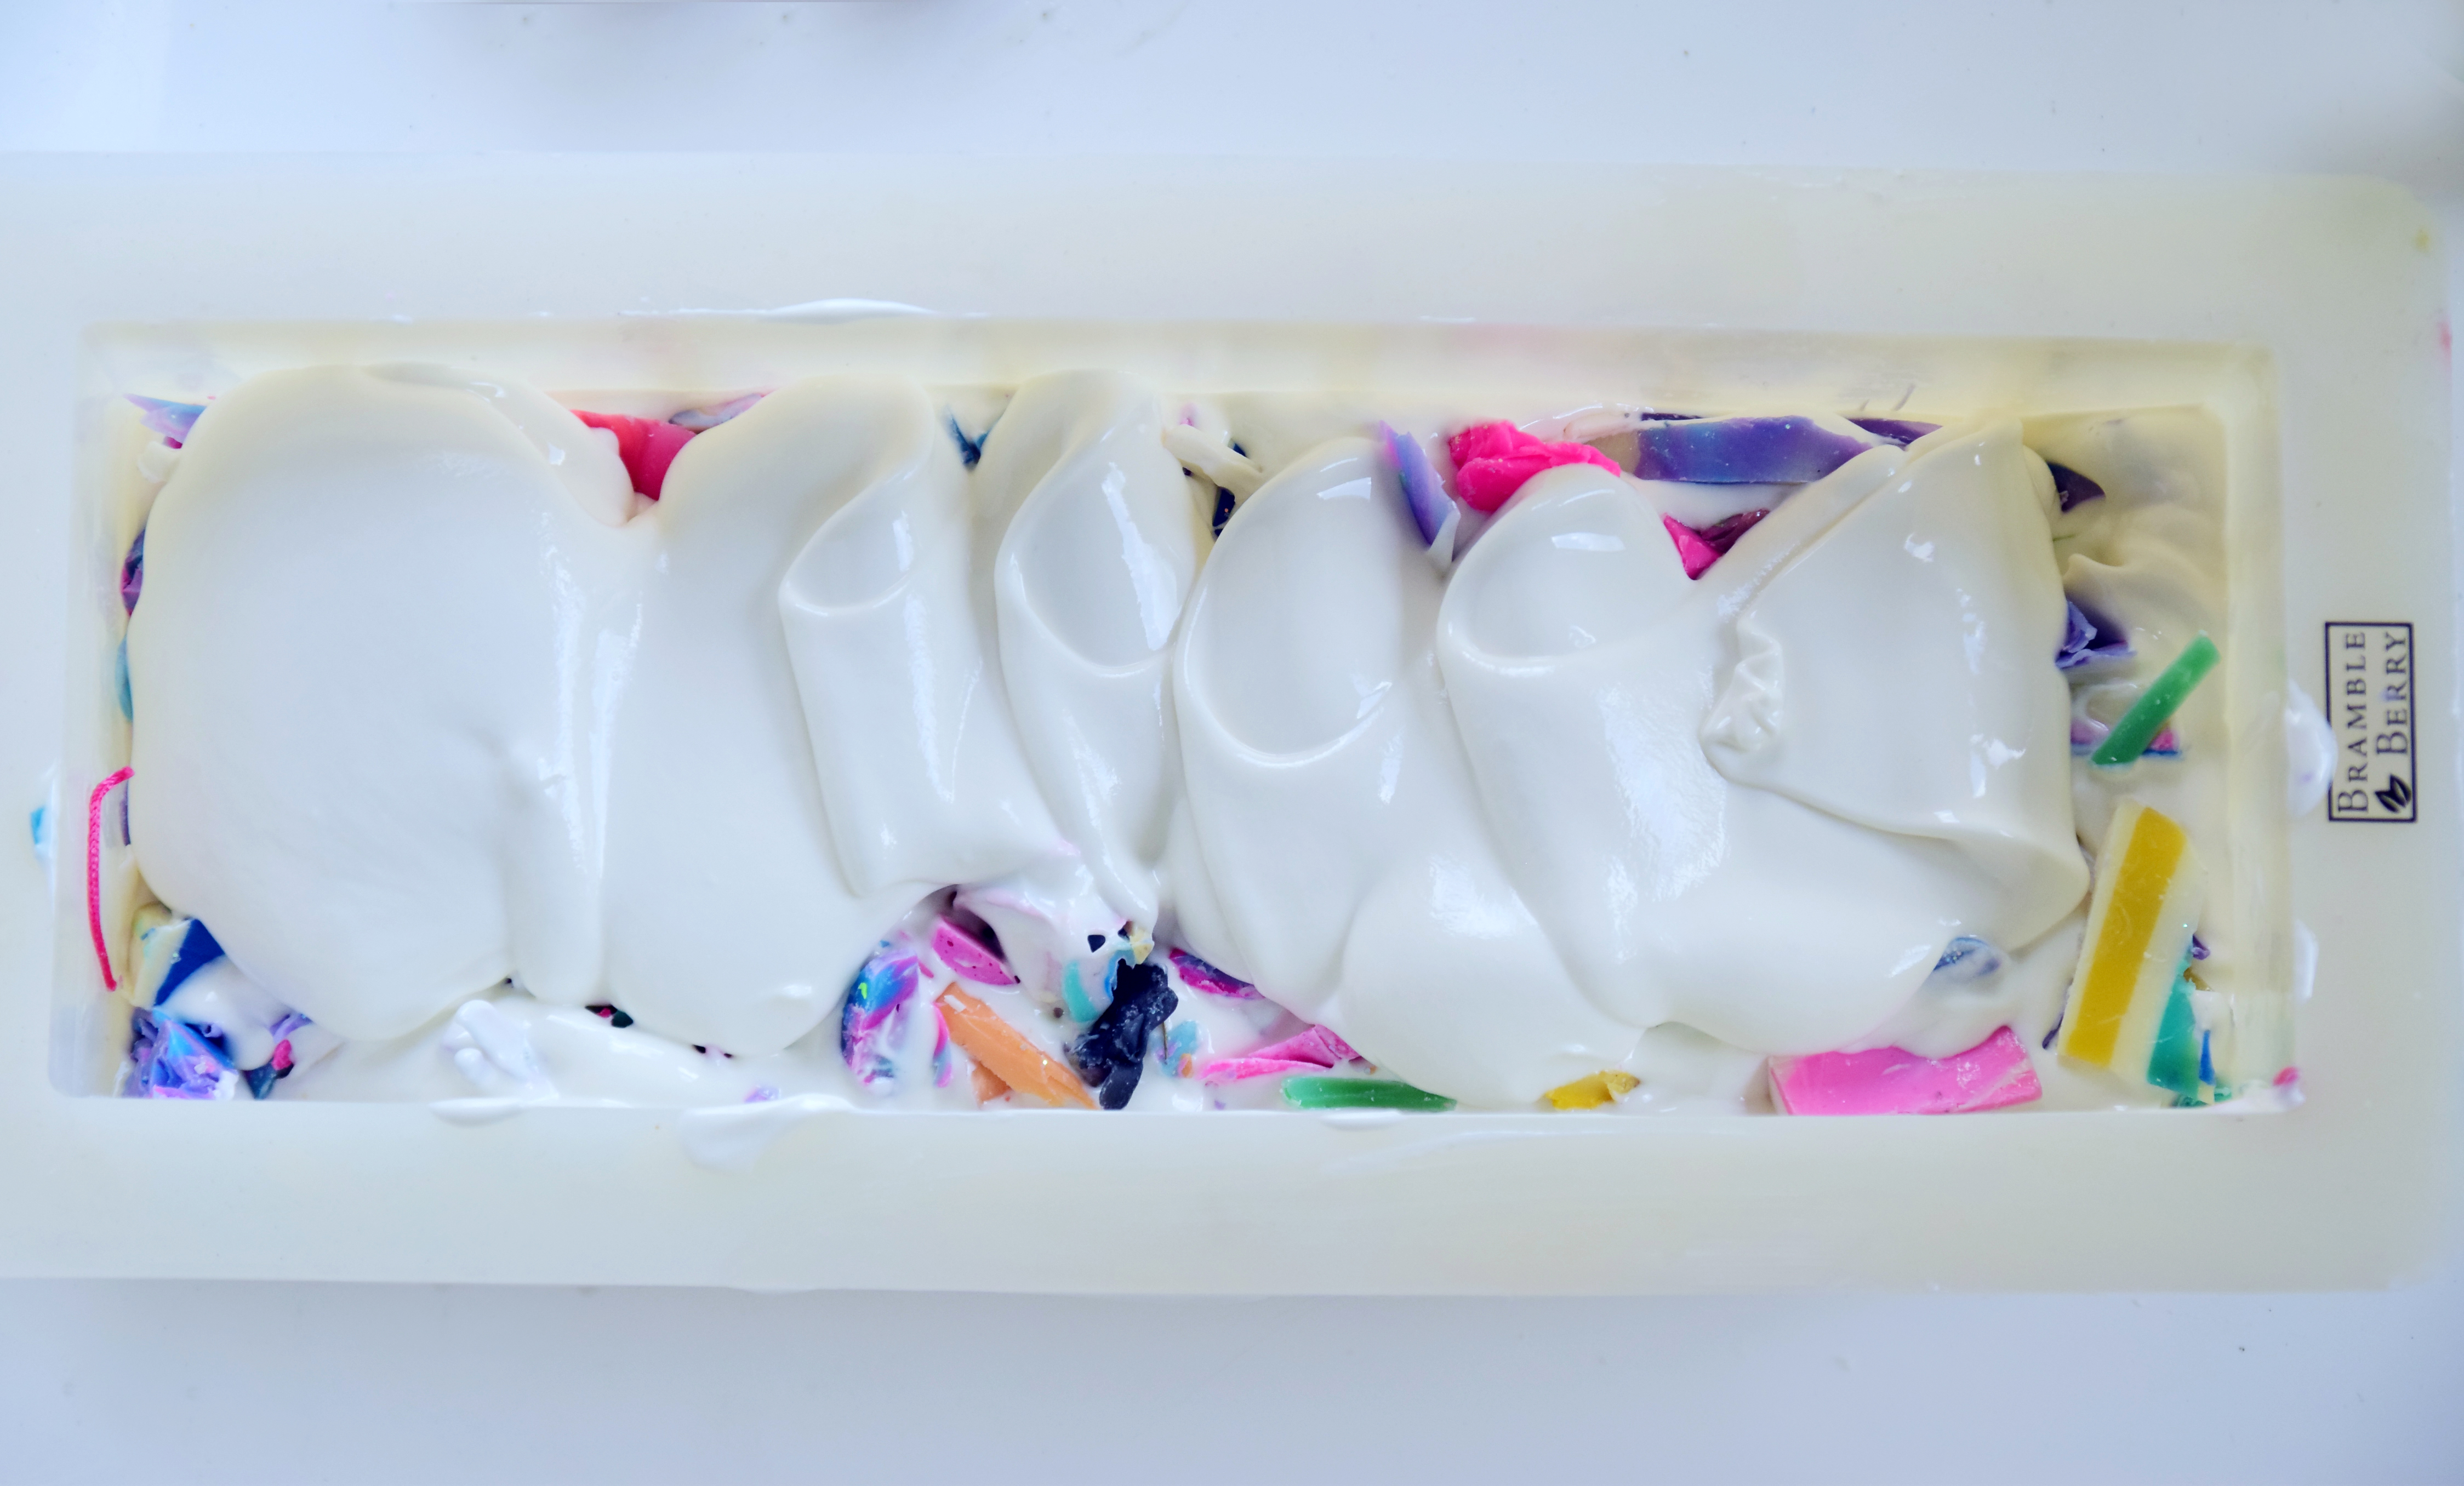
Alternate method: Add embeds into the batter all at once, stir, then pour into the mold. This method is easier, but you have less control of the overall design. Once you add the embeds, it is difficult to make variations. I choose to do it in layers because I can alter how many embeds I want to use. I can add more soap batter if its looking too chunky, or add more embeds if it is looking sparse. Whichever method you use, make sure the embeds are evenly dispersed throughout by lightly stirring and pushing the embeds around with a spatula.
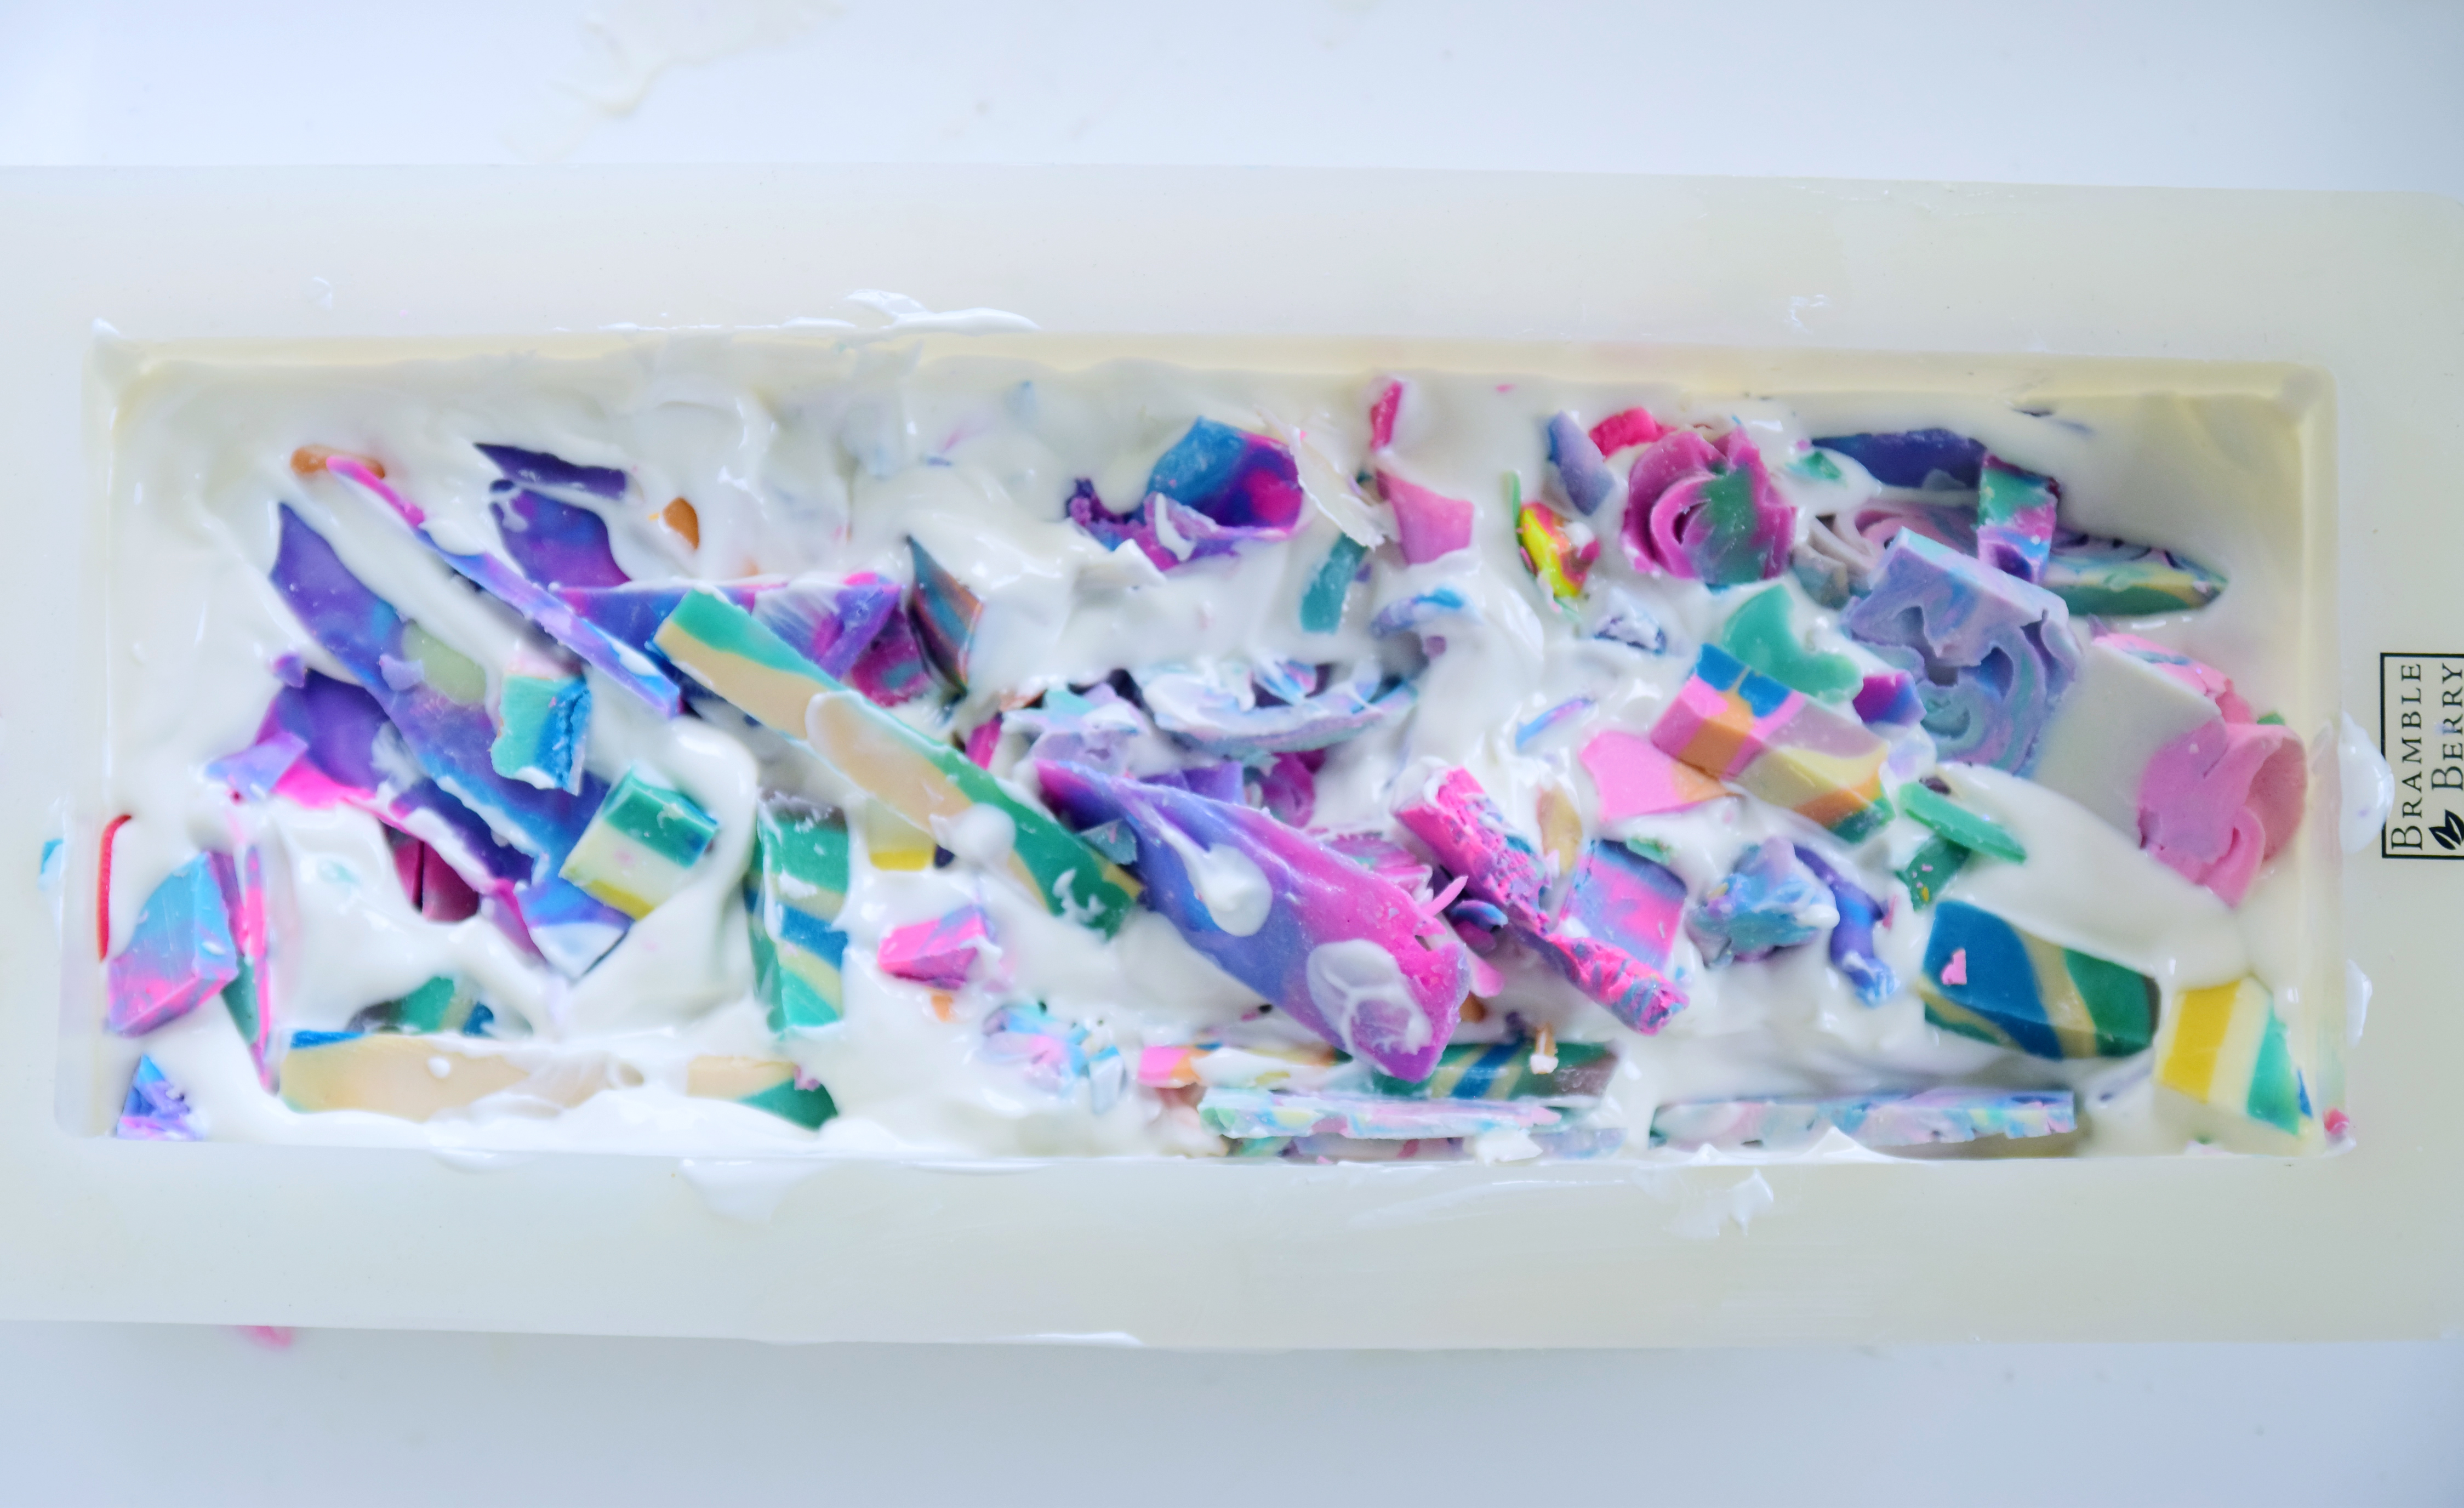
Step 12: Take the last of your embeds and sprinkle them over the soap top until fully covered. Gently press embeds down to ensure they stick. I like to use more than I need and shake the rest off later. Bonus, you won’t have any soda ash!

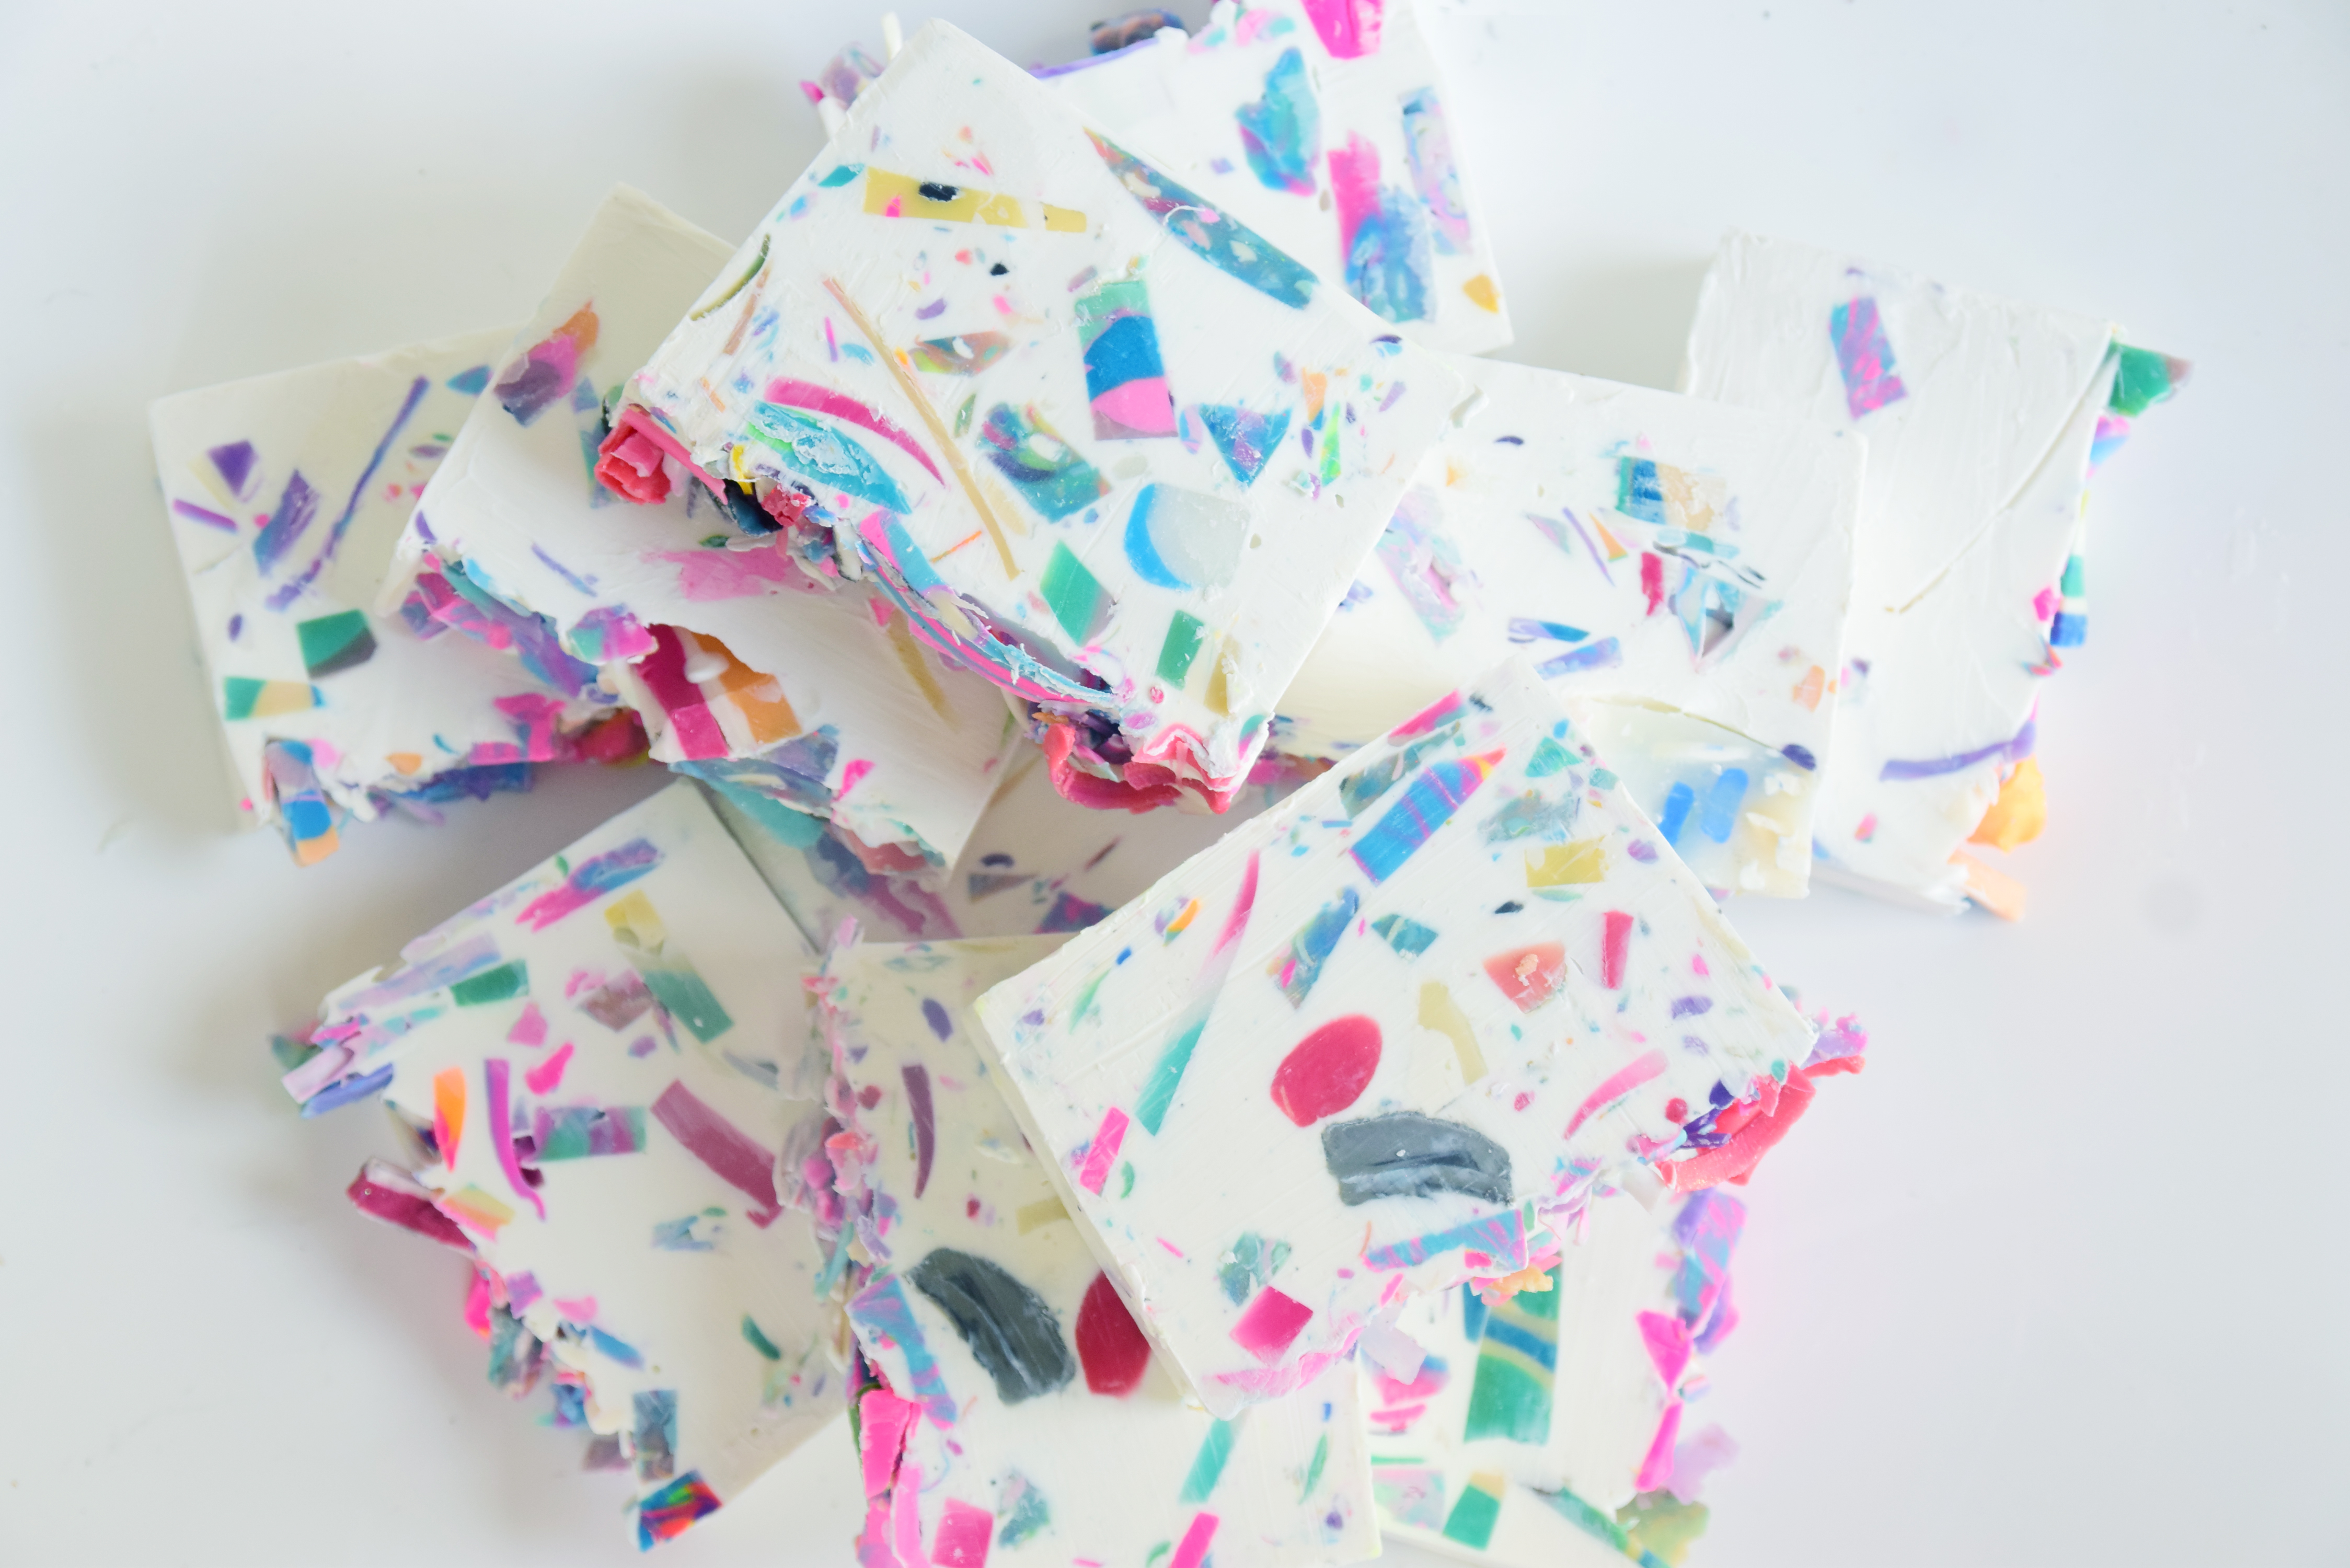
Step 13: After 24-48 hours, unmold your soap. Important! Cut your soap down the side, not the top with a knife. If you cut in through the top, embeds may drag down through the soap and leave unsightly lines.

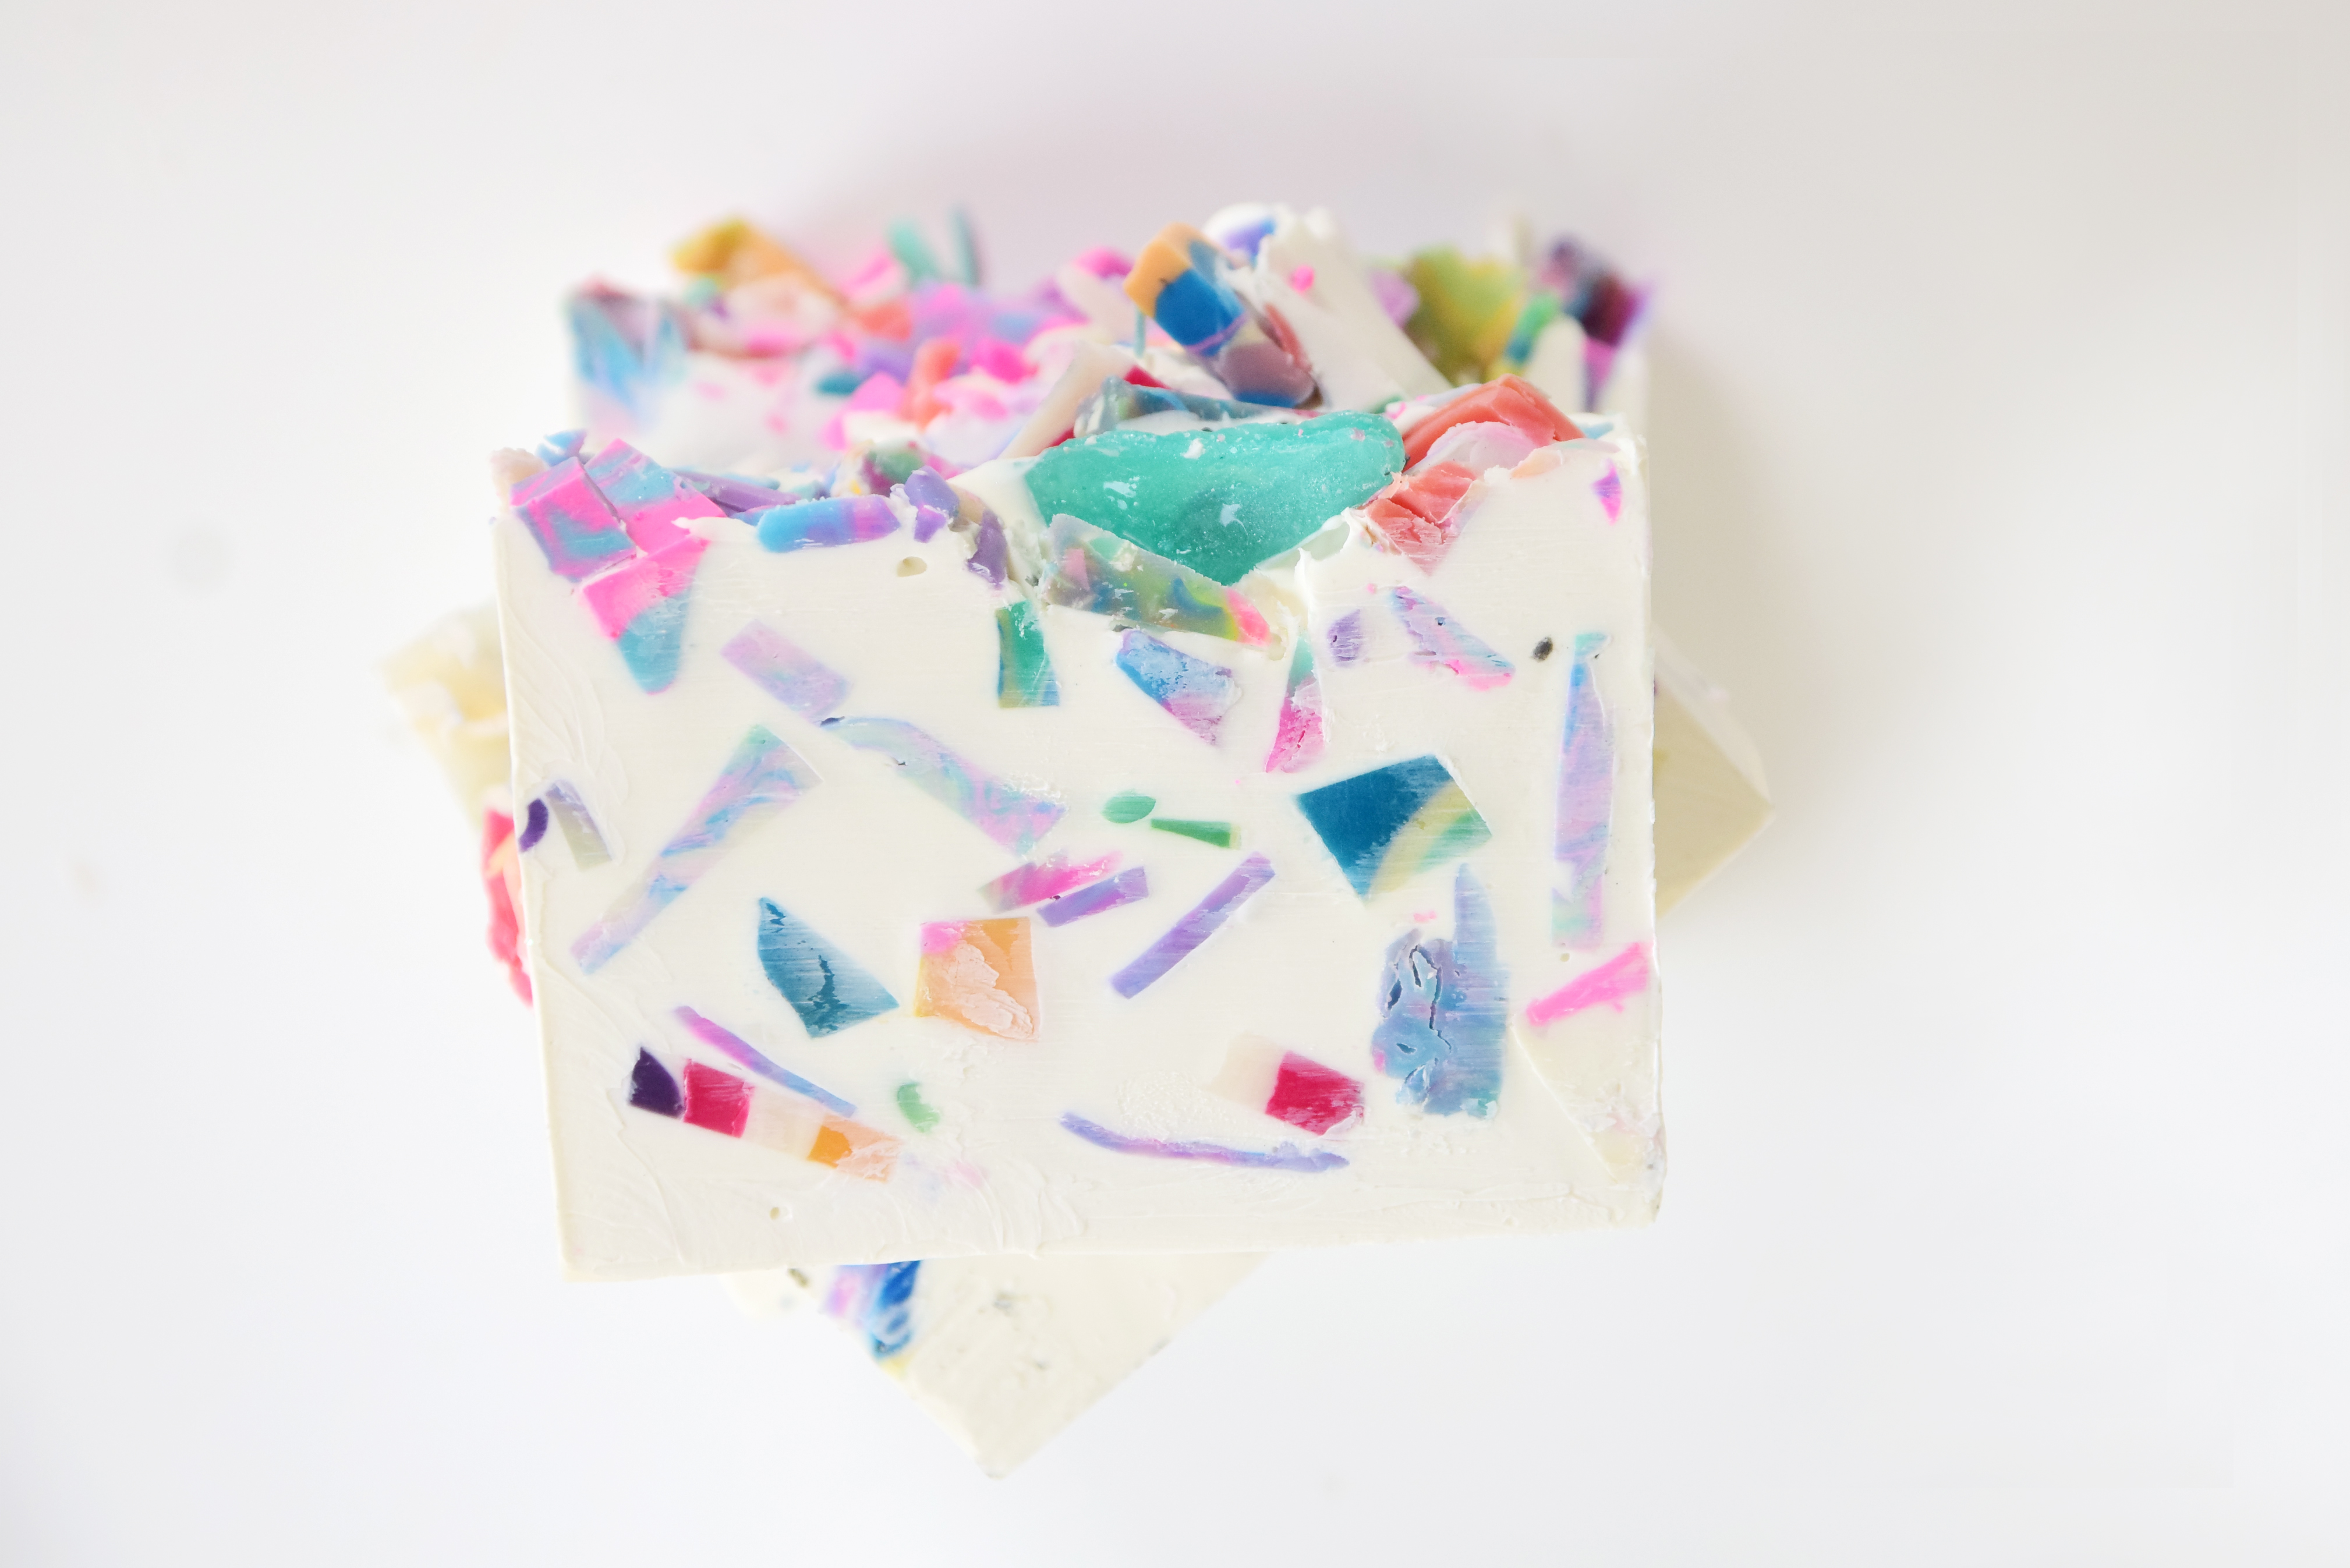
Let these cure for at least 4 weeks, and enjoy your works of art!
A variation of this soap is to use activated charcoal instead of titanium dioxide. The great thing about dark soap is that you can use any fragrance or essential oil since discoloration won’t be an issue.

Thank you so much for this wonderful tutorial, Gwynne! Love it! -Amanda
Find Gwynne online!

Wow, I’ve never gotten soap so white! Always get glycerin rivers! This is so pretty!
How wonderful they look and I’m sure they also smell amazing. I read your blog as a soap lover and fascinated. Thanks…