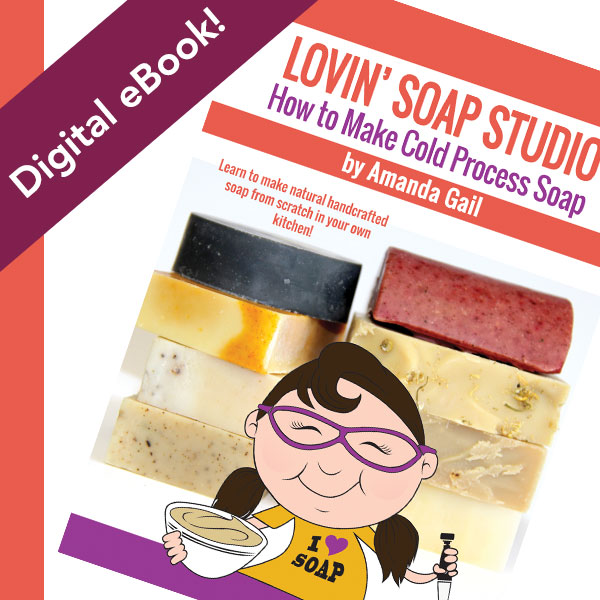
New eBook, How to Make Cold Process Soap by Amanda Gail – We’re going back to the basics.
I recently finished a basic soapmaking eBook. Yay! I've been [...]

I recently finished a basic soapmaking eBook. Yay! I've been [...]
This is day five in my 30 day blogging challenge. [...]
Hello everyone. This is my first guest blog on Lovin' [...]
As a soapmaking instructor and consultant, one of the most [...]
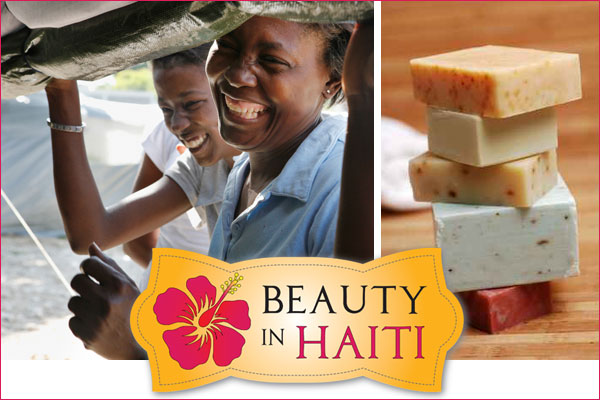
Marla Bosworth and I just got back from Haiti where [...]
I get questions all the time about how I come [...]
In January, Marla Bosworth and I are traveling [...]
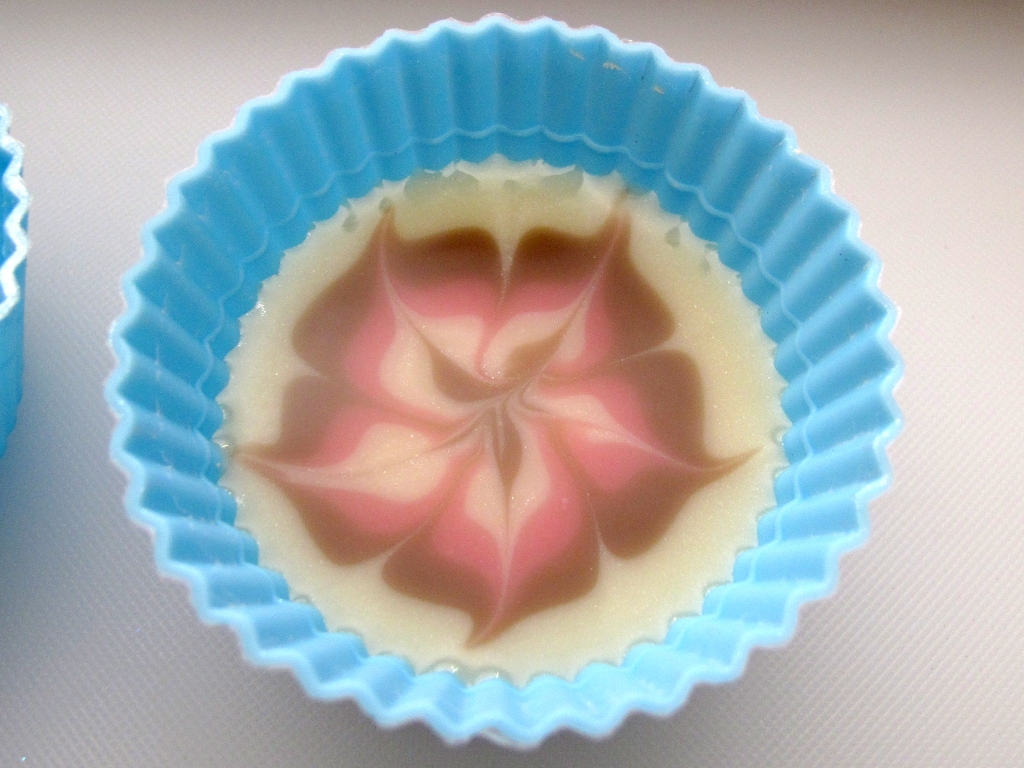
Creating flowers on top of your soap is a great [...]

© Copyright 2008-2021 | Lovin Soap Studio LLC