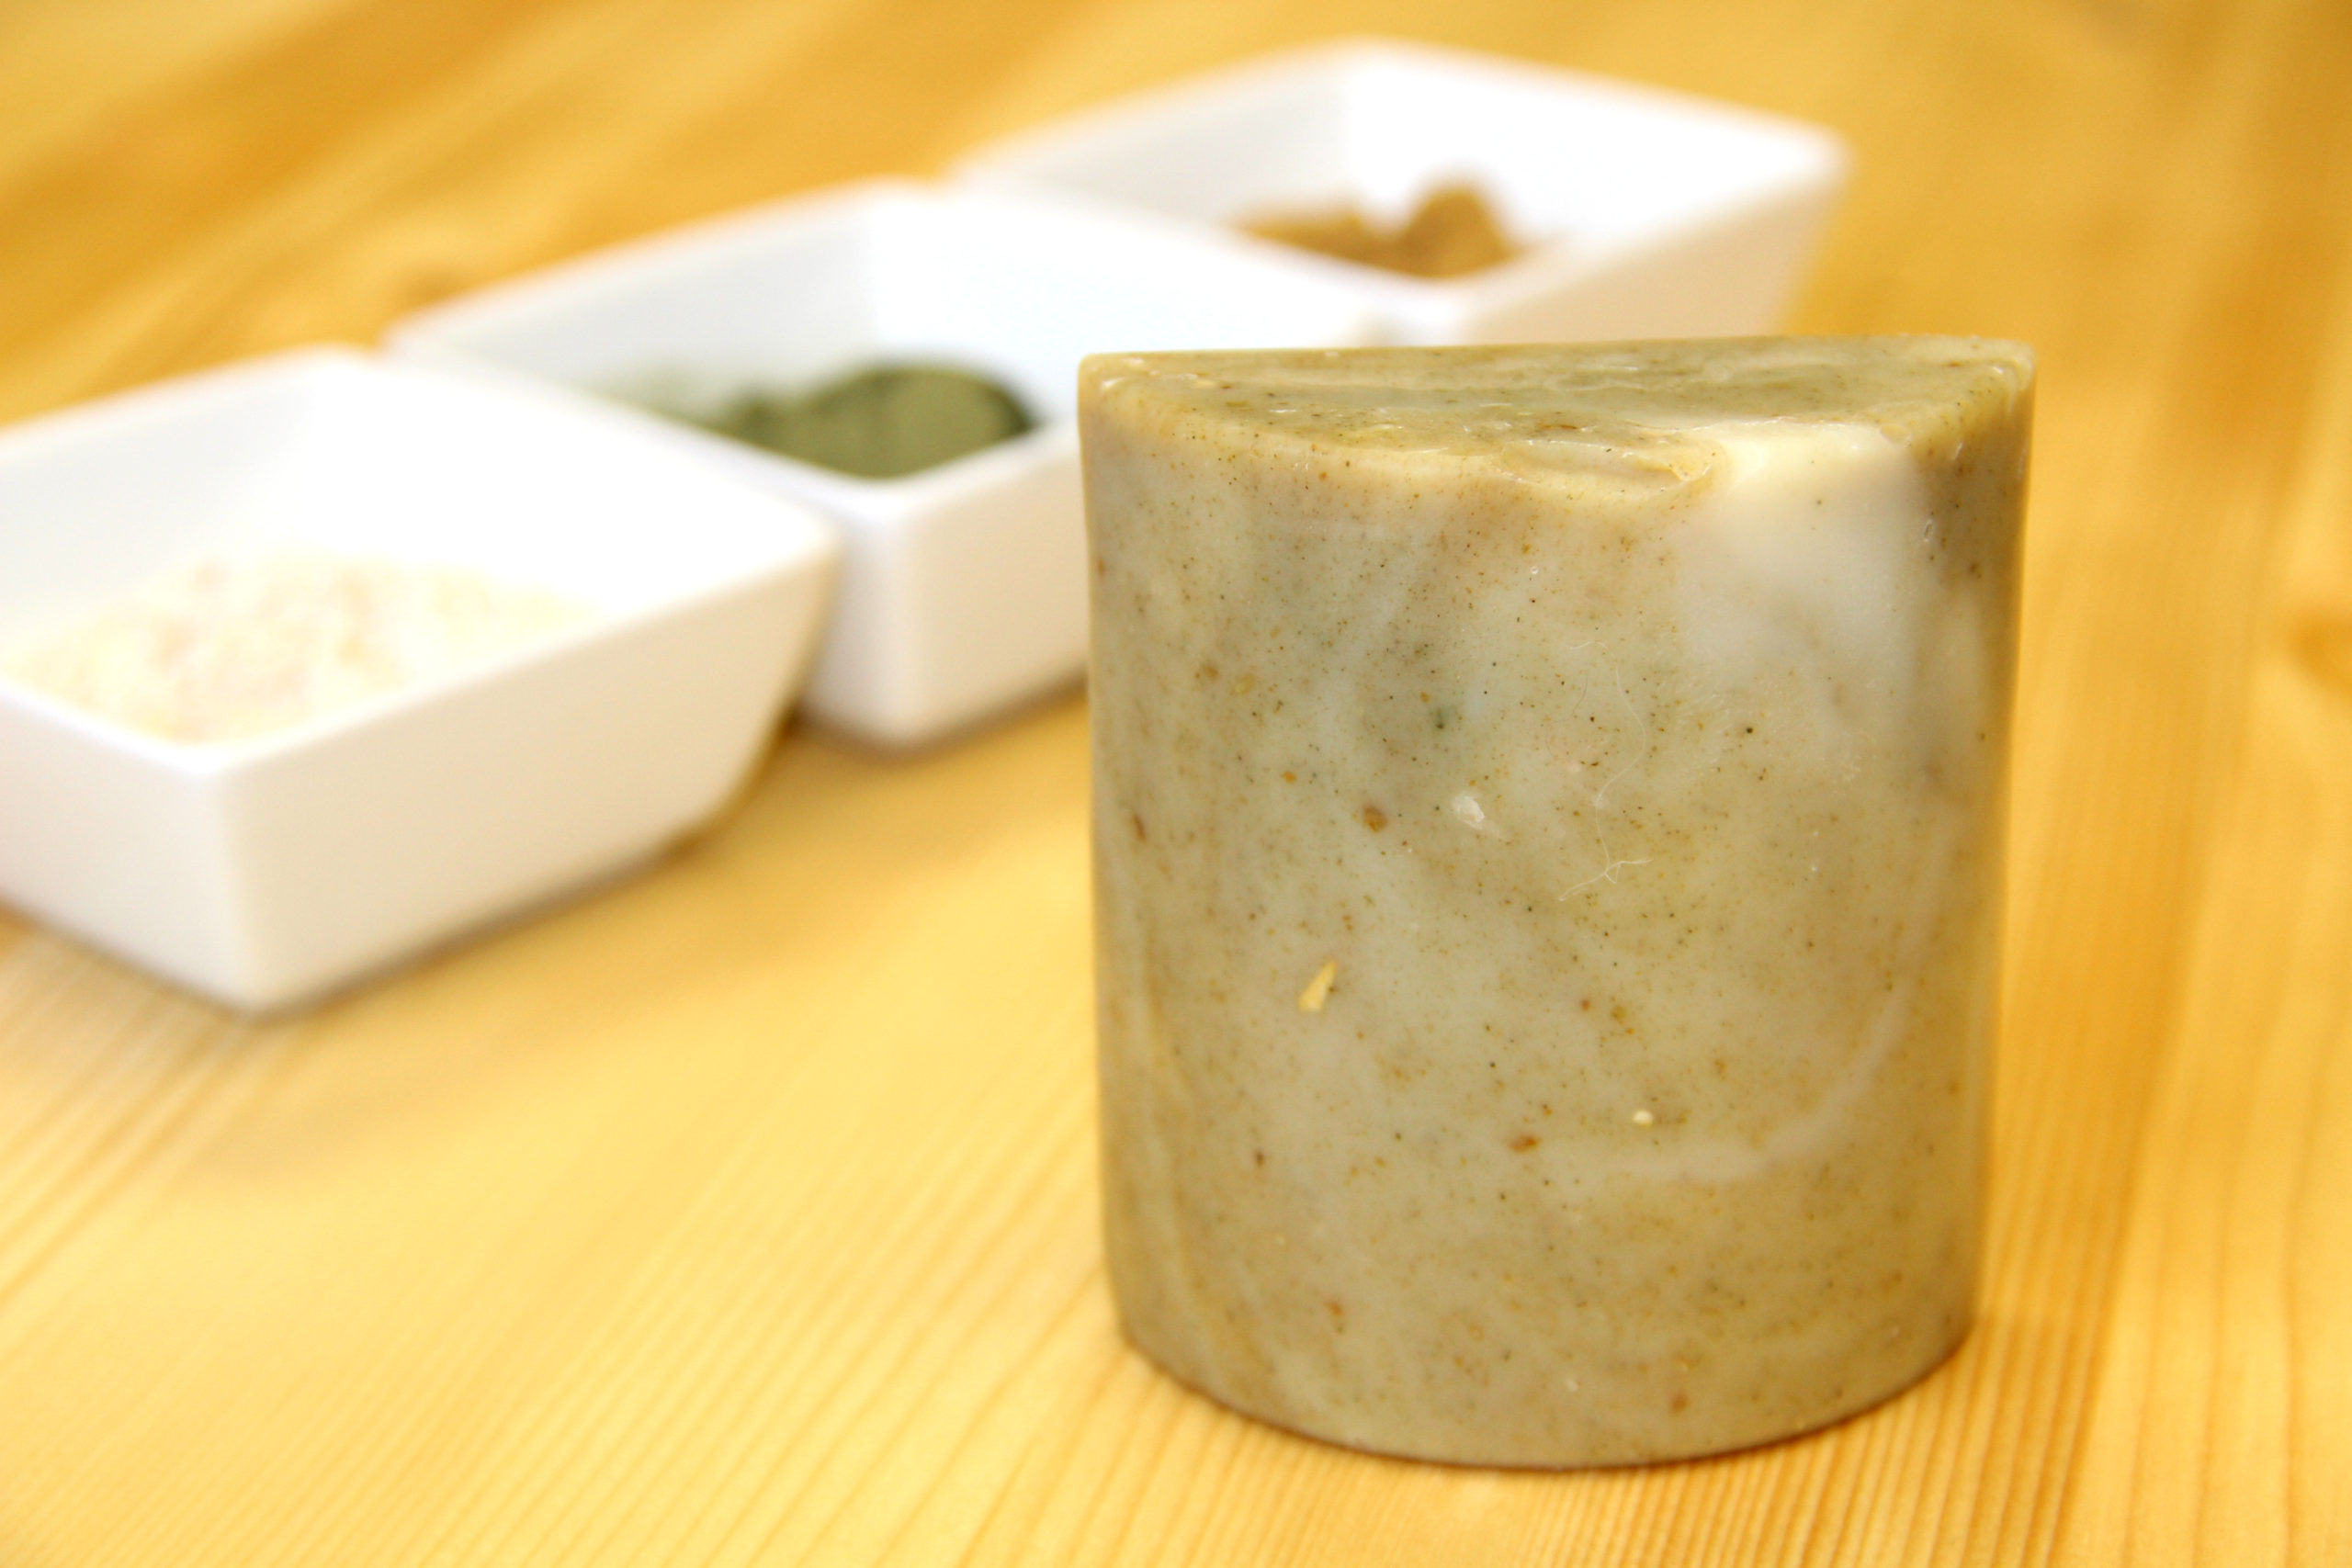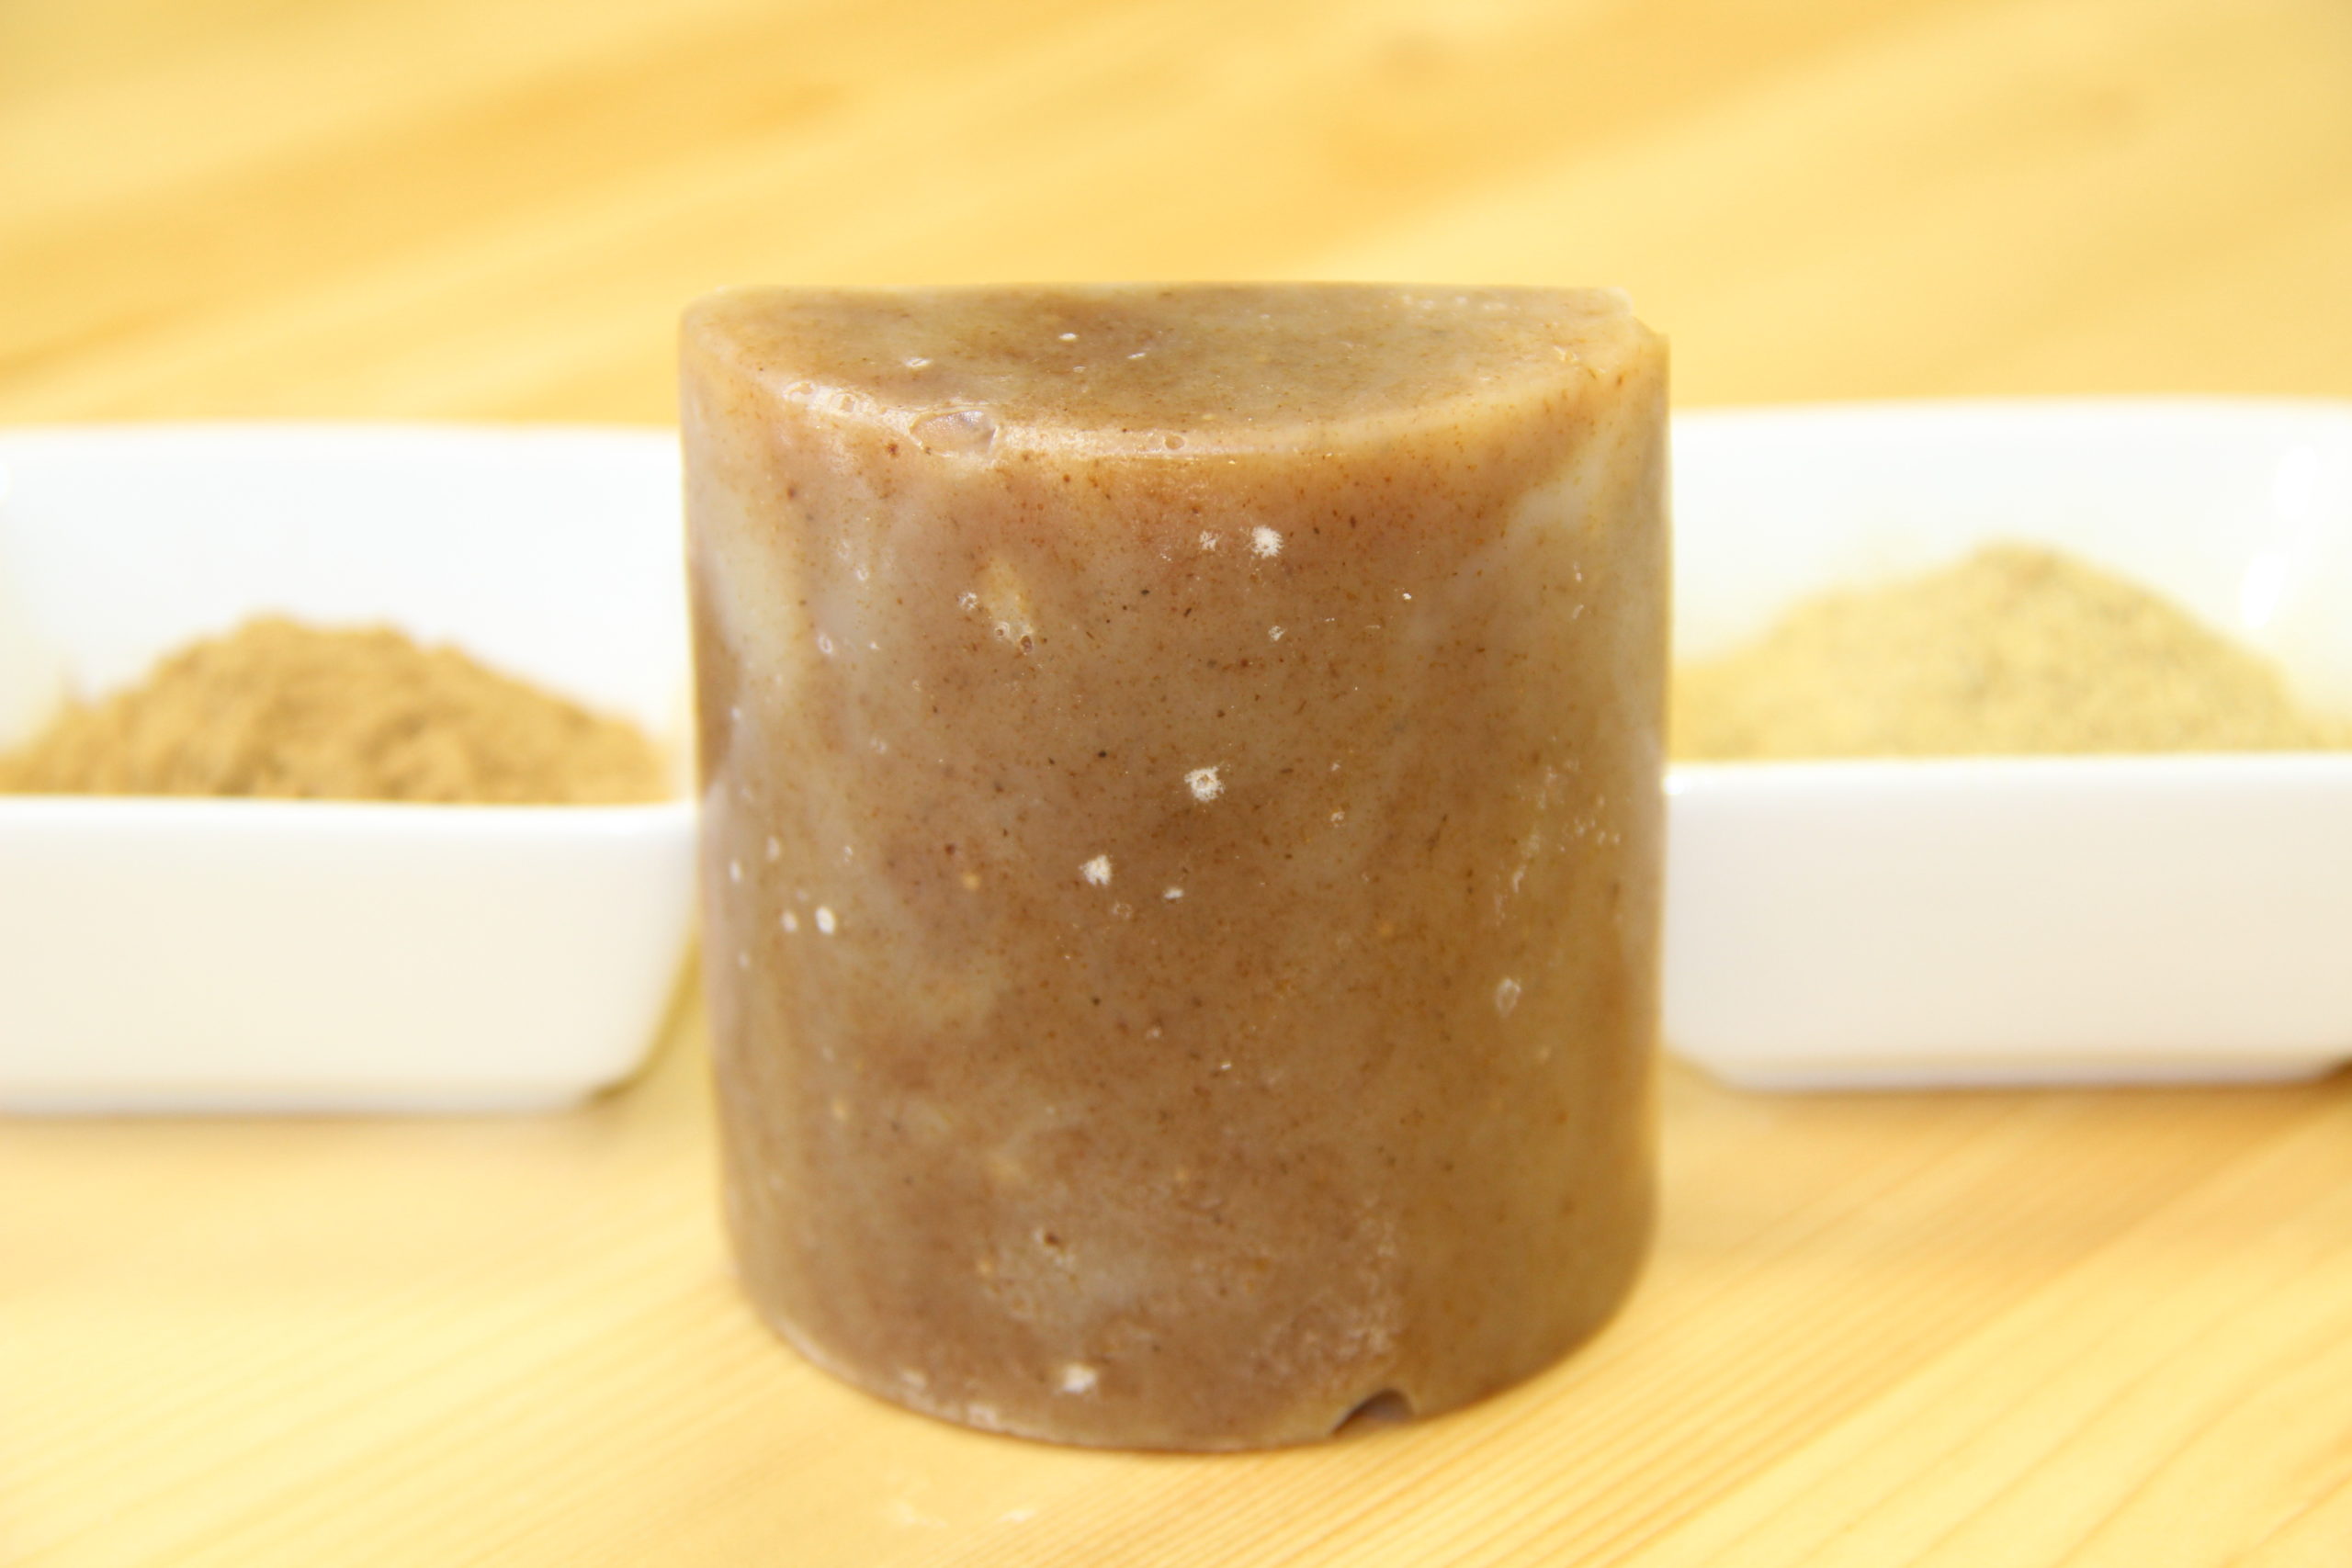
Yarrow and Chamomile Cold Process Soap
This is day five in my 30 day blogging challenge. [...]

This is day five in my 30 day blogging challenge. [...]
This is day two in my 30 day blogging challenge. [...]
Donna Maria recently issued a challenge to Indie Business members [...]
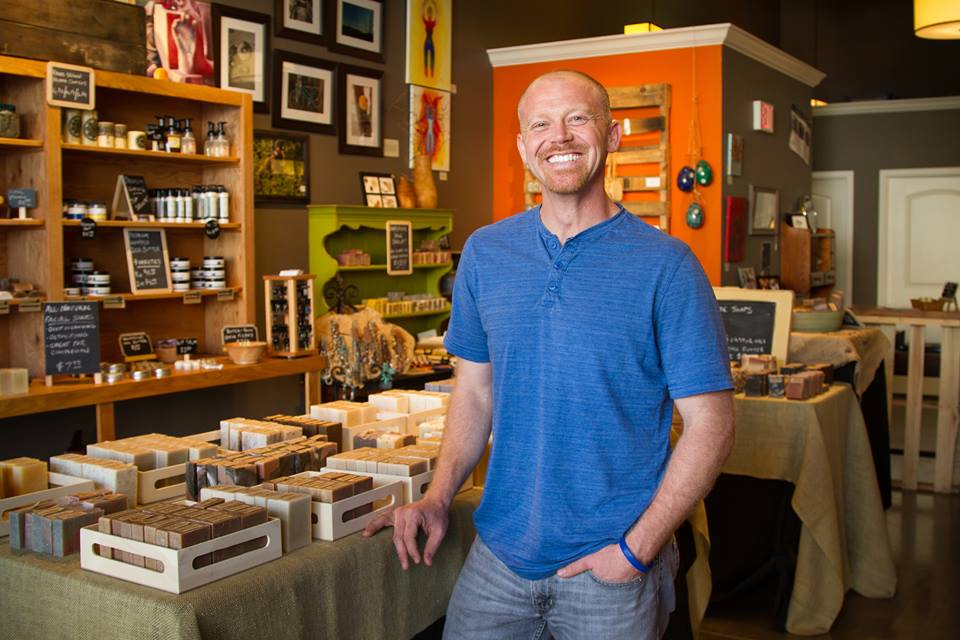
Hello everyone. This is my first guest blog on Lovin' [...]
I get asked all the time what my favorite soap [...]
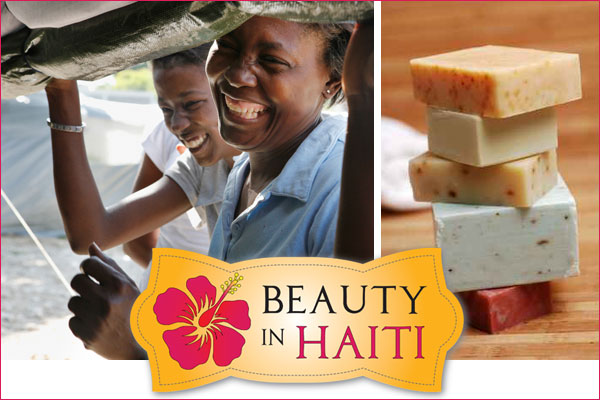
In January, Marla Bosworth and I are traveling [...]
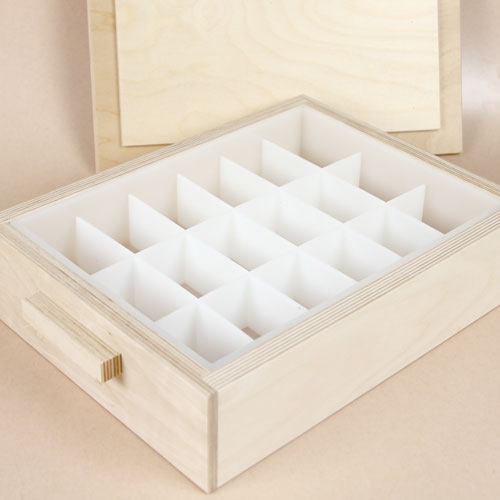
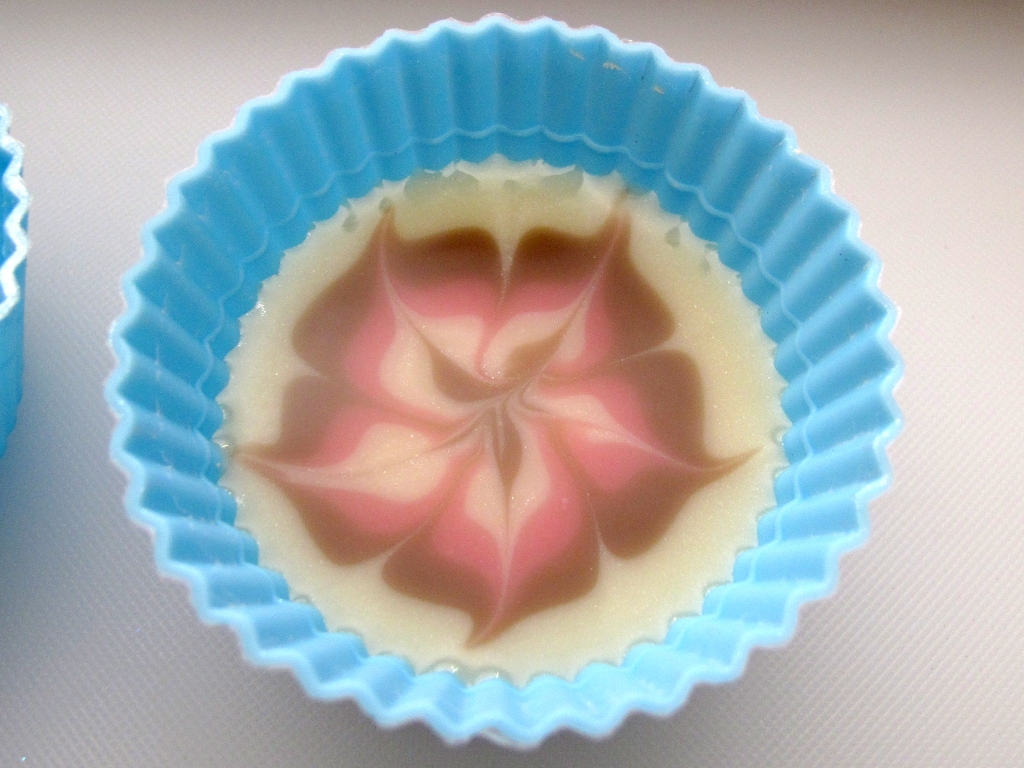
Creating flowers on top of your soap is a great [...]
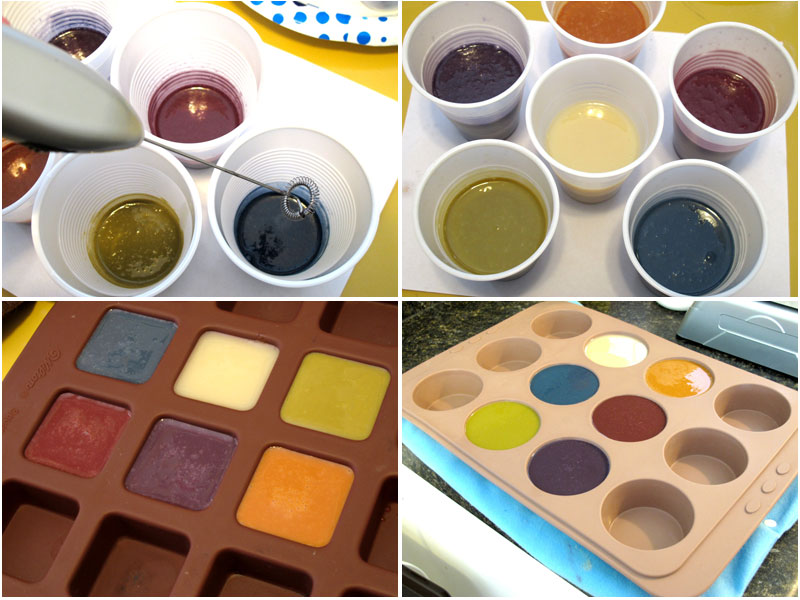
One of my favorite things to do as a soap [...]

© Copyright 2008-2021 | Lovin Soap Studio LLC