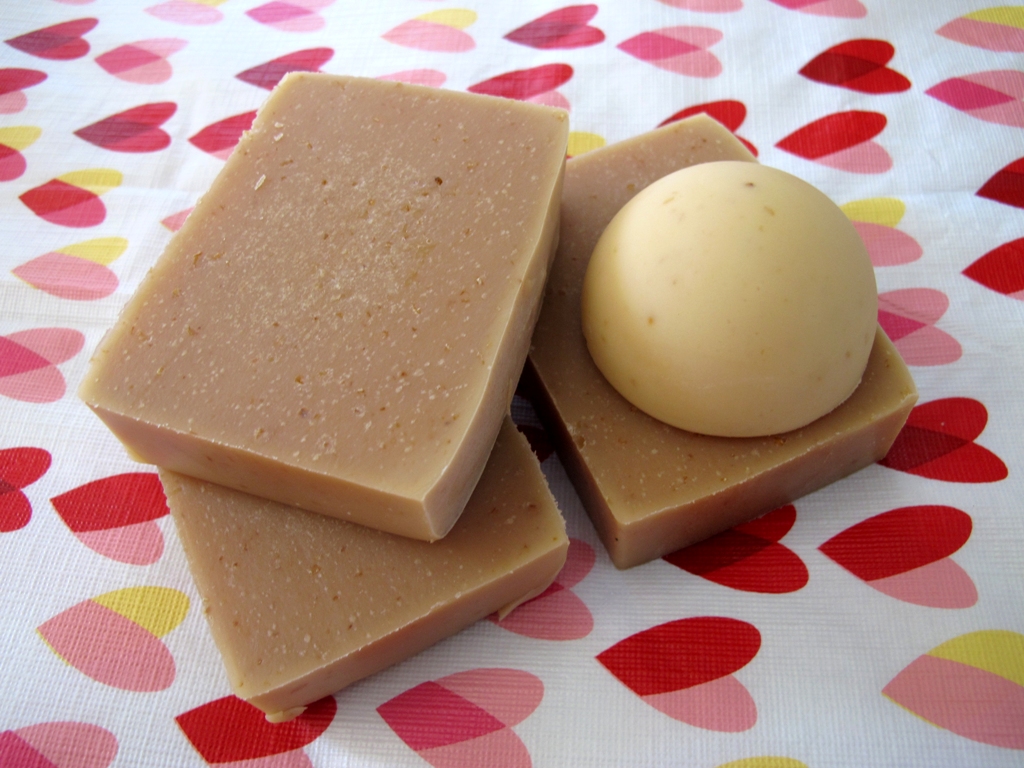
The Classic Oatmeal, Goat’s Milk and Honey Cold Process Soap – Milk in Oil Method

Oatmeal, Milk and Honey is a classic soap to make. It’s one of the first soaps that I made when I first started to make soap. This method of milk soapmaking is a bit different than the other method where we used frozen milk in the lye solution. This method uses equal amounts of lye and water for the solution and then another equal amount of milk is added to the oils. Some people find this method easier when soaping with milk. You can use this method for any type of milk including goat, cow, hemp, coconut, soy, oat…etc.

Oatmeal milk and honey soap

In standard milk soapmaking you typically freeze your milk into ice cubes and use them for your lye solution. This helps keep the temps of the lye solution down and the milk from burning. It can still cause issues such as burning and burnt fat (from the milk) leaving specs in your soap. Not always…but it can happen.

oatmeal milk and honey

In the “Milk in Oil” method…you make a lye solution with equal parts lye and water. Then you add another equal part milk to the oils before you add the lye solution. This prevents milk fat from burning in the lye solution. You also don’t have to go through the hassle of freezing your milk. For some people it is just easier to do.

I like to run my oatmeal through a mini food chopper or a coffee grinder to grind it down some.  The larger the pieces…the scratchier the soap.  I prefer instant as it is softer in the soap but you can use any kind.  I get fresh goat’s milk from another local soaper, Donna.  Learn about her goat’s here.

Let’s make soap!

The recipe:
Coconut oil – 20 oz
Olive oil – 20 oz
Rice bran oil – 5 oz
Avocado oil – 5 oz
Castor oil – 4 oz
Shea butter – 5 oz
Sweet almond oil – 5 oz
Fresh goat’s milk – 9 oz
Oatmeal – 4 tablespoons
Honey – 4 tablespoons

Sodium hydroxide – 9 oz
Water – 9.5 oz

Gear up in your goggles and gloves!  If you are new to soapmaking…visit our beginner tutorial first.

The first step is to make our lye solution.  I mention above to make the lye solution with equal parts of lye and water.  I always add a splash more because sometimes the mixture can fall out of solution if there is not enough water.  Usually equal parts is the most concentrated you should go.

Measure out the water and the lye.  Add the lye to the water and mix in a well ventilated area.

lye solutionPut that to the side.  Weigh out the shea and coconut oil and melt.

shea and coconut oilOnce melted, add all of the liquid oils to the melted oils.

melted oilsAdd 9 oz of milk to the oil mixture.

IMG_2271Next add the oatmeal.  I like to use 1 tablespoon per pound of oils.  We have 4 pounds so I added 4 tablespoons.  You can add more or less depending on your preference.

oatmealI use the same amount for honey; 1 tablespoon per pound of oils.  I added 4 tablespoons.

IMG_2277You can go ahead and your fragrance oil to the oil mixture as well.  My favorite oatmeal, milk and honey fragrance is from Bramble Berry.  I used 3 ounces.

IMG_2278

So now we have the oils, milk, honey, oats and fragrance.  Give this a good stickblend to make sure everything is well mixed.

IMG_2279Take a look at the lye solution.  You might see some floating white filmy stuff.  Give it a mix.  This is just because it is such a concentrated solution and the lye is reacting to the carbon in the air and forming sodium carbonate.  Lye (undissolved crust) stuck to the bottom of your container is bad…white floaties are not.

lye solution Add the lye solution.  Make sure you have your goggles on!

lye solution added to oilsNow it is time to stickblend!  Your mixture might turn bright orange from the lye and milk reacting.

IMG_2284IMG_2286IMG_2287Mix until trace and then pour into your mold.

IMG_2288IMG_2294IMG_2296Okay…so this soap likes to heat up.  Honey and (the sugar in) milk like to heat up when in the mold.  I prefer my soap gelled so I really have to keep an eye on it.  I cover, but I check on it every ten minutes or so.  If you don’t want your soap to gel or are afraid of overheating…you can put your soap somewhere cool like in the fridge or freezer…or even outside if its cold outside.

There is definitely a difference in color between gelled (darker) and ungelled (lighter) soap.

gelled and ungelled soapSo…some things to remember:

You can soap milk two different ways – full milk in lye solution or milk in oils as above.

Additives used:
Oatmeal – rate of 1 tablespoon PPO
Honey – rate of 1 tablespoon PPO

Happy (Goat’s) Milk Soaping!

-Amanda

Happy Holly Balls – Bath Bombs with Holly Port of Lotion Bar Cafe

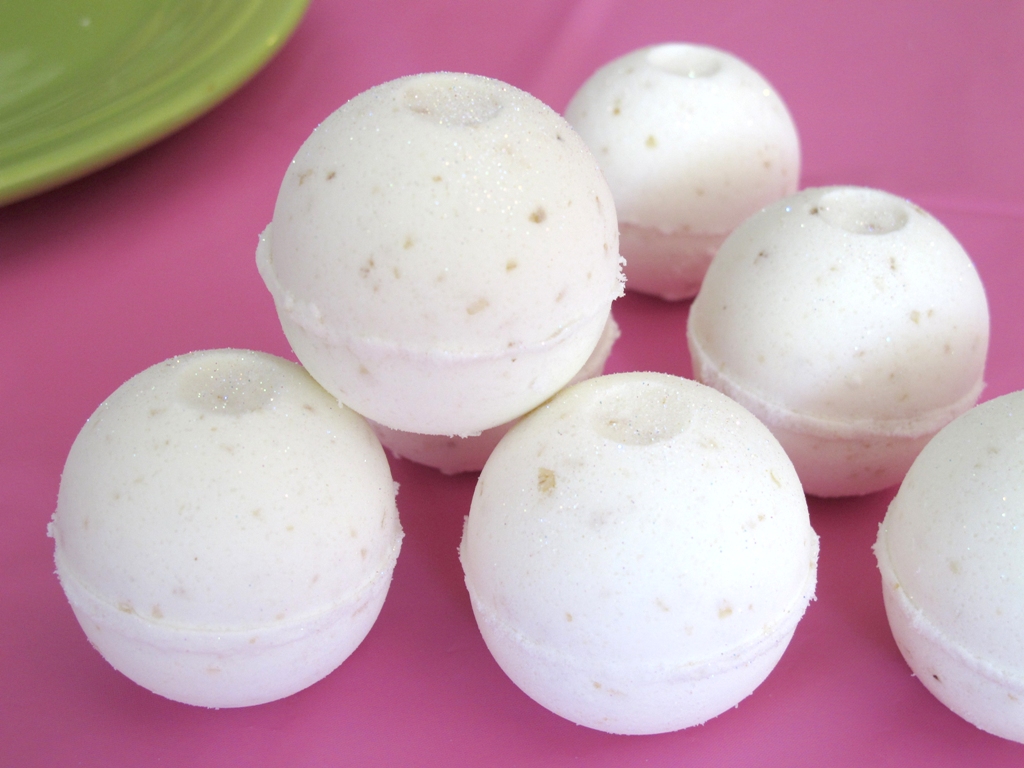
Holly Port of Lotion Bar Café is the Bath Bomb Queen! If you were at the HSMG conference, the Alabama conference or the Texas conference you were lucky enough to get one of her bath bombs. She was visiting this weekend and I asked her if she would be willing to do a bath bomb tutorial for the blog. I told her I wanted something with goat’s milk and oatmeal so she came up with a specially formulated recipe that I could share with you! She also shared her process which includes some very helpful information and techniques.

These bath bombs have my favorite butter, mango, and my favorite oil, avocado! I got in a new fragrance from Bramble Berry (Fresh Snow) that smells amazing so I wanted to try that out.

The Recipe:
2.5 cups baking soda
.5 cups goat milk powder
1.5 cups citric acid
1 cup cornstarch
.5 cups powder oatmeal
1.6 oz avocado oil (wt)
2 oz mango buter (wt)
.5 oz water (wt)
.5 oz alcohol (wt)
.75 oz scent (wt)

Step 1 – Measure the citric acid, cornstarch, baking soda, oatmeal and goat’s milk into your mixing bowl. Put a towel over your mixer and turn on the lowest setting. The towel prevents the powders from flying everywhere! Although you don’t have to use a stand mixer…it helps to get everything mixed well and also aerate the mixture. Leave this mixing while you measure out the butter and liquid ingredients.

Step 2 – Measure out the butter and oil. Melt.

Step 3 – While the butter is melting, measure out the other liquid ingredients (alcohol, water, fragrance).

Step 4 – When the melted oil has cooled down a bit (warm to touch – not hot) combine with the liquid ingredients.

Step 5 – With the mixer still on low, dump in the liquid mix. Turn the mixer up higher to get everything mixed quickly. Scrape the sides of the mixing bowl with a skewer as the butter might stick a bit to the sides.

Step 6 – Test the mixture’s consistency by grabbing a handful and squeezing it hard. It should keep its shape and not fall apart easily.

Step 7 – Using a meatballer, scoop up some of the mixture. Squeeze the meatballer hard with your hand while smoothing the seam.

Step 8 – Using your thumb, press down on the hole on the top of the meatballer as you open it. This helps the bathbomb stay together as the meatballer opens. It takes some practice! If the bathbomb falls apart just dump it back into the mix and try again.

Step 9 – Let your bathbombs dry out in a cool dry place away from humidity and heat.

We dusted them with a bit of glitter just to add a holiday sparkle!

To use your bathbomb, simply drop it into the tub and watch it fizz!

Warning: This recipe does contain butters/oils. They will float on the surface of the water and deposit on your body as you soak in the tub and as you get out of the water. It will leave some in the tub and make it a bit slick so take care when getting out of the tub.

Thank you so much for doing this tutorial for us and sharing some of your tips, Holly!

If you are looking for wholesale bathbombs to add to your line of products…contact Holly!

Happy Soaping!  (Or bath bomb making!)

-Amanda & Holly