Pumpkin & Cinnamon Cold Process Soap
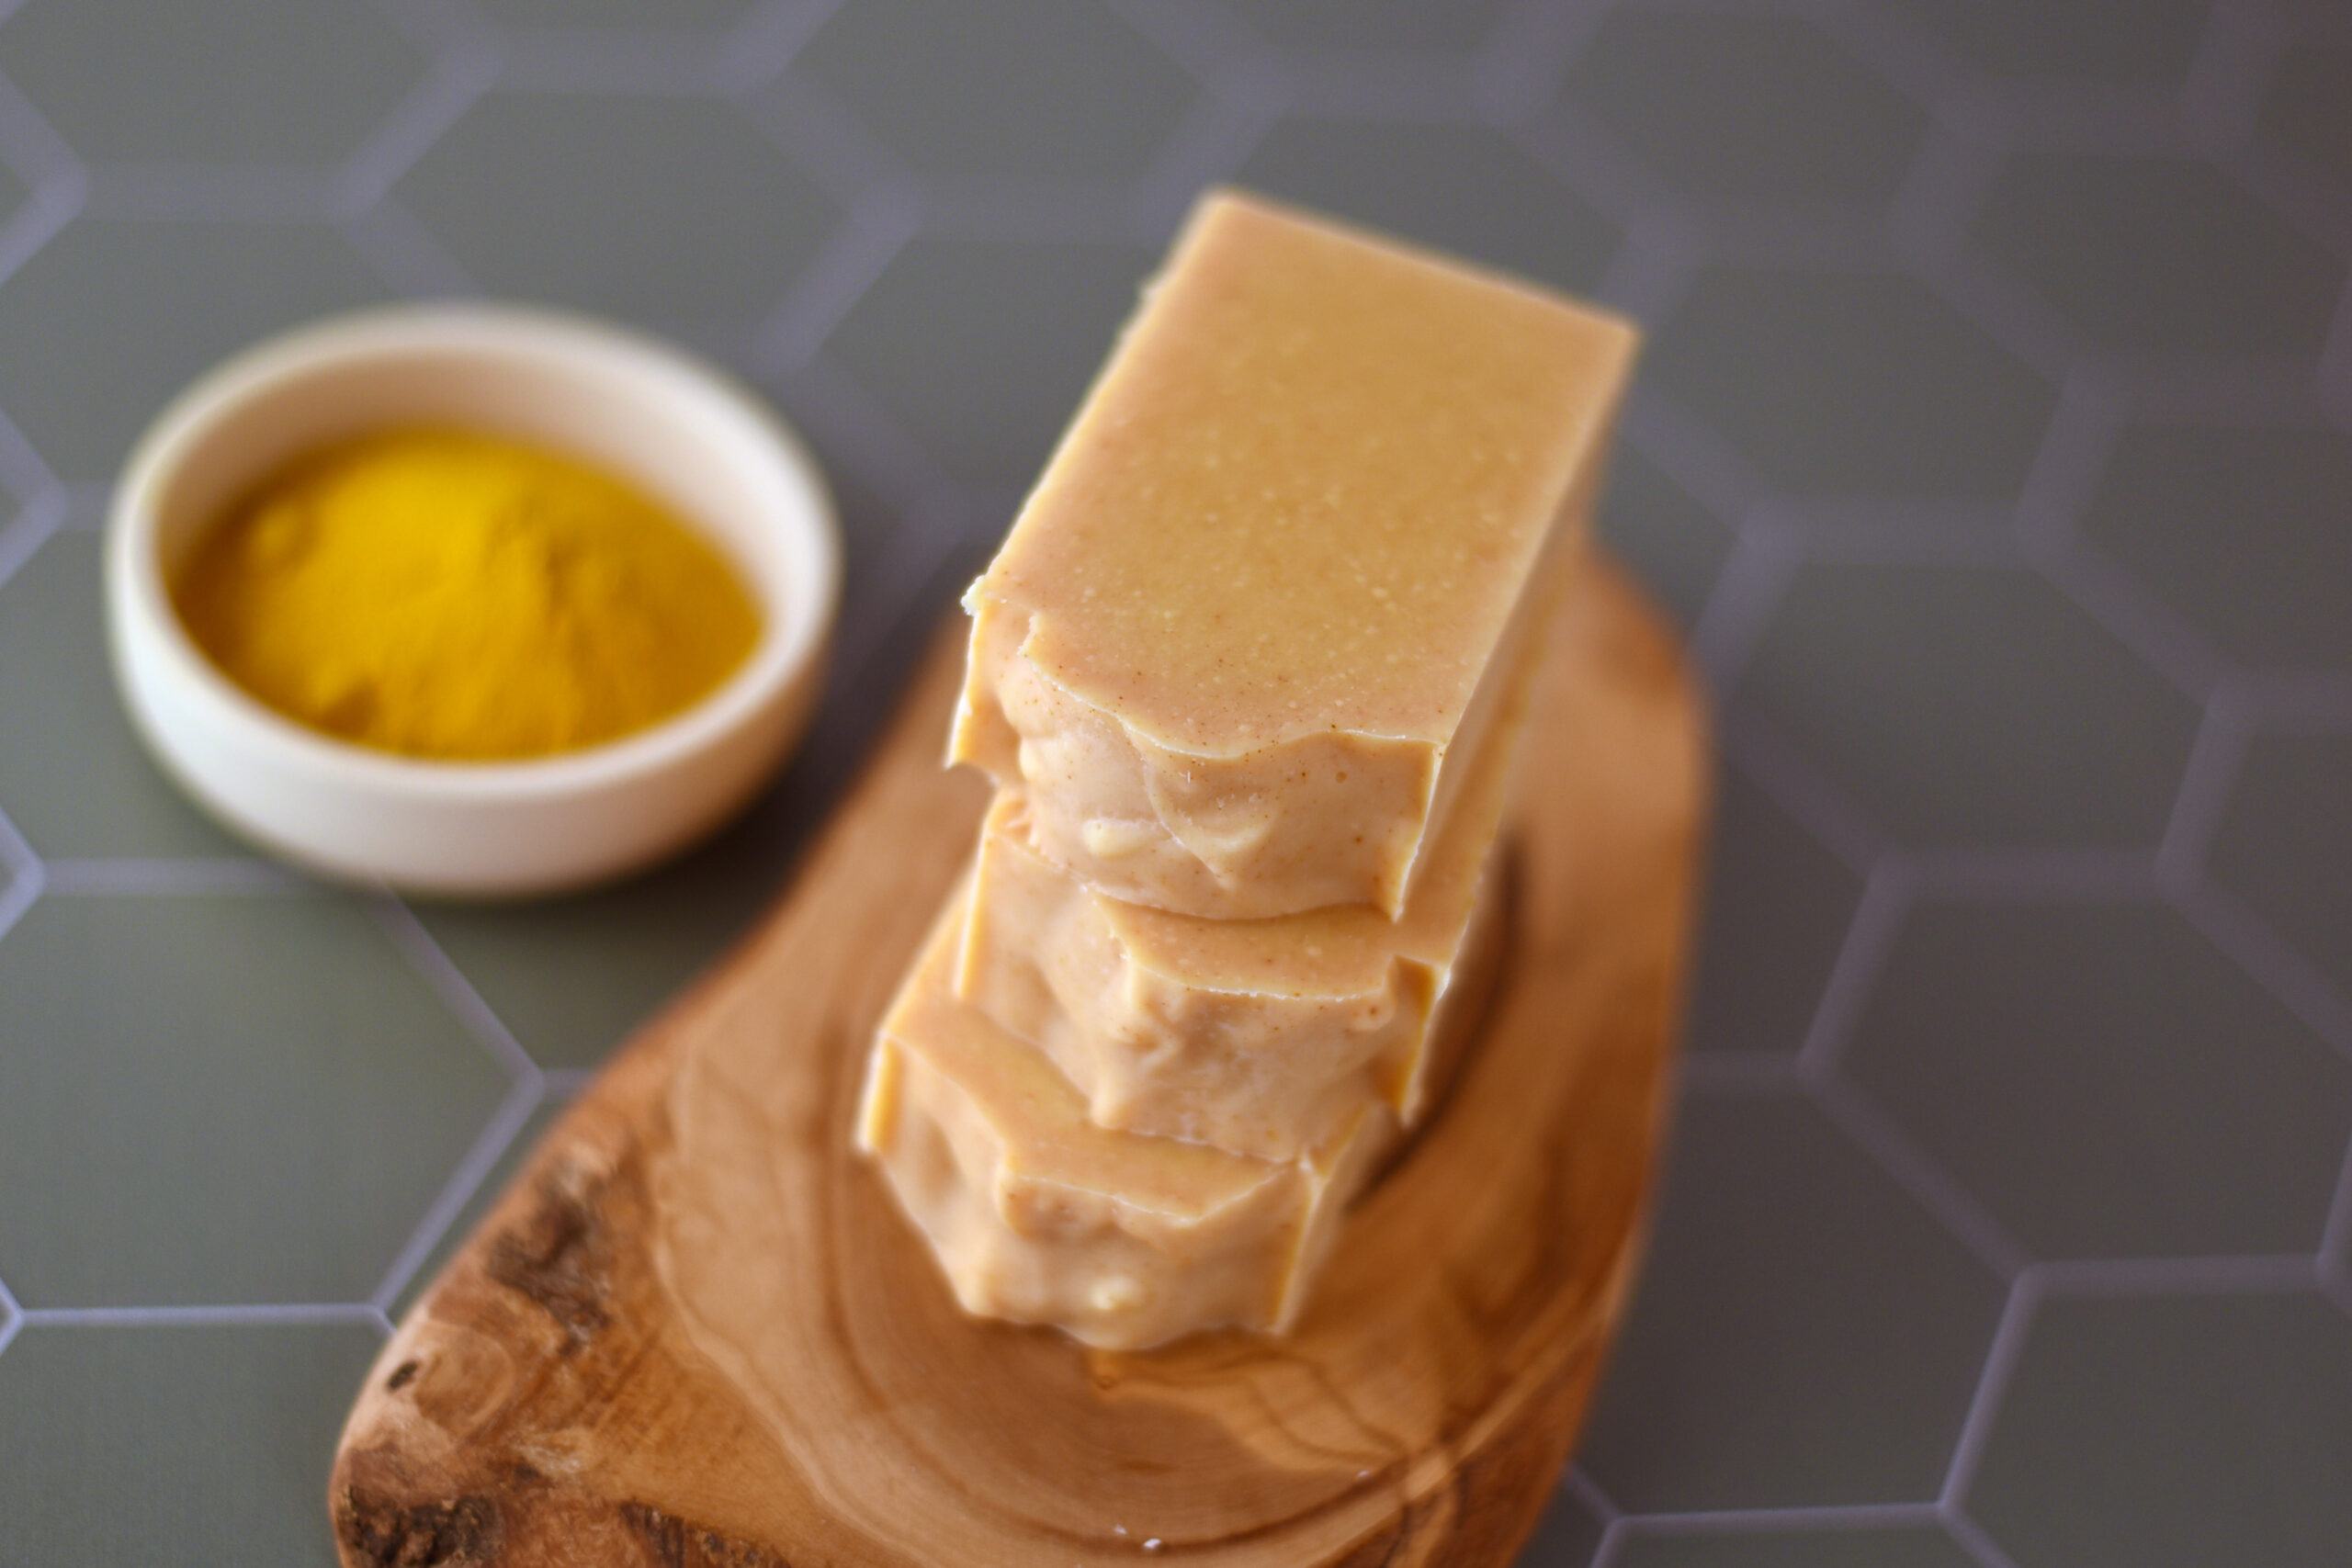
Is there anything more "FALL" than pumpkin and cinnamon?! This [...]

Is there anything more "FALL" than pumpkin and cinnamon?! This [...]
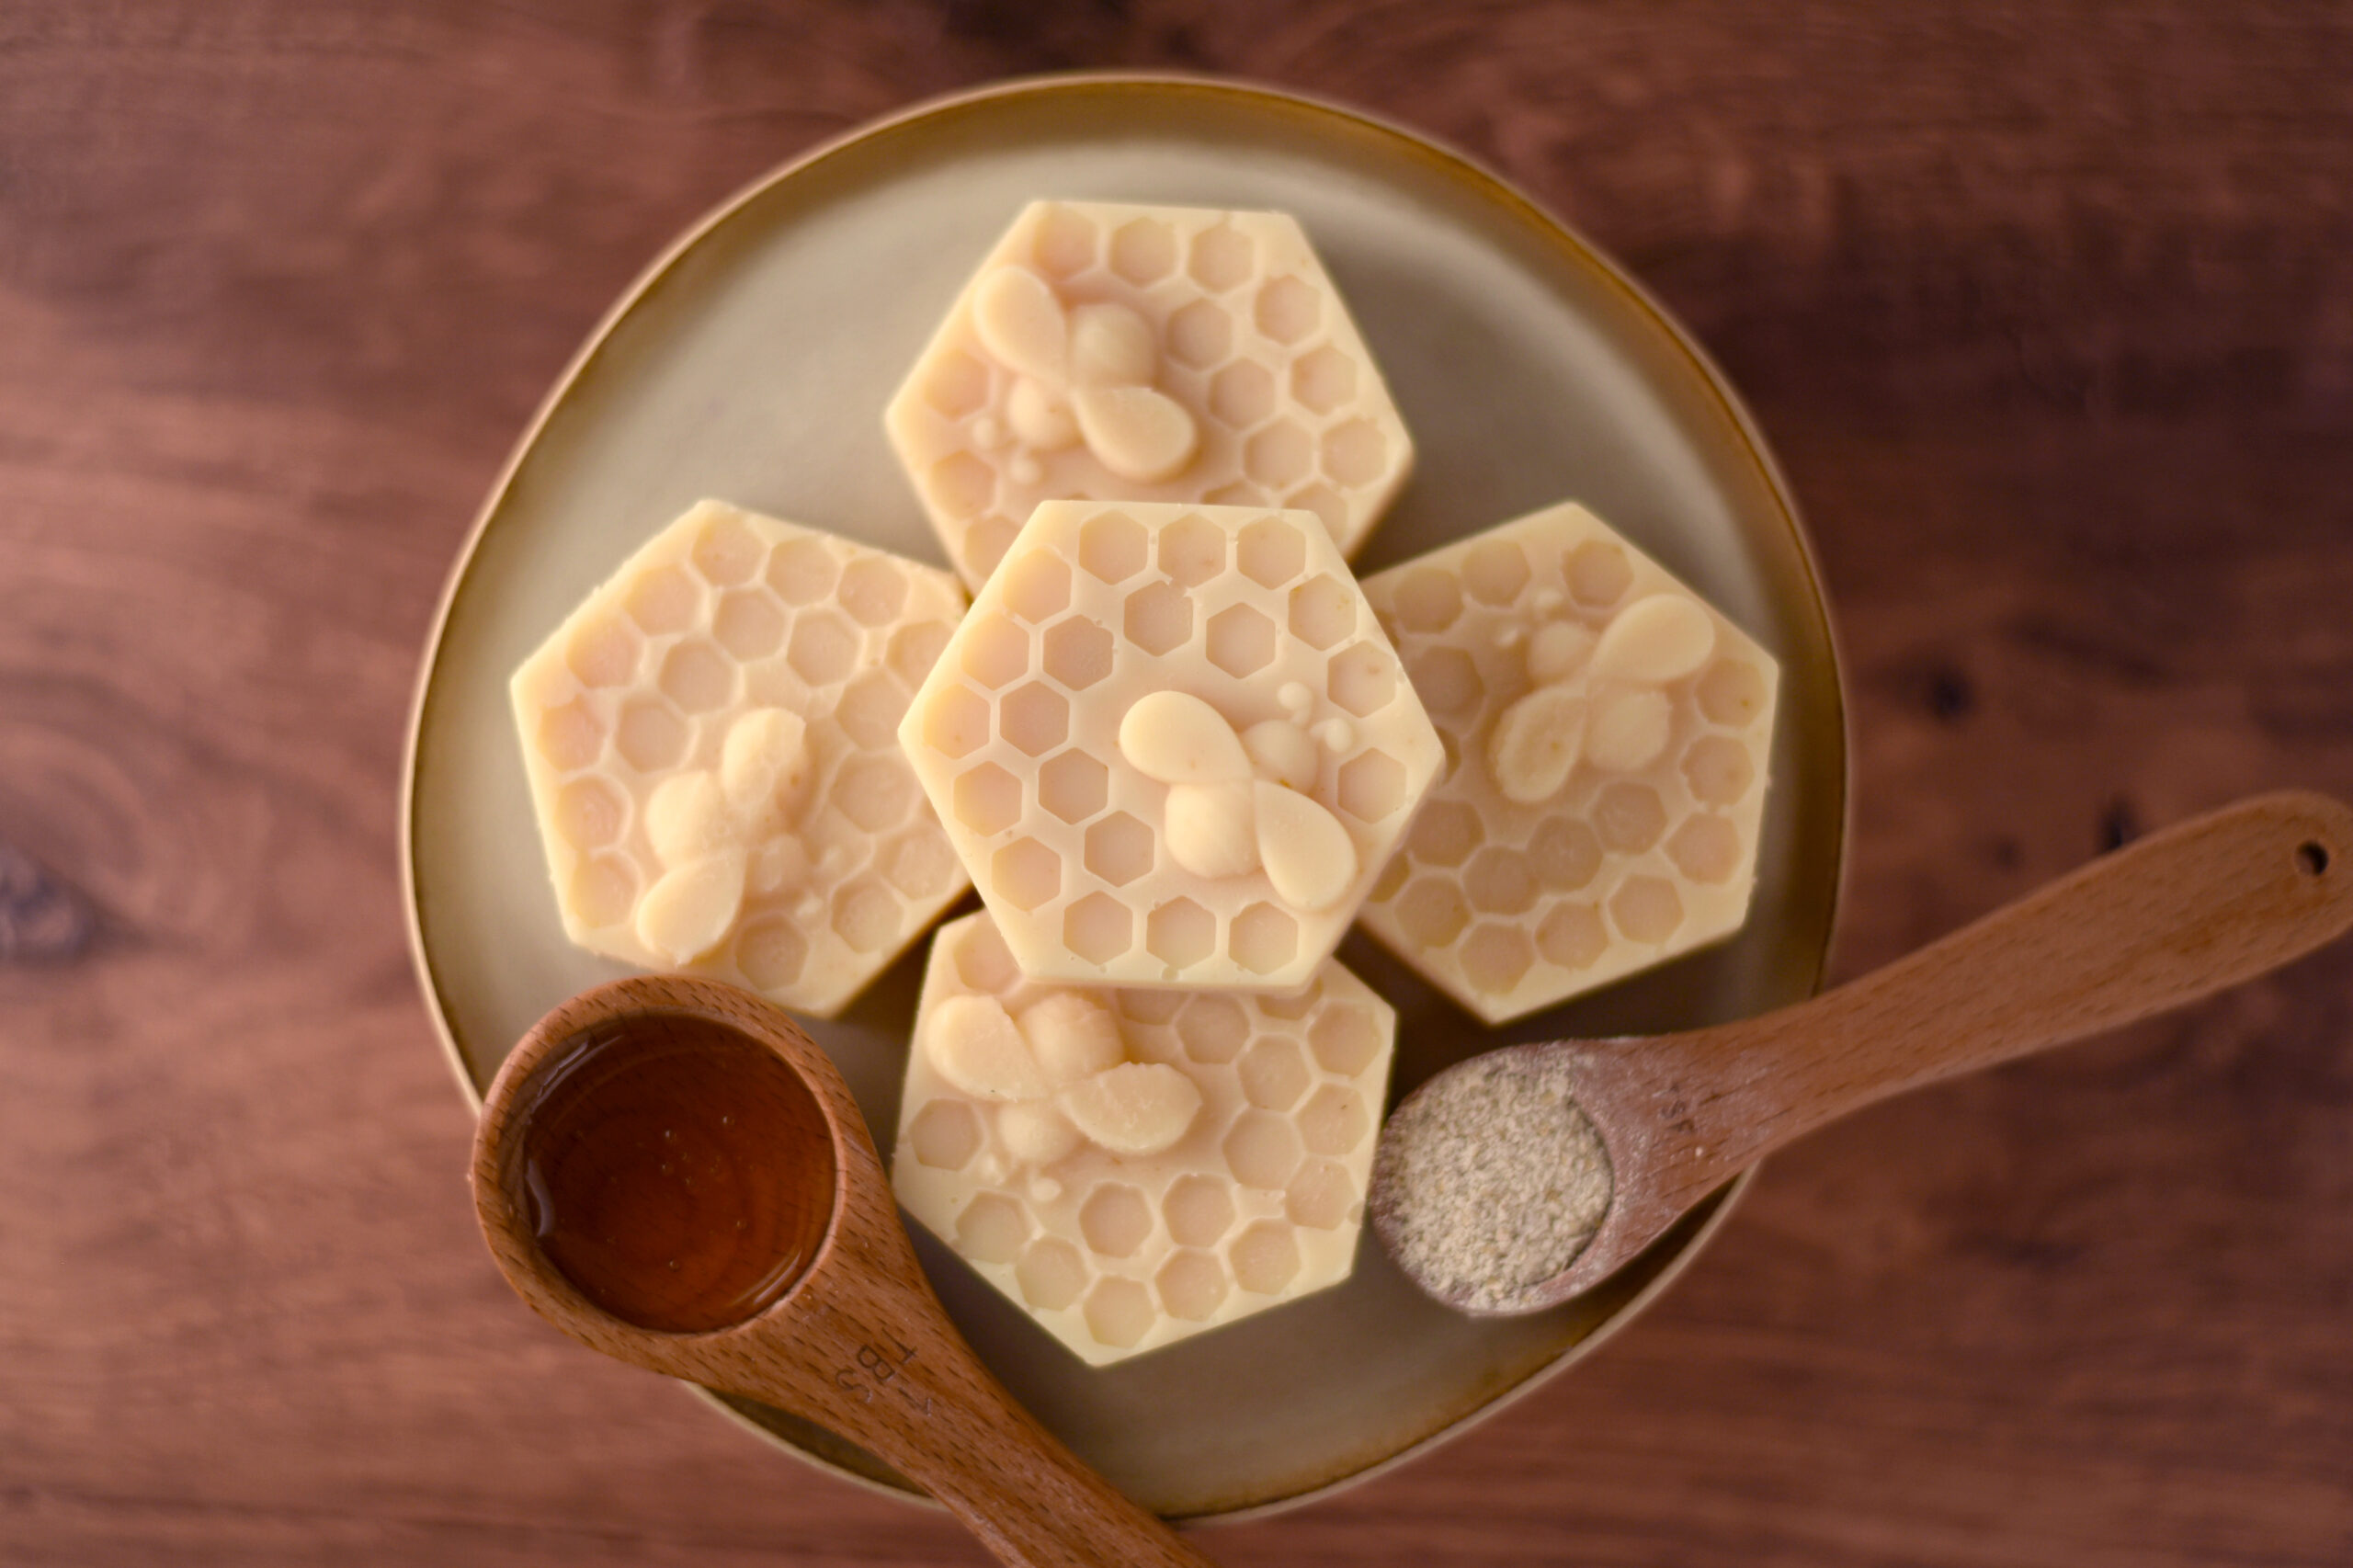
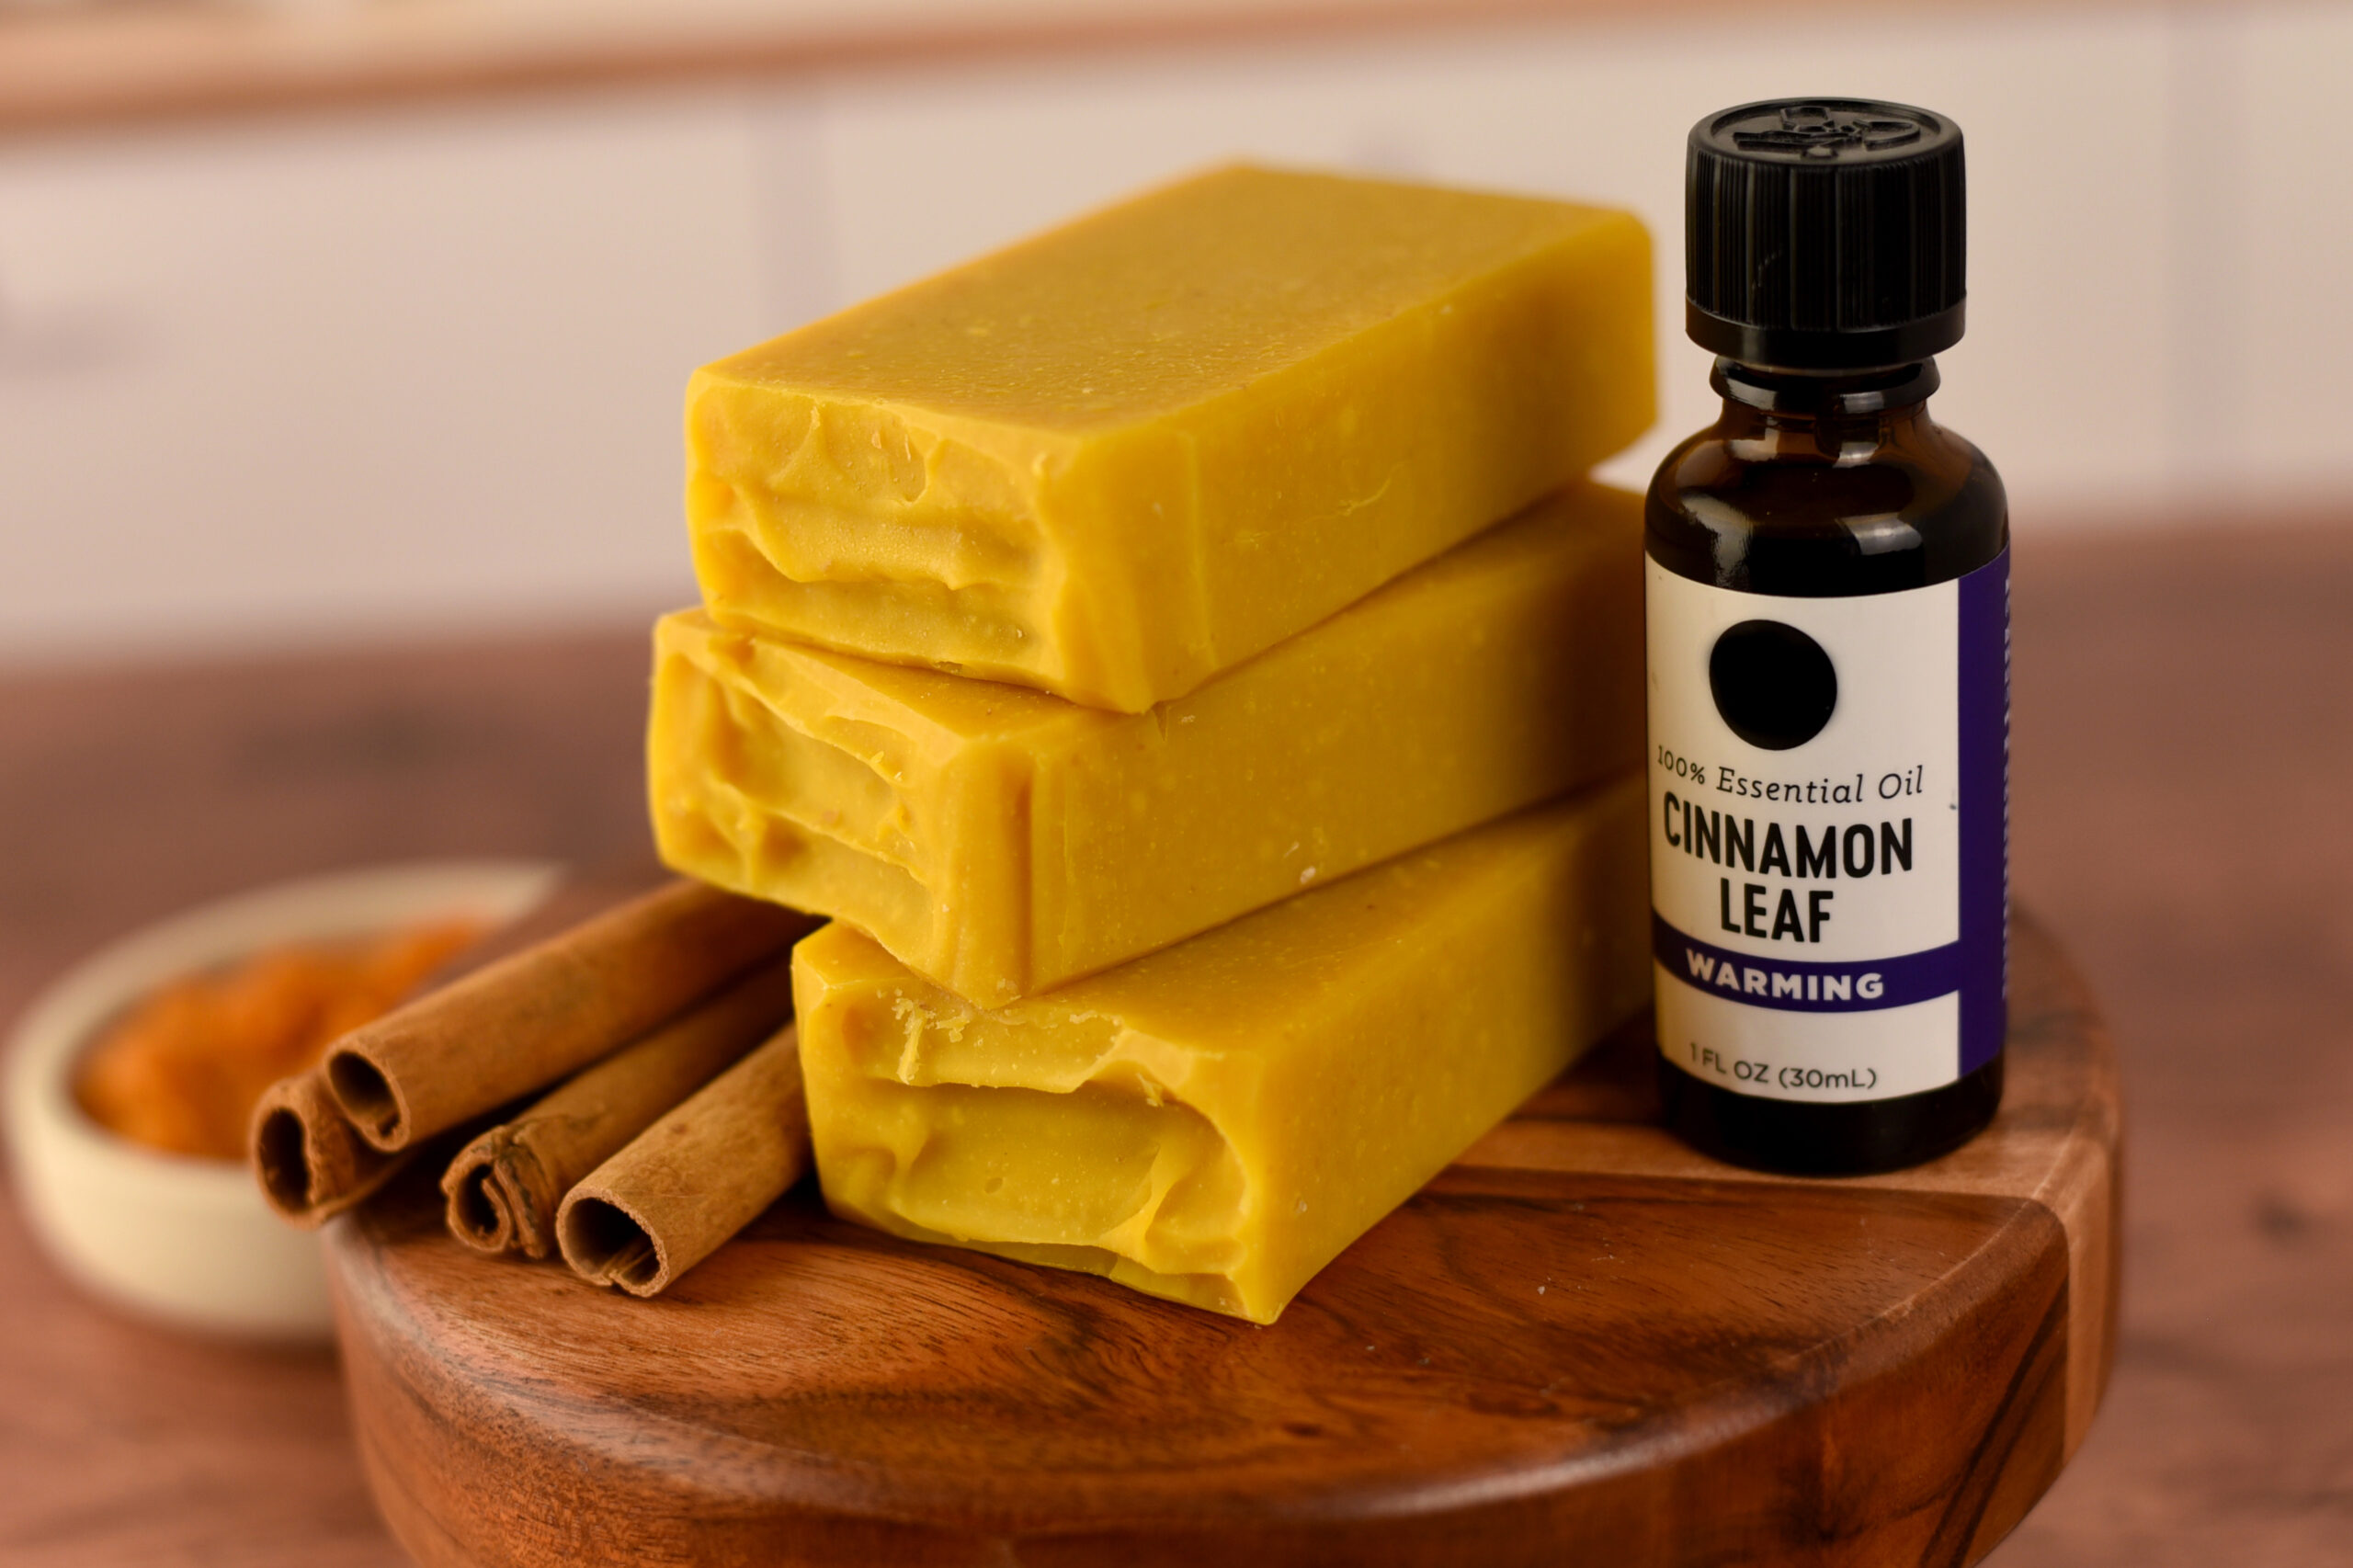
Turmeric is probably one of my favorite natural colorants for [...]
This is one of my favorite soaps to make! It [...]
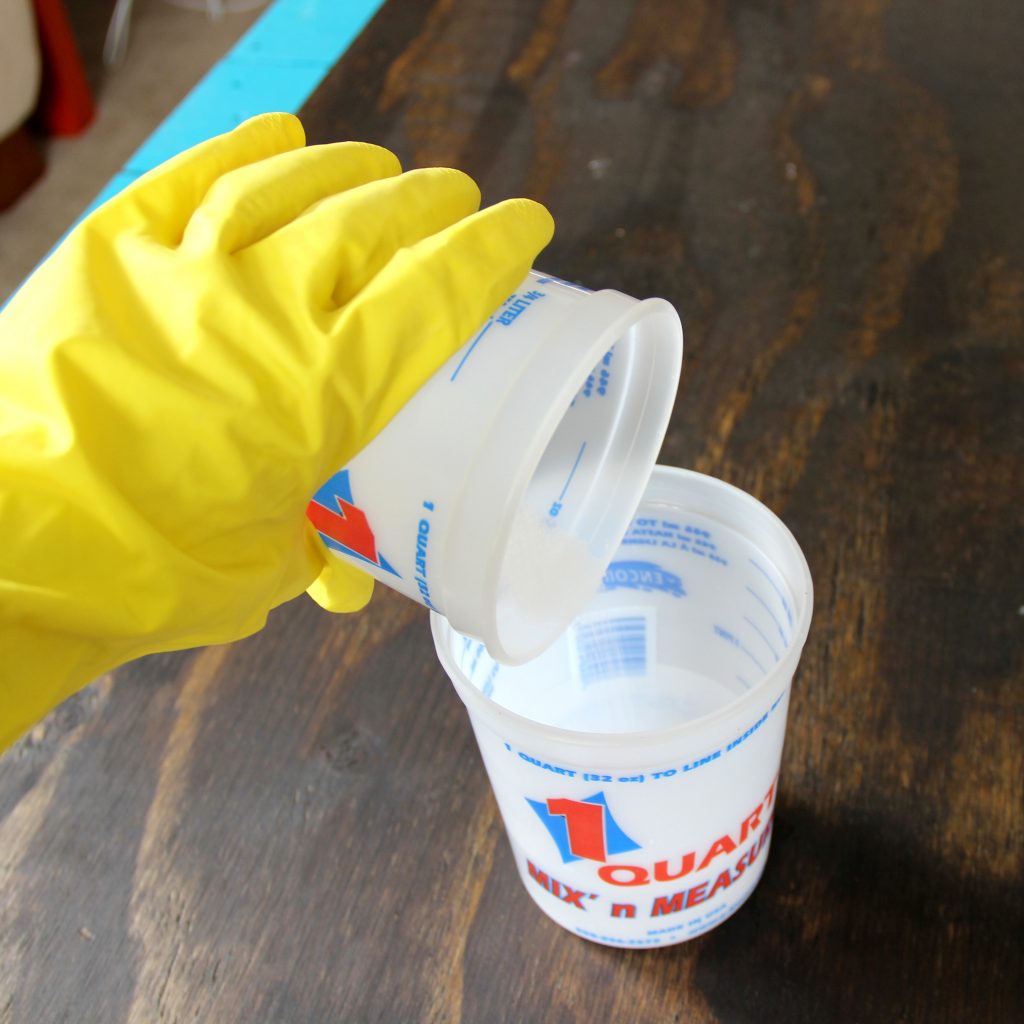
Sodium hydroxide, also referred to as lye or caustic soda, [...]
One of the questions we get asked most when it [...]
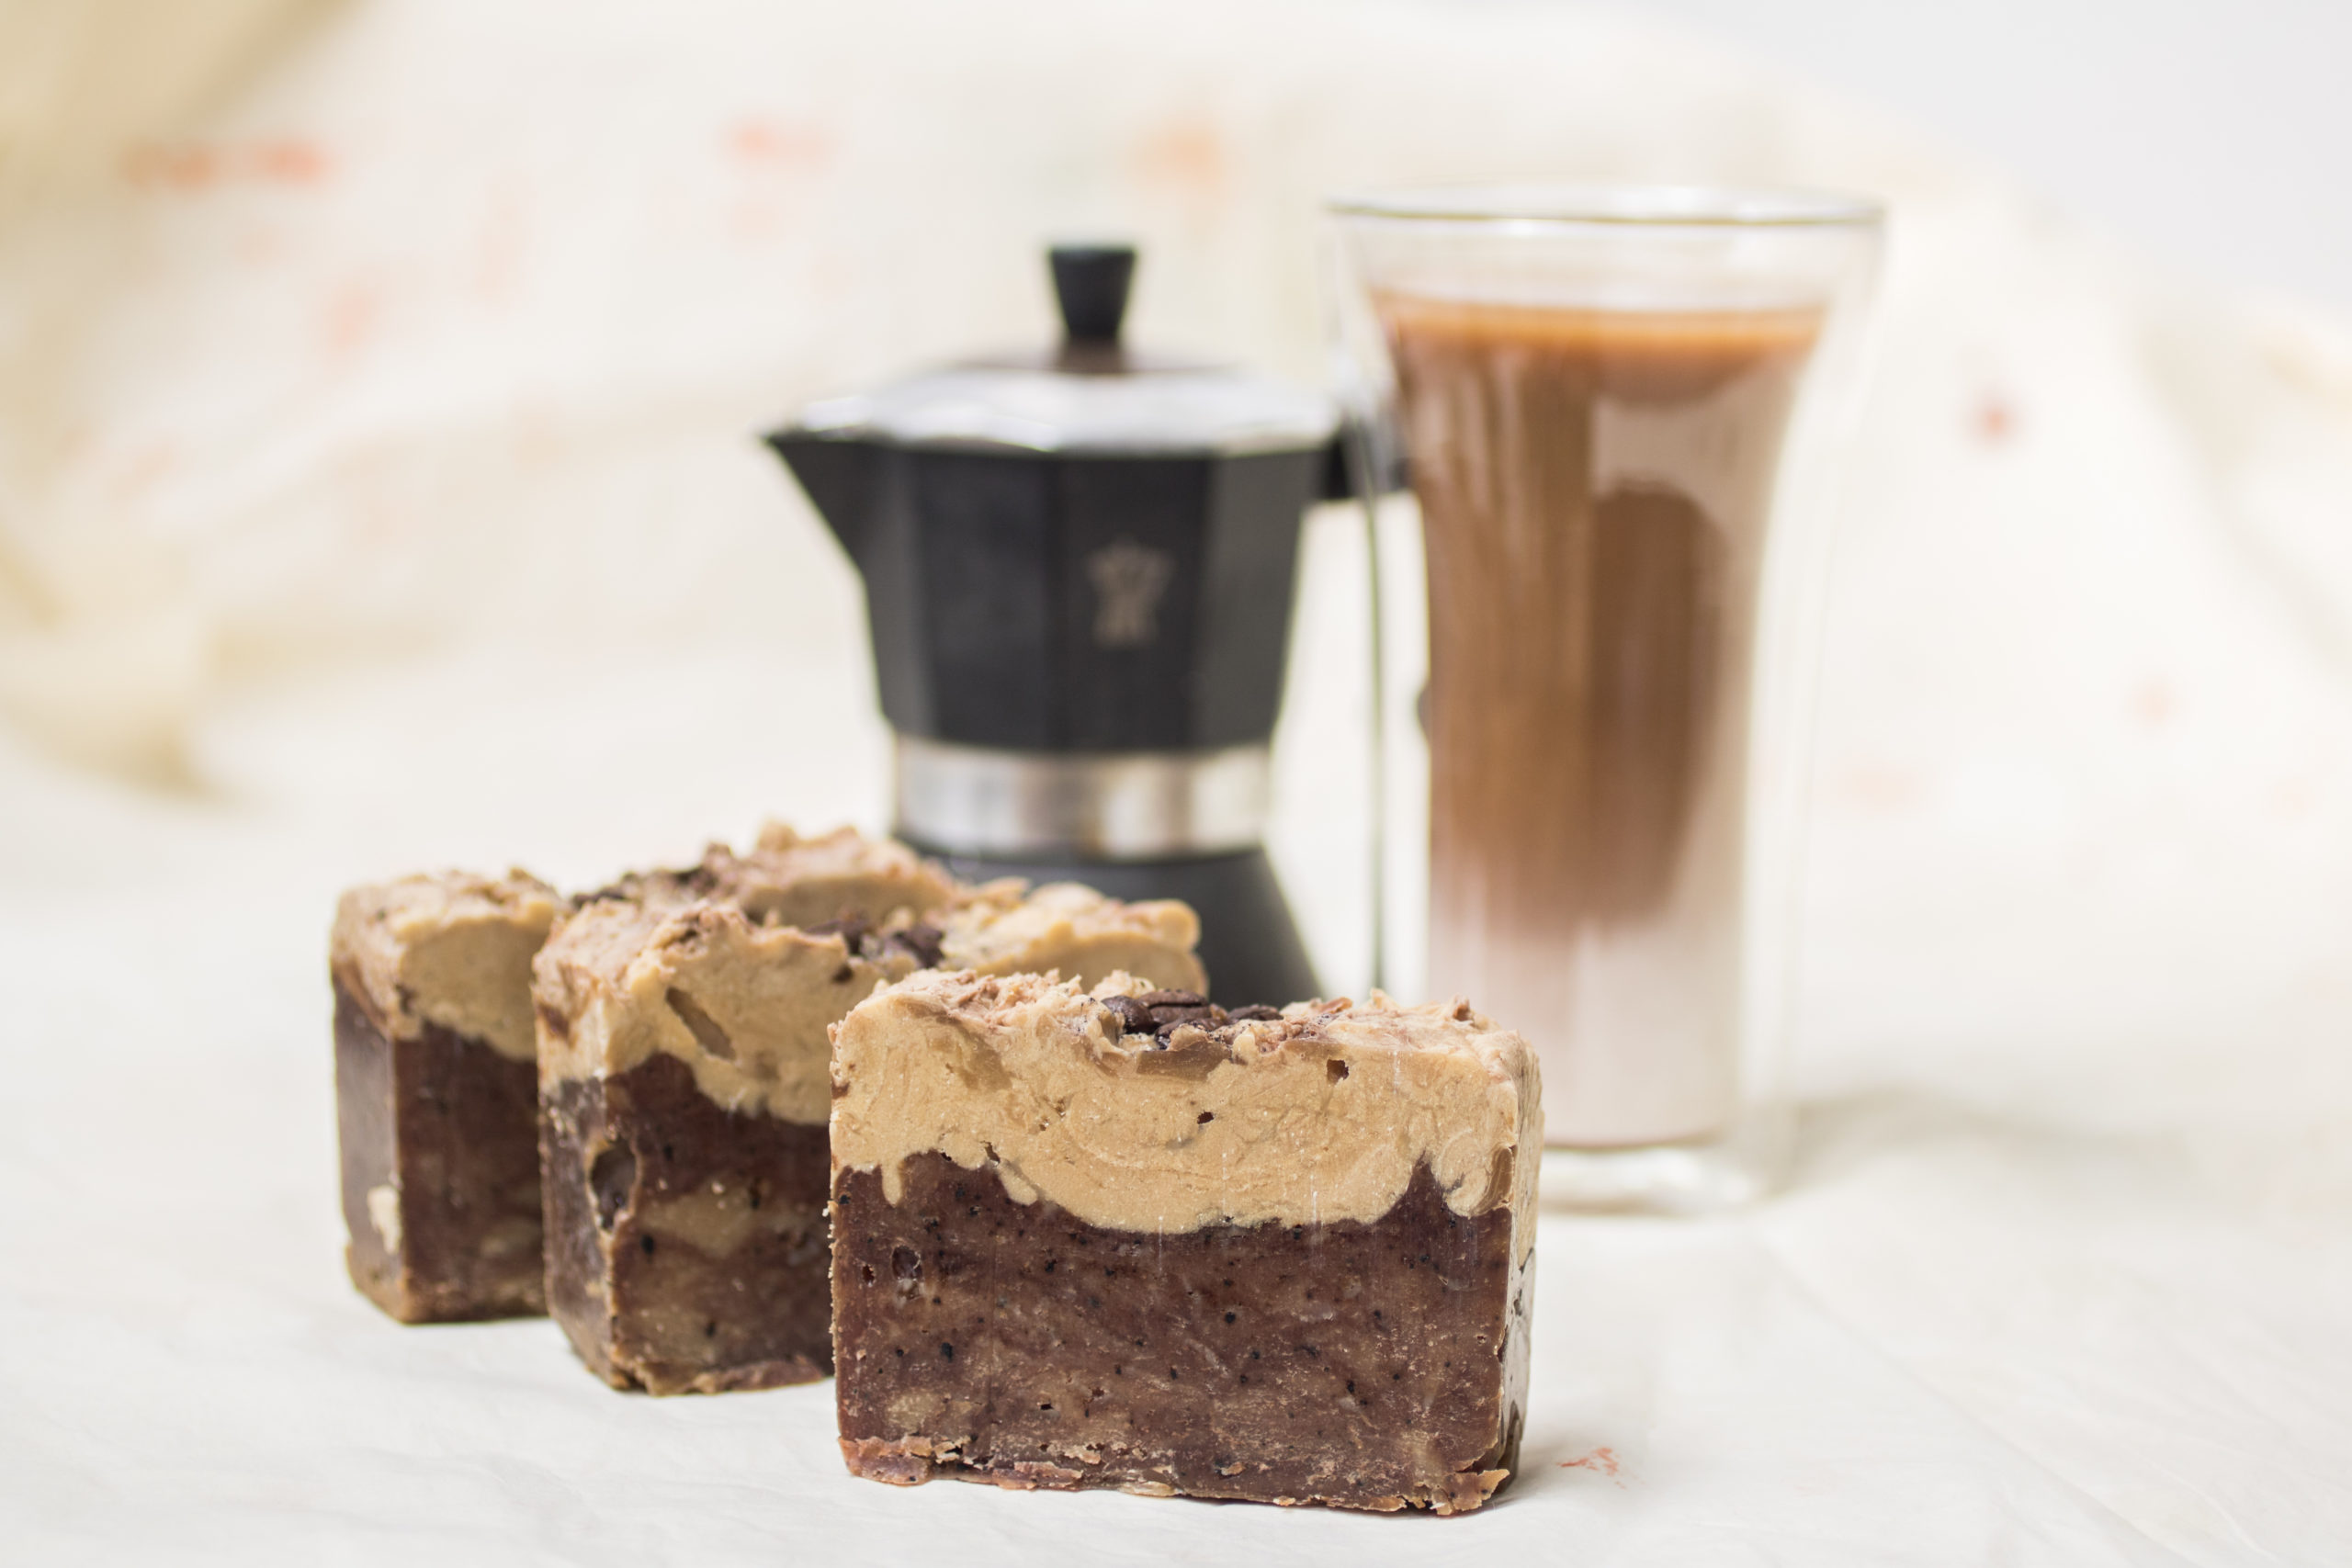
How do you take your coffee? I like to take [...]
This is day two in my 30 day blogging challenge. [...]
A couple of Saturdays ago I had my first Austin, [...]

© Copyright 2008-2021 | Lovin Soap Studio LLC