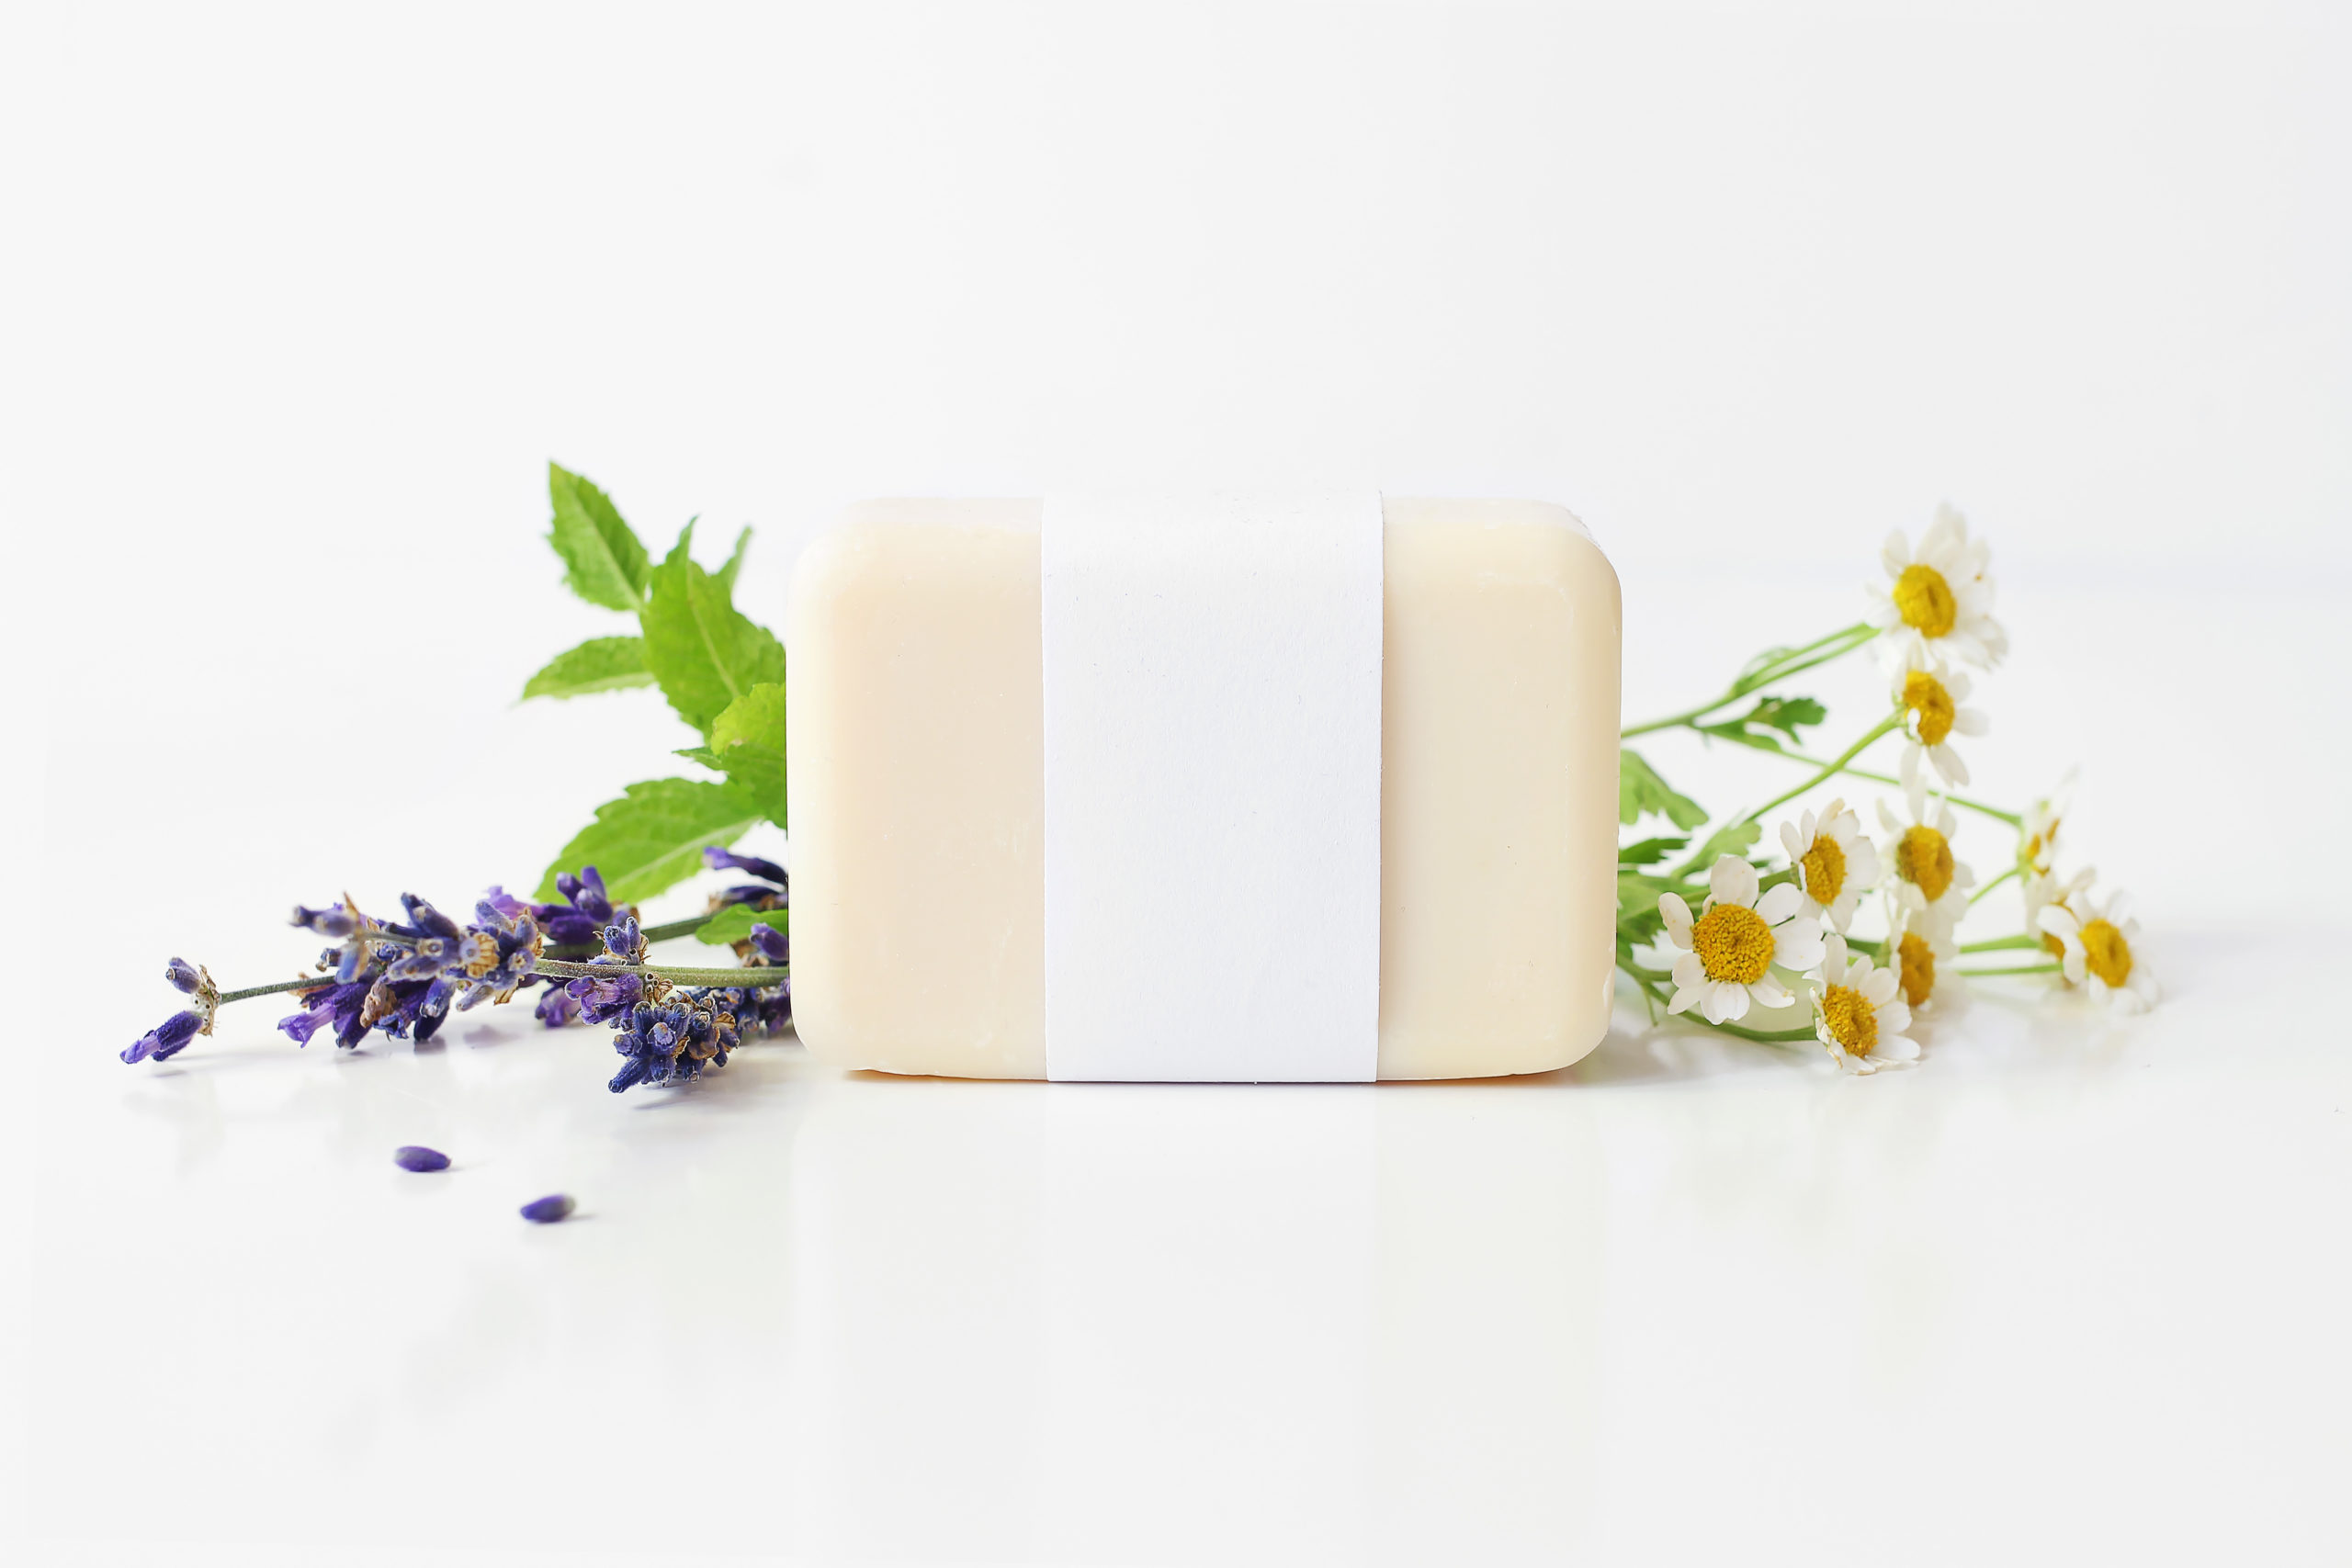
Basic Cold Process Soap Recipes to Get You Started!
It can be hard to know where to start when [...]

It can be hard to know where to start when [...]
It is no secret that the drop swirl in one [...]
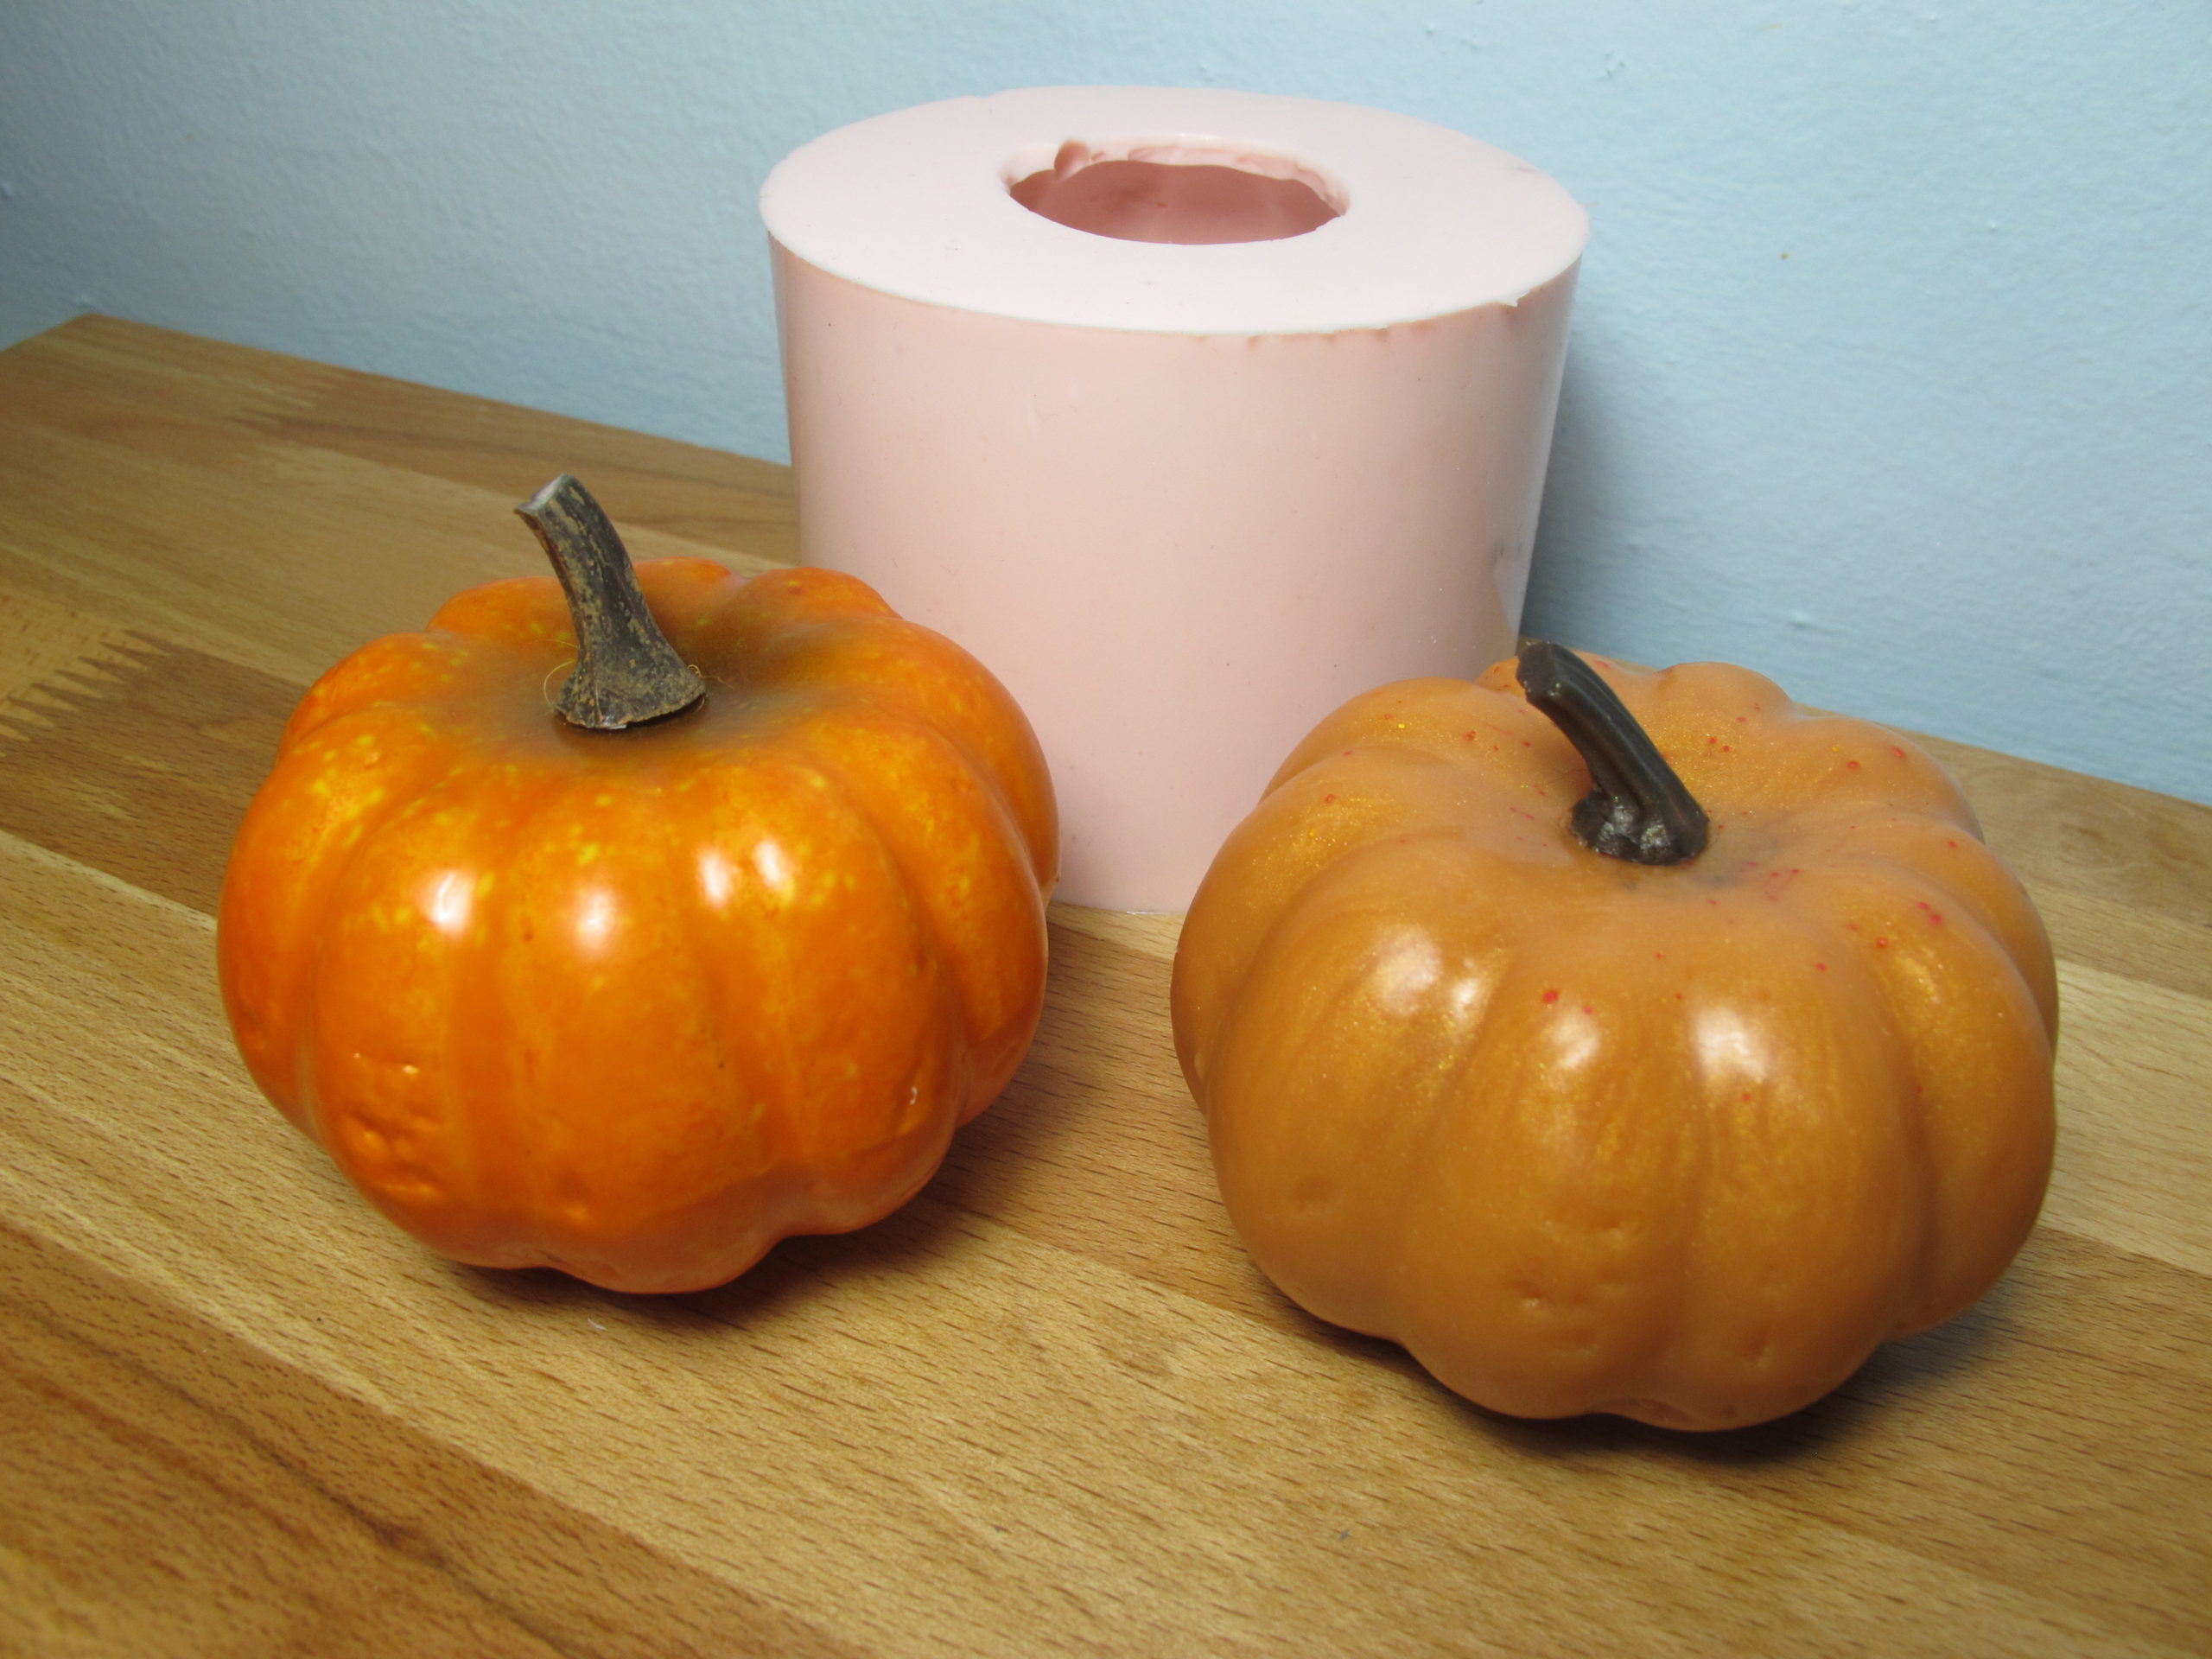
Almost as addictive as soap making, making your own molds [...]
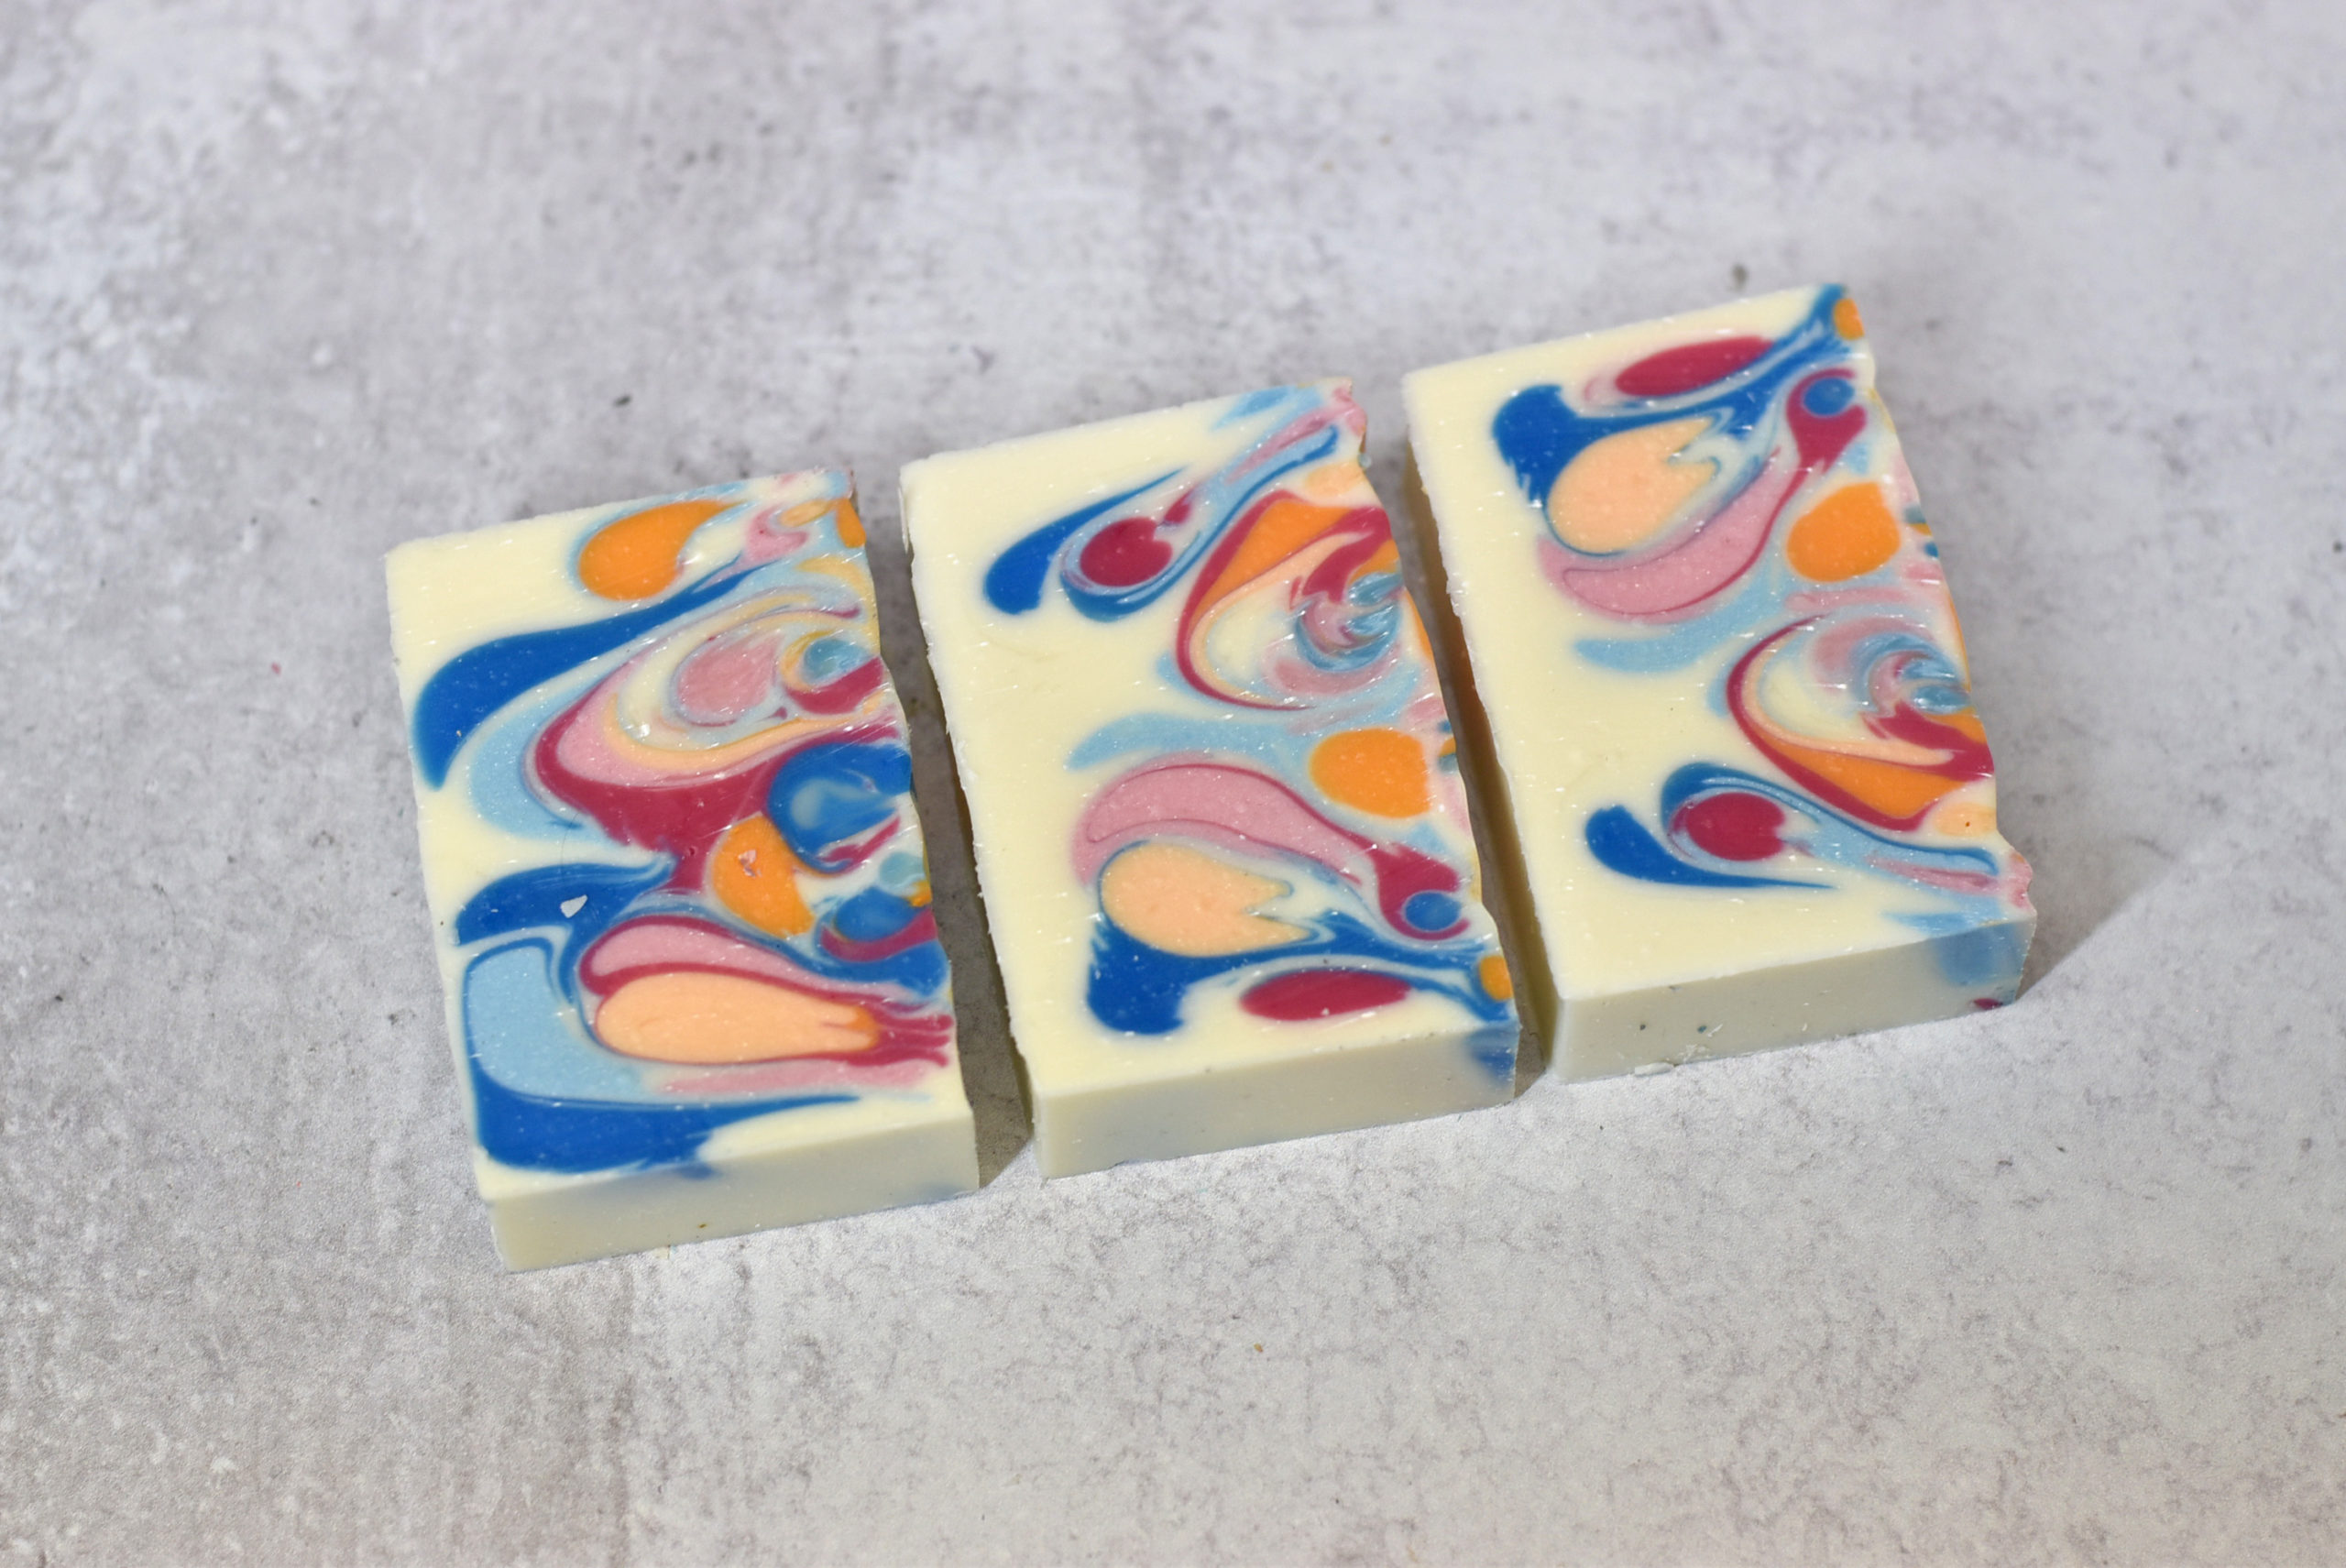
I LOVE a good spin swirl when it comes to [...]
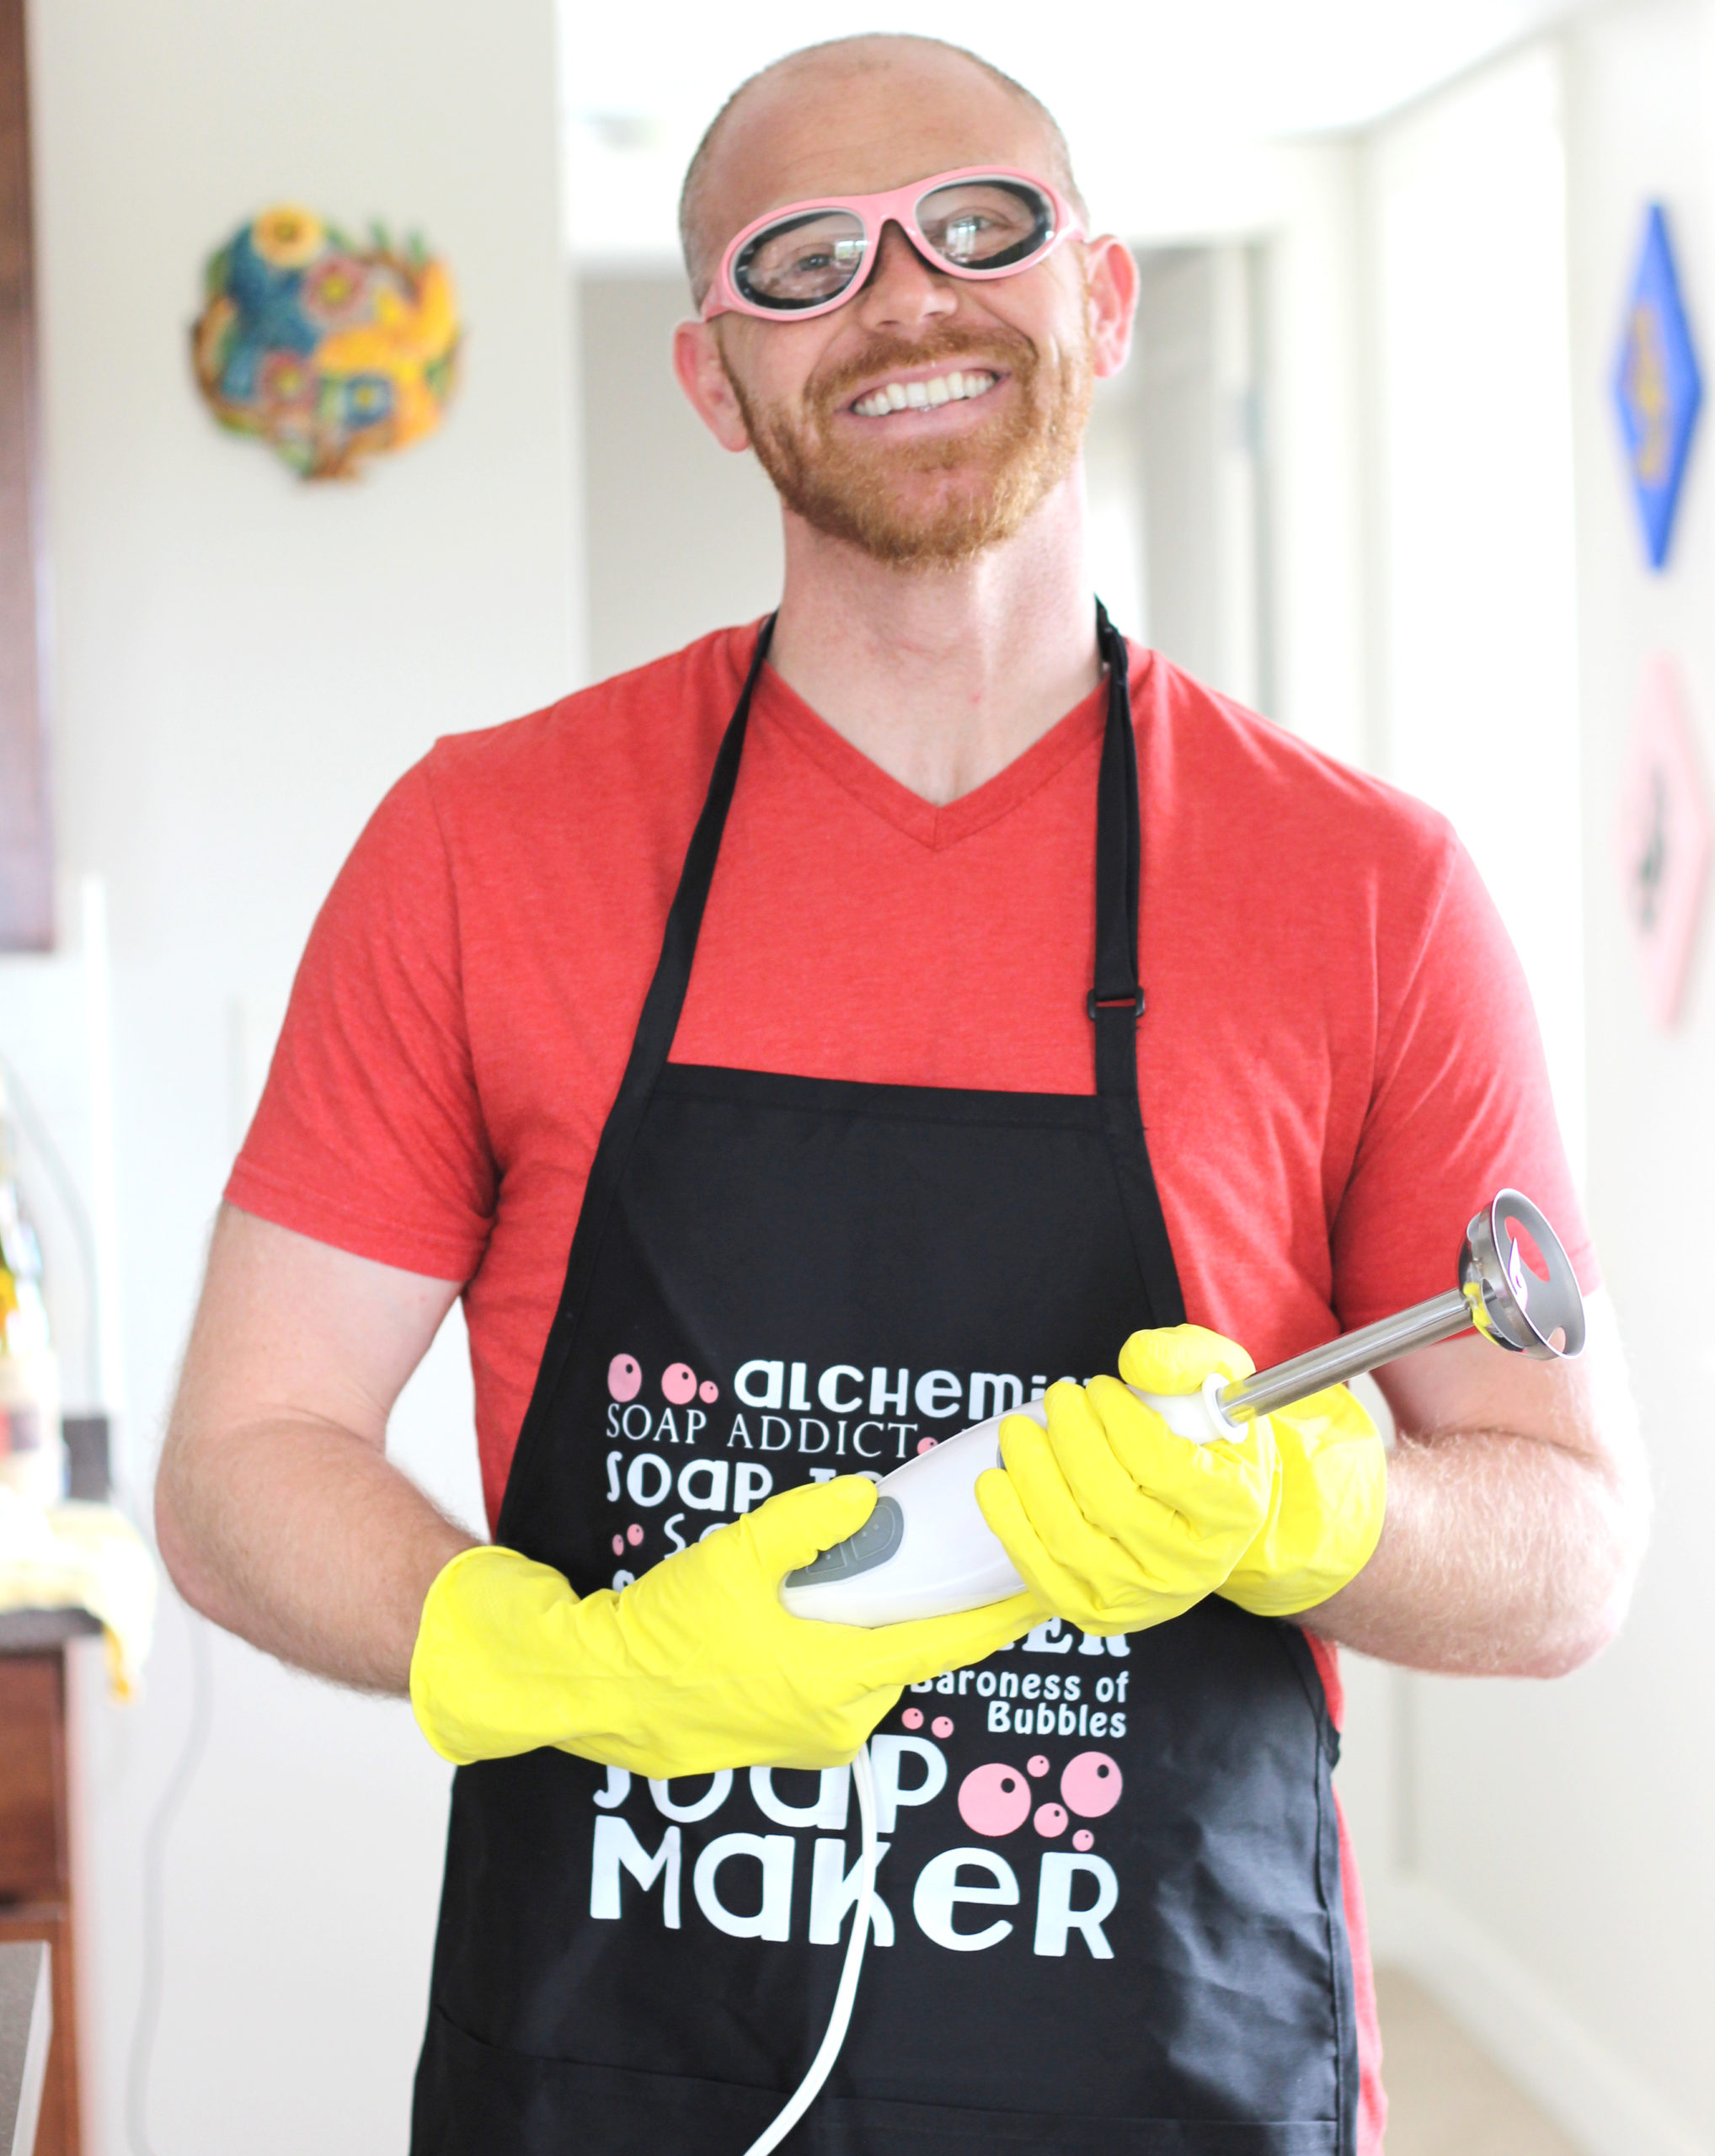
Sodium hydroxide is a highly caustic chemical. Contact with skin [...]
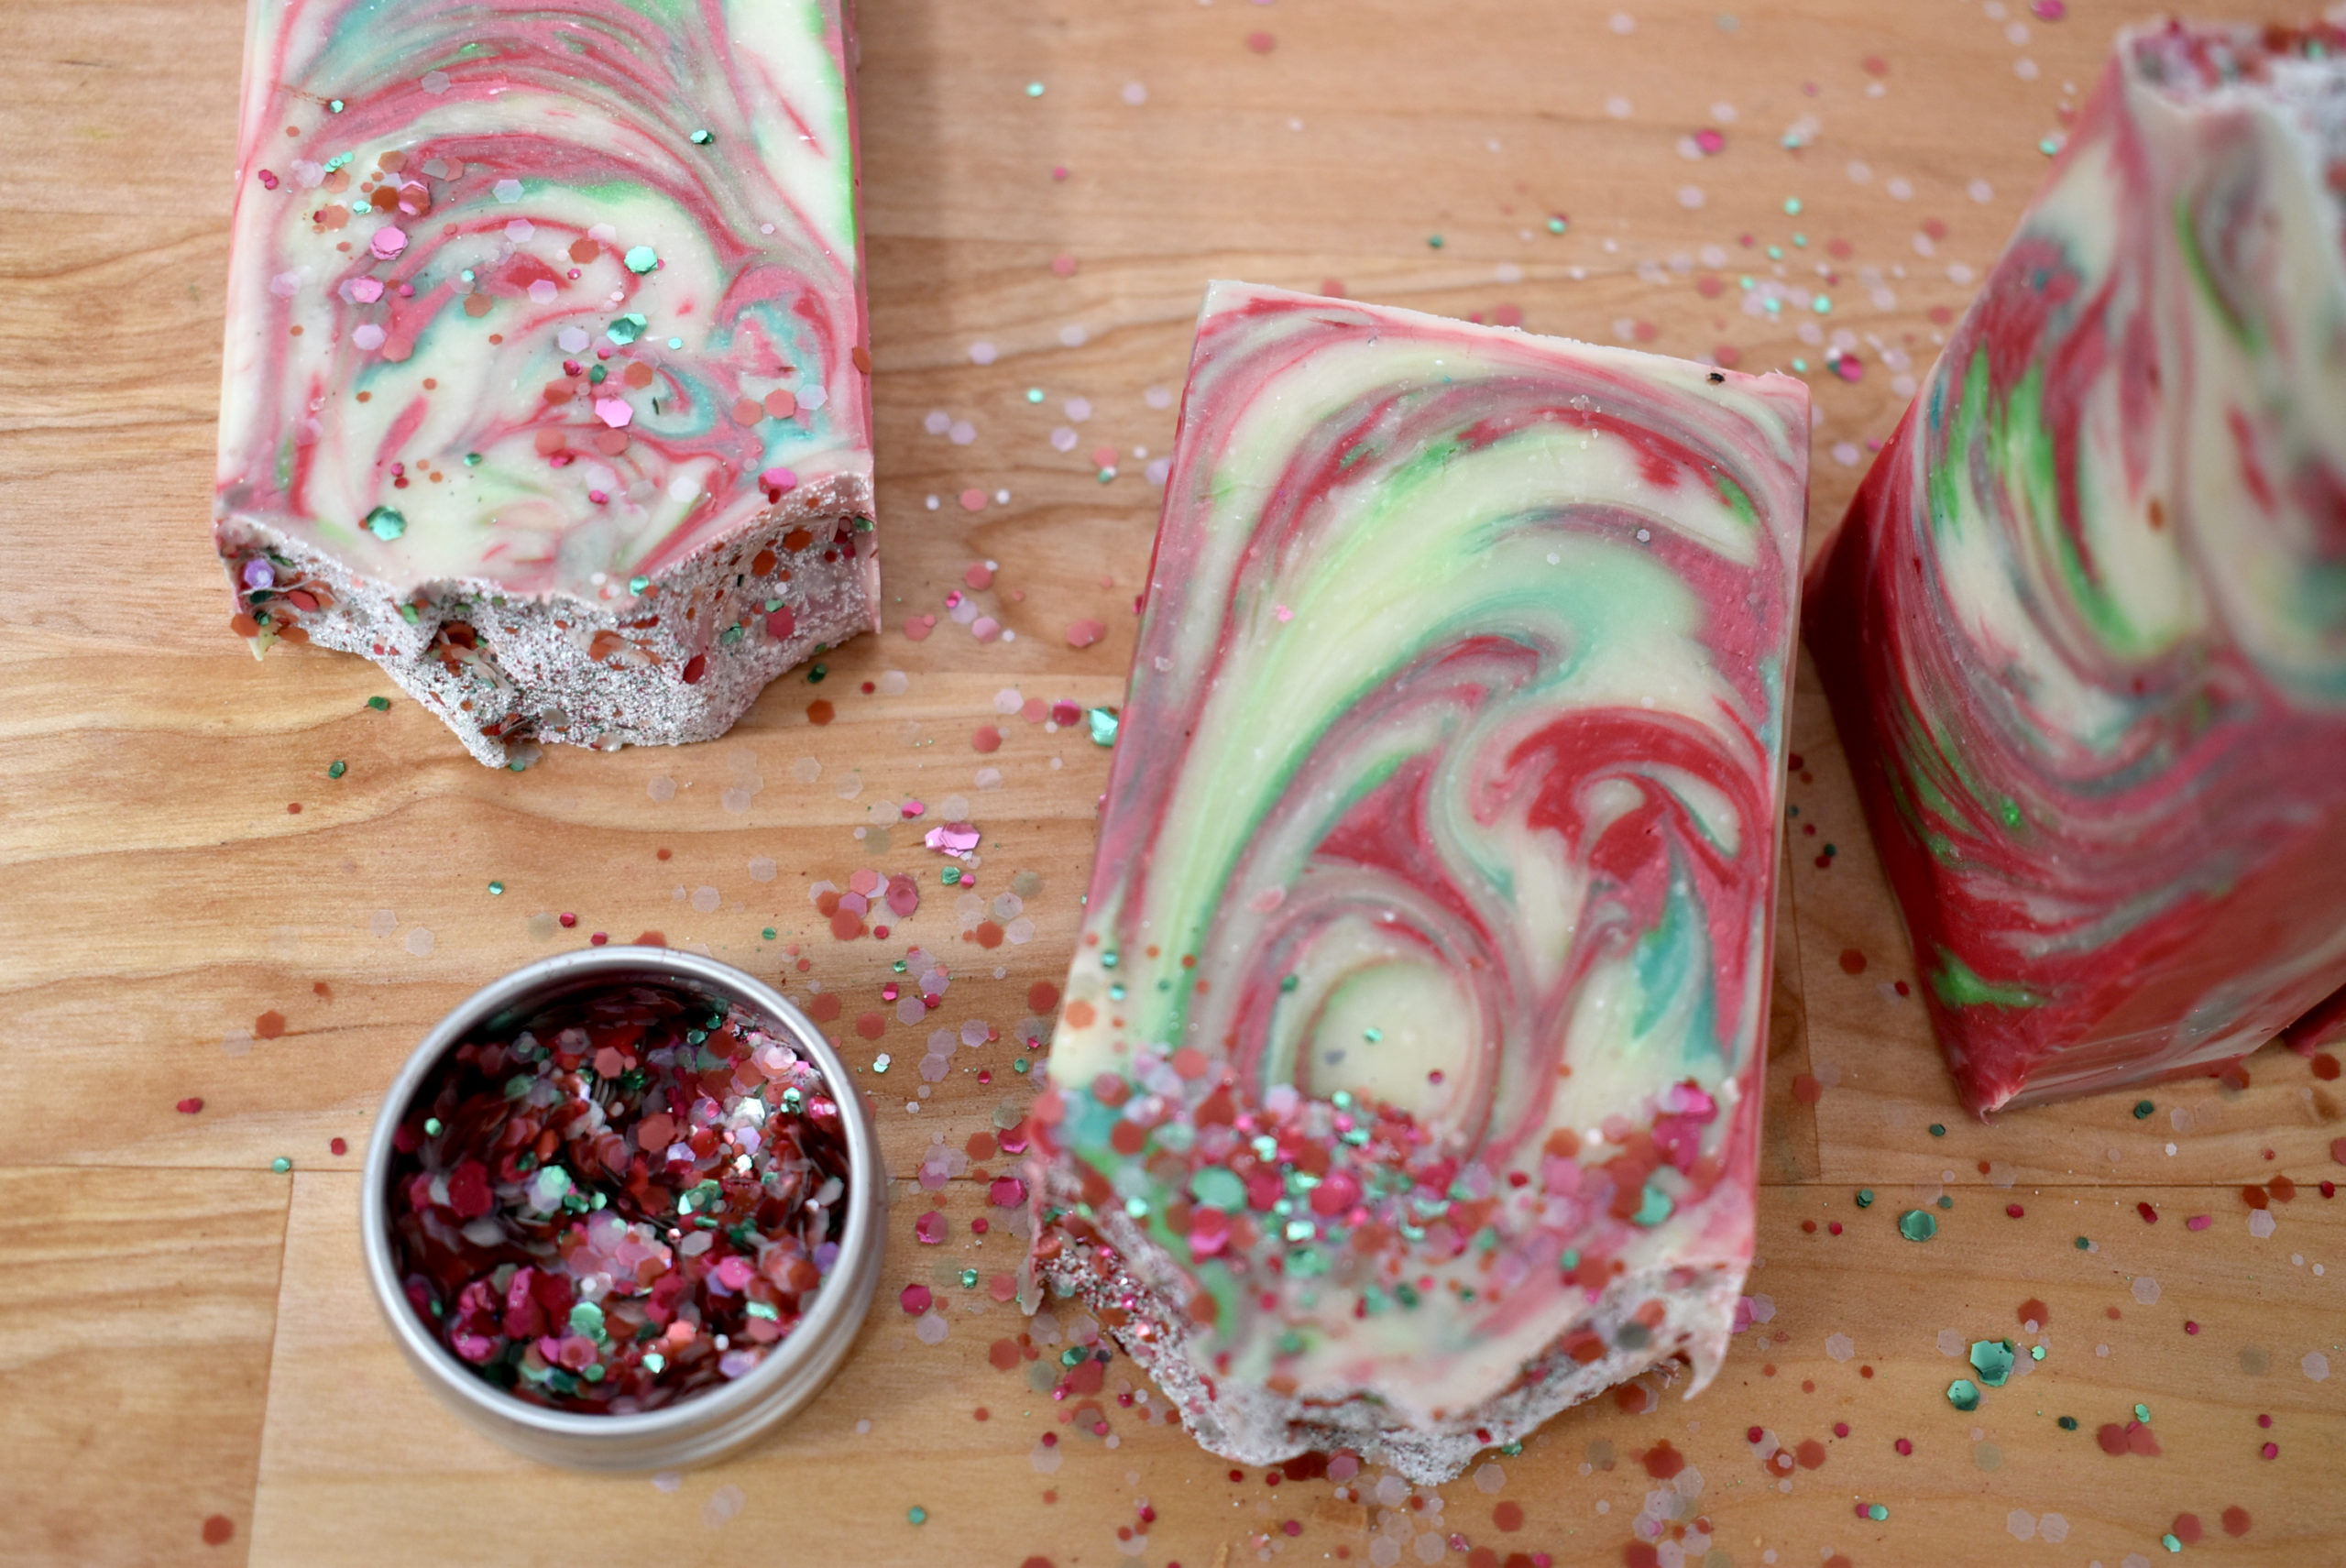
In this tutorial, I'm going to show you how to [...]
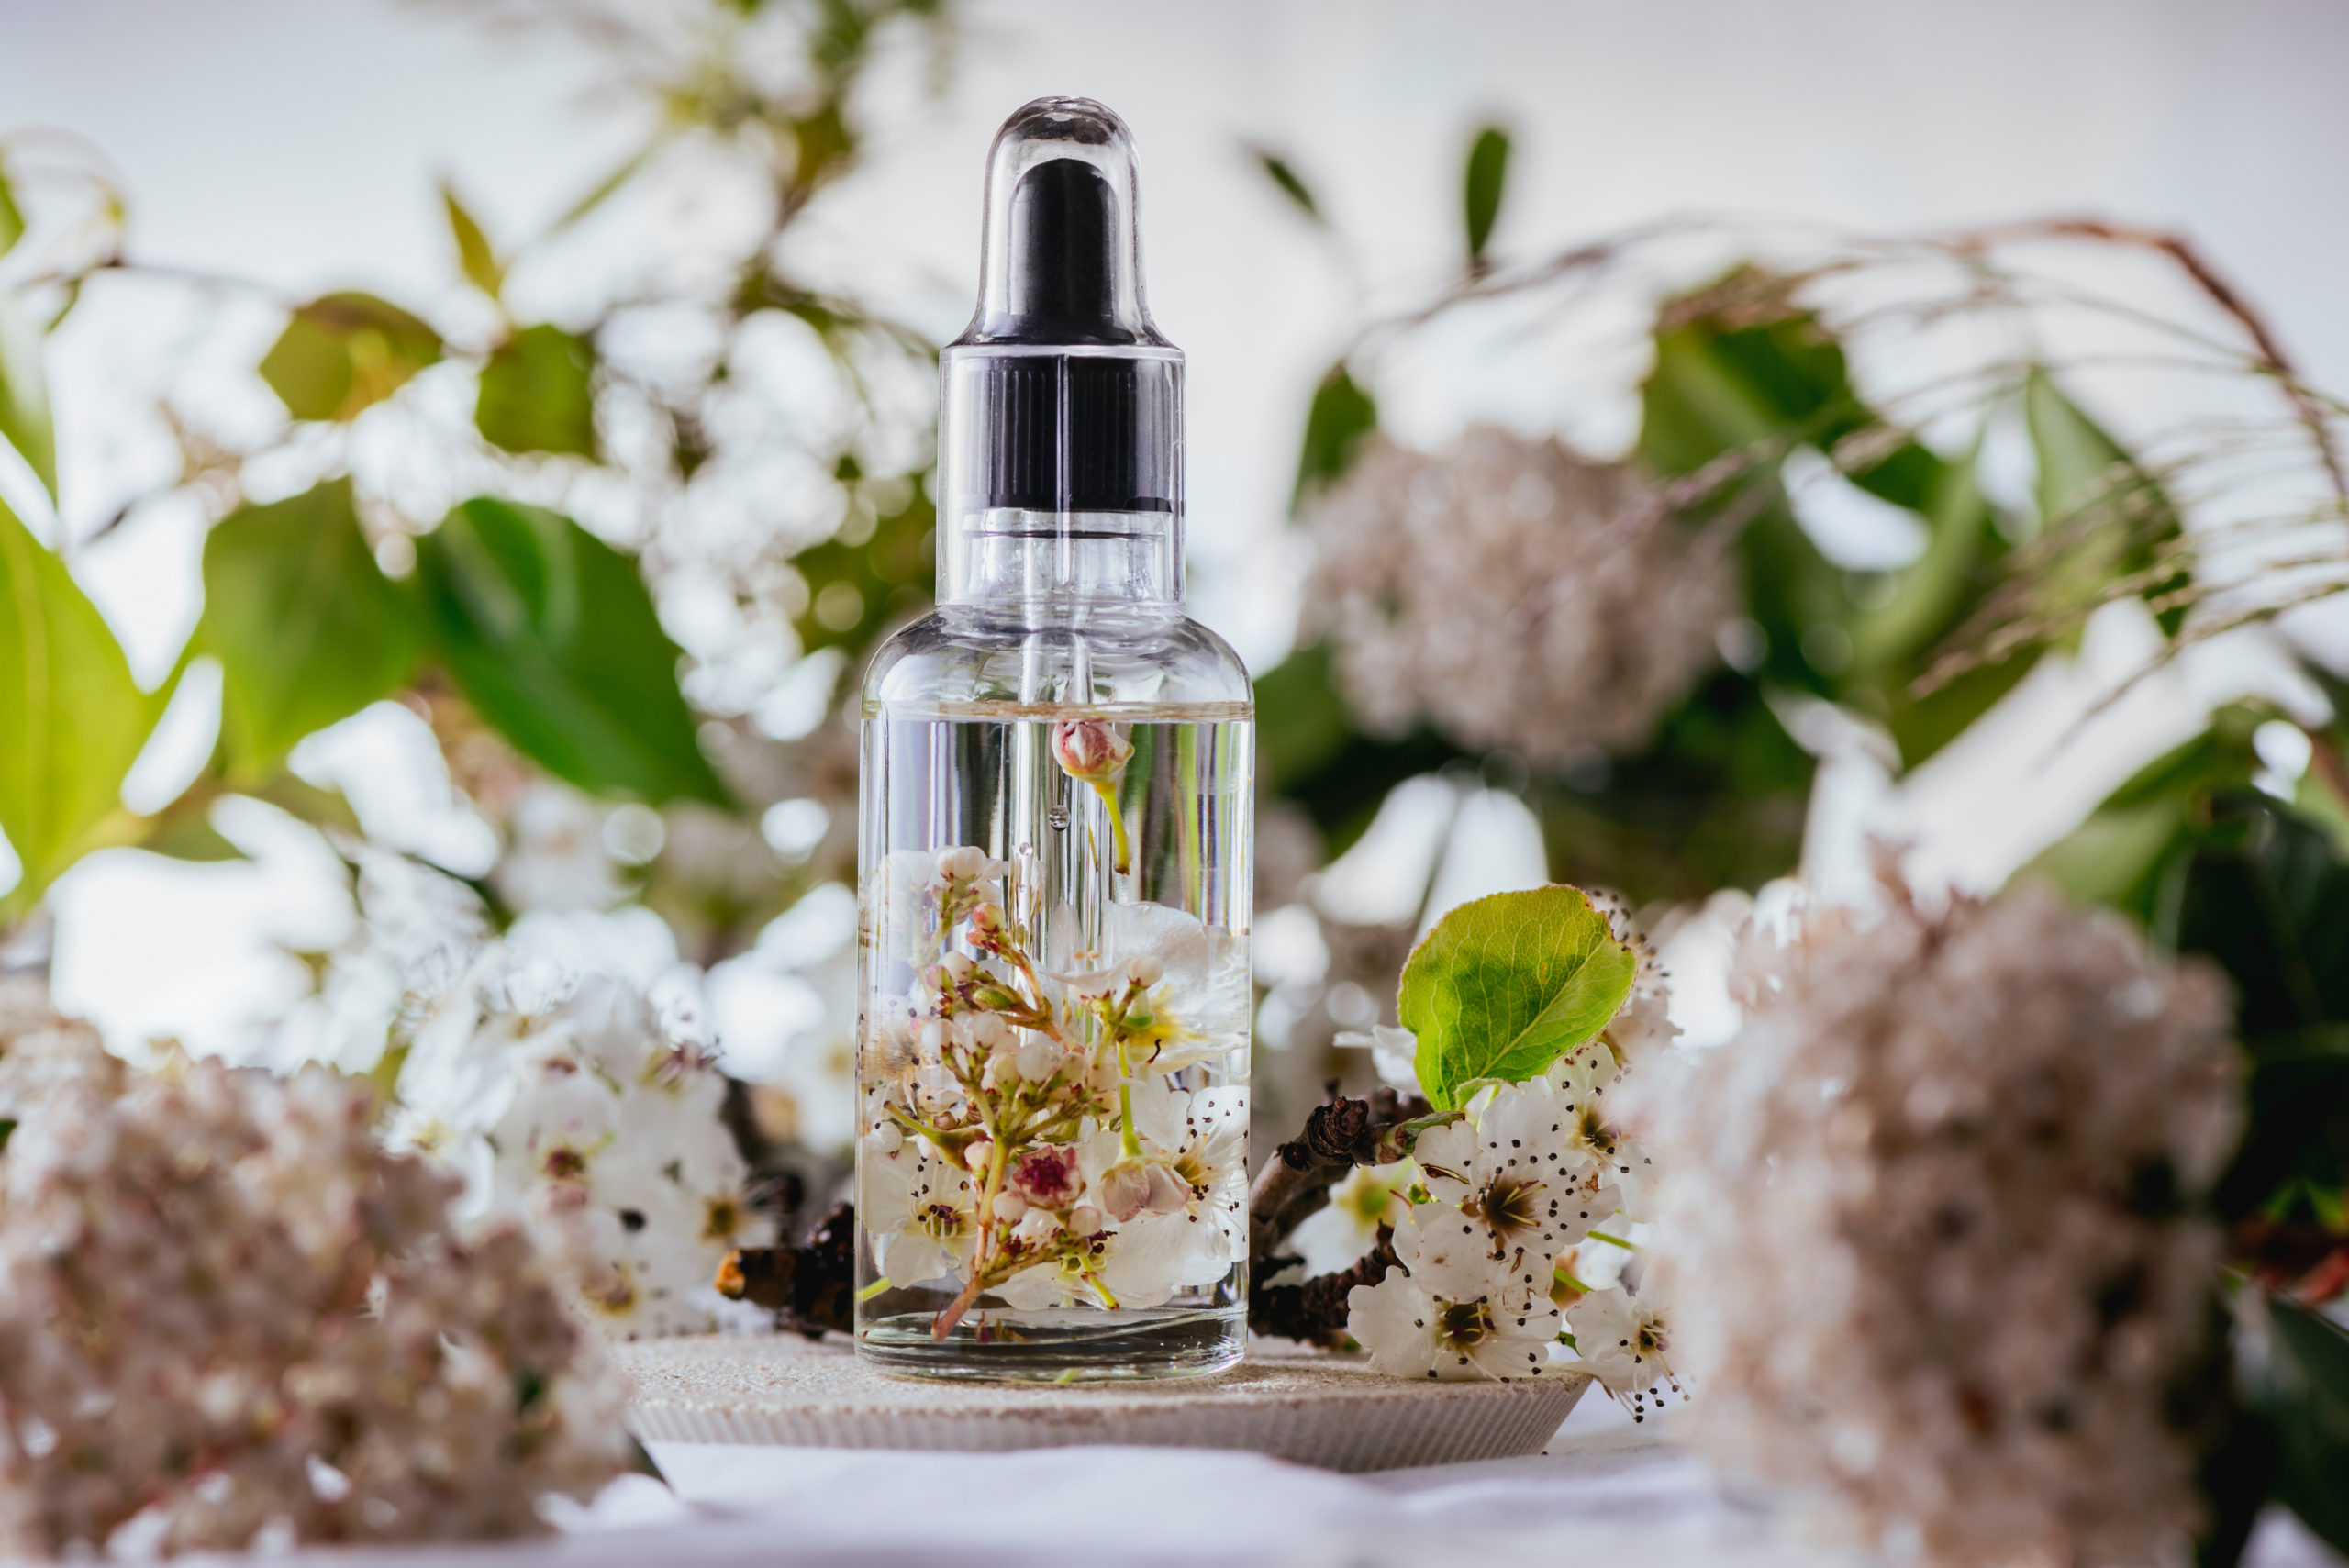
Working with scents and aromas is a powerful thing. Scents [...]
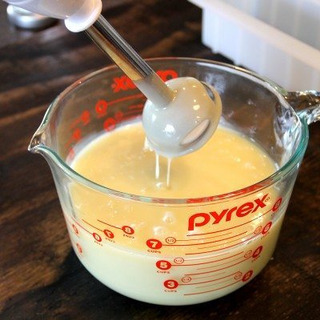
If you are new to soapmaking, you've probably heard the [...]

© Copyright 2008-2021 | Lovin Soap Studio LLC